I made a two-hoor generative track featuring Motomouth for Halloween night. An excerpt is on my soundcloud:
2 Likes
Looks good! Might be worth considering a rotary switch for the capacitors to have at least one extra value if you’ve got space for it.
Sounds pretty cool. There is a share your music topic btw.
Music share thread - Share your work!
2 Likes
Love the recording! I’m looking forward to getting to grips with the Motomouth once my next cabinet is built.
I’ve been fascinated by formant synthesis ever since I heard Riversong on the album Zero Time by Tonto’s Expanding Head Band back in the early 70’s…
I have been using some simple mixers from when I started doing eurorack, you can see one of them in this pic on the left (this was when I was still printing front panels) which served me well, but which allways had too few inputs. So I thought I’ll make new one, a bigger one, with LOTS MORE inputs, a GIANT ONE !
Ahem, so I made a dual version with 2x8 inputs (see RHS of picture)and the dudes and dudettes from Marketing immediately called it Hex-A-Mix-O-Matic (I think they had Halloween in their minds already). The sum of the A inputs is normalled to B8, so that it can add up to 15 signals. That should be enough I think. On the other hand, I can also plug something into B8 and use the summed A signals and the summed B signals separately for 2-channel (stereo) patches. There is no AC-decoupling, so it can be used for audio and CV.

The schematic is straight forward:

Gerbers can be found here.
5 Likes
I have not finished a build in a while so I have not posted much lately, though I am always progressing on a few things…
Today I just made 3D printed patchcable hangers for my atelier. This dresser is older than me, assembled by a total amateur and way beyond repair, so i have no qualms taking a drill to it to customize it lol


Original design but most likely nobody cares for the STL and it was not parametric so it’d be a pain to make size variants, so I shan’t pollute a 3D print site with it
6 Likes
thats the spirit , ah yes we are feeding the need LOL .
4 Likes
I got back to this thing again, now that I have a microscope:
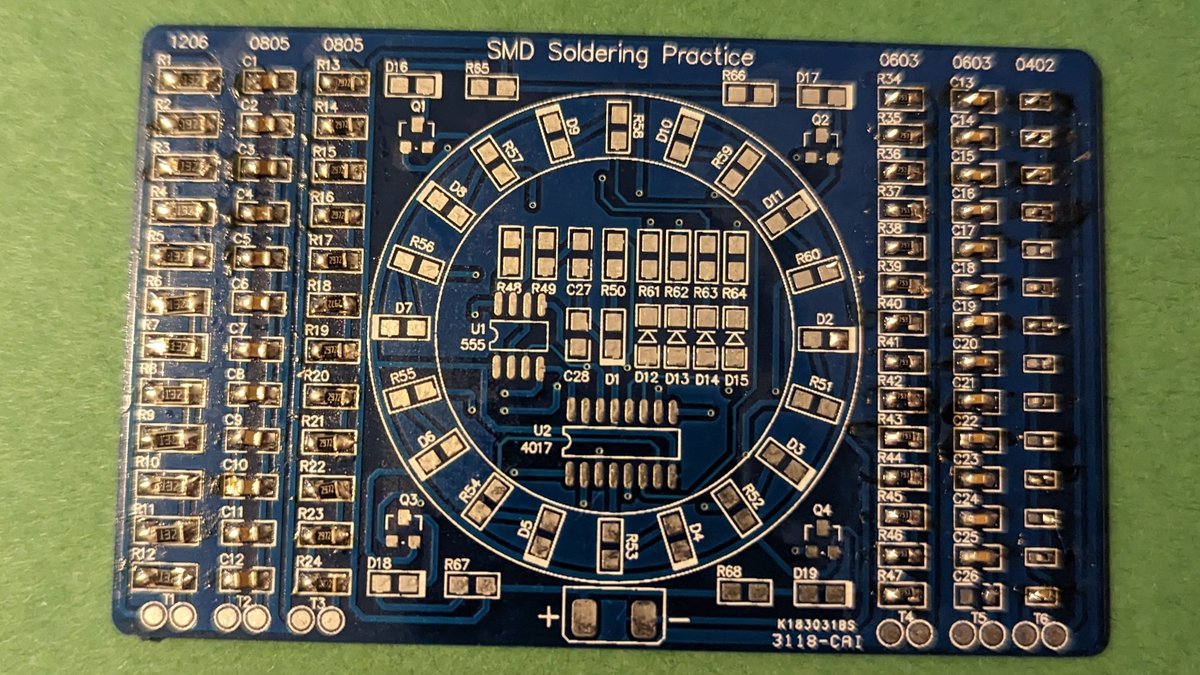
Successfully soldered 14 of 14 0603 resistors and 13 14 of 14 0603 capacitors. (That was the one component the kit had no extras of, and one disappeared.) Found it!
Then I attempted the 0402 resistors, just for grins. LOL no. I did get at least three of them down and connecting to their traces. I think I inhaled most of the others.
The 0805 footprints in the middle look positively huge now. Easy, right?
7 Likes
Any suggestions on how to deal with diodes when you cant see the dang stripe?
Multimeter or cheap “component tester” ?
1 Like
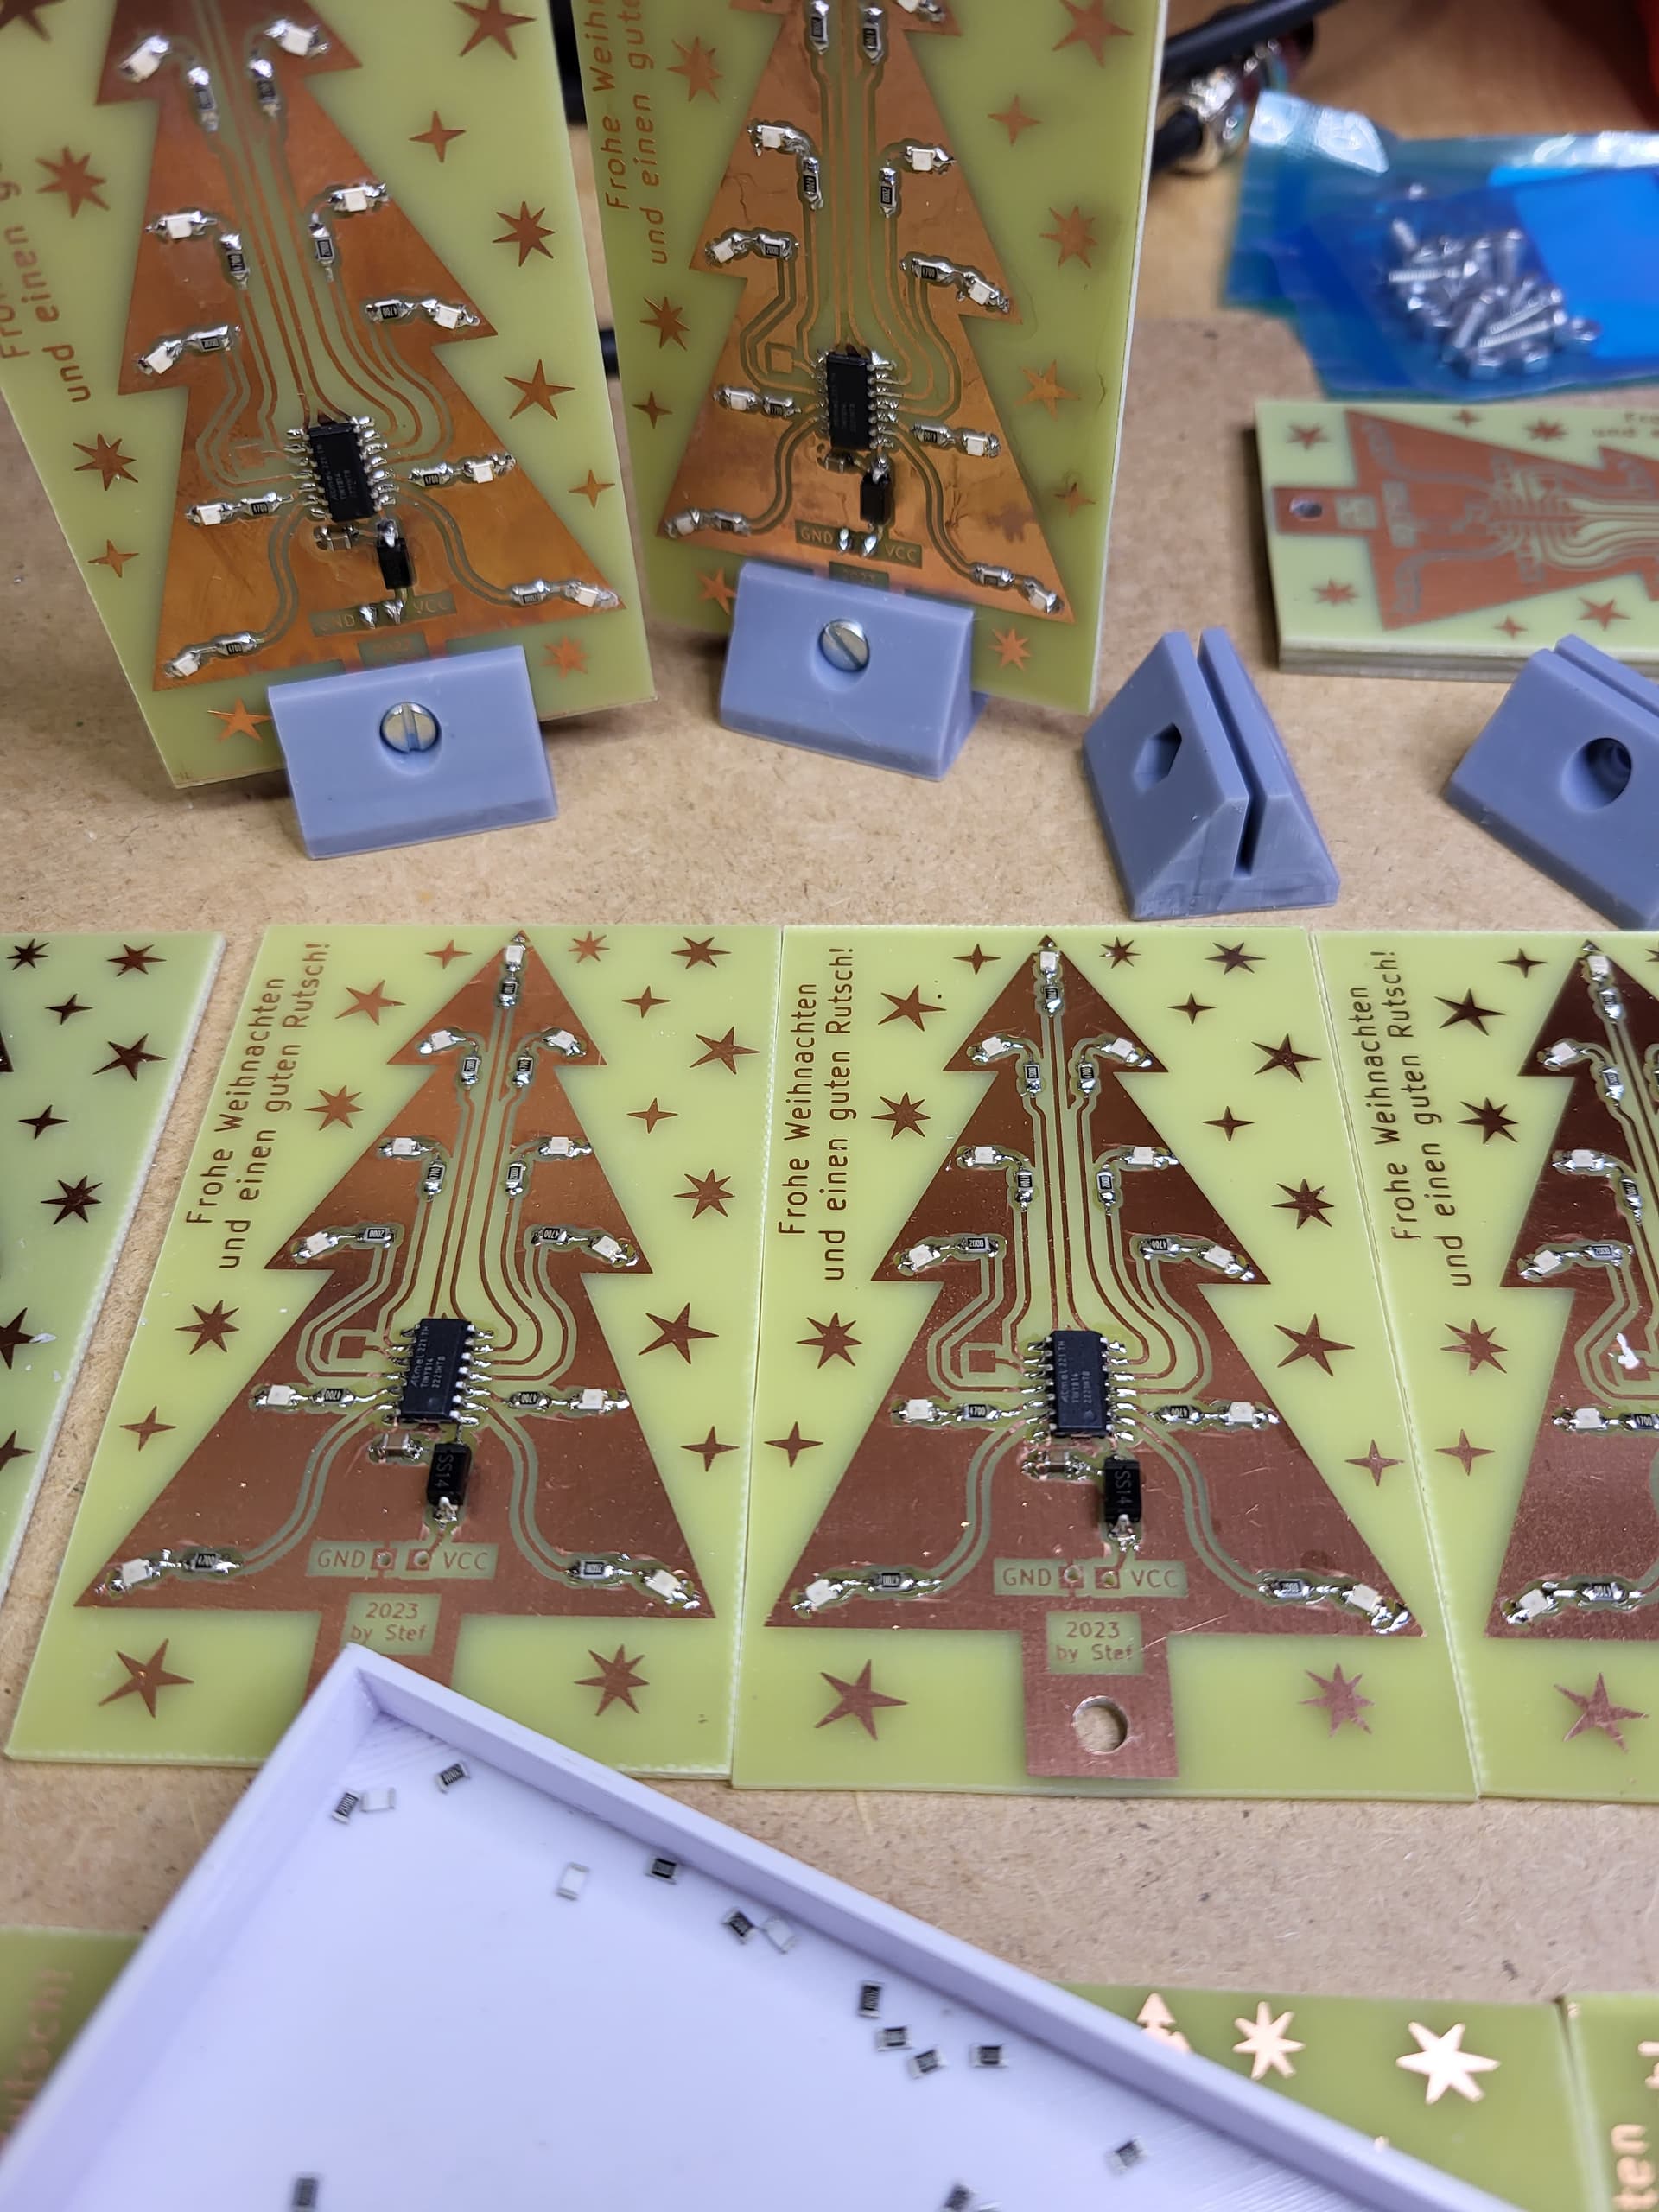
I’m using a magnifying lamp for smd parts. Every year I build some small light object for my family and friends, and every year I have to build more. This year I made 50 of these small christmas trees, each with 4 different led colors. All parts in 0805 and soic14 ics.
10 Likes
But can it play jingle bells ? ![]()
1 Like
No, maybe the project for next year.
But… the attiny814 would be capable of playing some tunes…
I know, this is not synth related. But the next project will…
4 Likes
Hand crafted gifts are always that bit more special. ![]()
6 Likes
Yeah, I’d say slap it on a meter with a diode tester. Or, really, stick it on a breadboard across the rails (maybe with a load resistor) and see in which direction it conducts.
Then, a silver Sharpie.
1 Like
I finally got the parts to make the mini-vactrols I’ve been planning. They’re super cute! I’ll do some testing offer the holiday weekend (US Thanksgiving) and post them up here. I just wanted to share the initial results. It’s going to take some practice to get them just right, as the components have a tendency to drift apart as the tubing shrinks (it elongates slightly). Now that I know that, though, I should be set.
3mm flat top green LEDs with 3528 and 3547-2 LDRs. Glue-lined heat shrink for a nice light-tight seal. It remains to be seen if the glue leaks between the components and interfere with the function of the device.

4 Likes
I like the inside of my vactrols to be white or reflective. Adding thin tin foil or paper (cigarette papers work very well) before adding heat shrink or dipping in poly dip plastic.
If you’re planning some experimenting,
have a go at reflected light (a 45° angle with a reflective panel.
With Distance. In a tube for example.
Multiples of either led or ldr.
Interference, make a small box with a space to add ‘obstructions’ between the source and ldr. ( eg. mark dental tape with a black pen and physically pull across the ldr)
Or step out the box by replacing the led with old style neon bulbs (the kind you see in sockets, kettles and extension strips), they are very slow reacting so almost like an adsr.
I have never encountered the ideal Vactrol that can do what a potentiometer can but hope springs eternal.
5 Likes
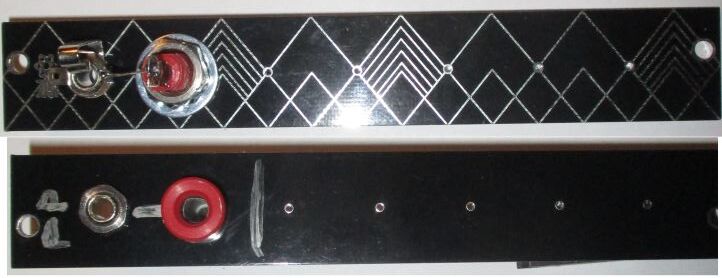
This is my first scratch built module. It’s Eurorack, but that’s okay.
The module is called Probe Point, or PP for short. It is one wire soldered from the tip connection of a 3.25mm jack socket to a banana jack socket. This allows me to connect meter probes (which use banana plugs) to my Mordax Data module for debugging purposes. Meter probes are a lot more precise for probing than, say, the tip connection of a 3.25mm patch cable.
5 Likes
Superb!
I took an extra set of probe cables and attached them to a small perf board with a ts plug and socket wired in parallel as i hate the old croc clip on the tip.
So, one down, what’s next?
My first eurorack travel case is done!
2×48hp, 3d printed rails, way too much hot glue, super unsafe dual wall wart psu


Now i need some actual modules to put in it, i have been building my stuff bigger so far
I’ve been using the 3d printed rails i already used for my kosmo armature.
The power rails are an old custom pcb of mine (not shared, has minor issues, but many variants exist and trivial to make yourself). As they will be exposed in use, I also designed 3D printed IDC header covers (and will share the STL shortly after I verify the parametric design also works for 16-pin)
Everything else that could short is encased in a generous dose of hot glue

(I captured the entire build process on video, hopefully i’ll bother to actually cut it and post it someday lol)
10 Likes