nice  . but its full now what , he he …
4 Likes
I know…but I’ll have to figure out how to get my studio monitors off the work bench if I get another case…can’t go any taller haha
4 Likes
So … how does it sound?
3 Likes
Had to wait for glue to dry on the rails, gonna attach the modules and get a power supply ASAP
5 Likes

Finally got the MotherEuroKosmoCase together. My woodworking skills are rudimentary at best and it shows, but it does seem to be sturdy and functional enough. Not a moment too soon, either; it’ll be full before long!
14 Likes
" sturdy and functional " thats all it needs to be , but it looks good to .
7 Likes
the 3rd case full
and with the others

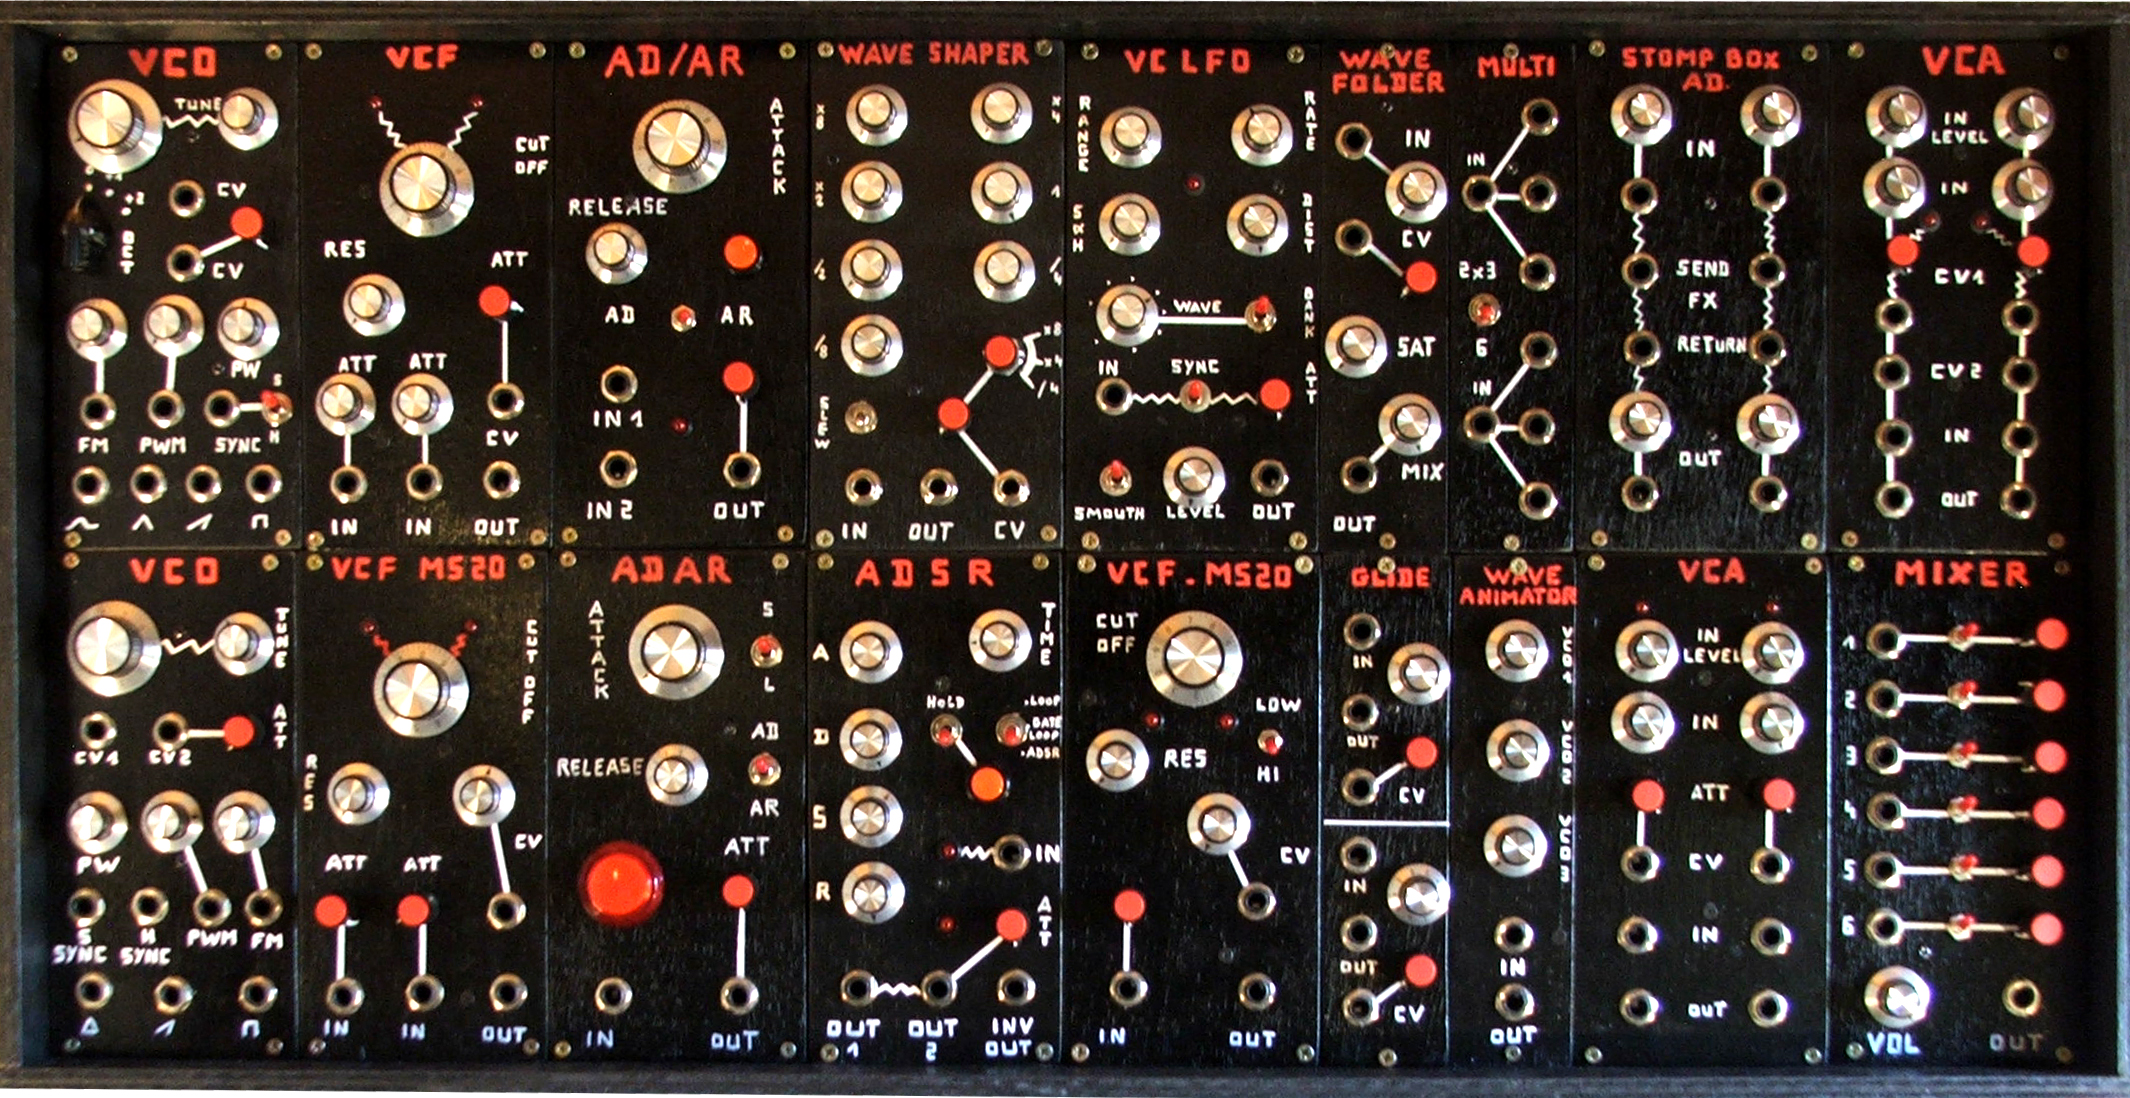
Detail : 54 modules
- VCO x5 (AS3340,CEM3340)
- VCF x6 (1 Dirty Filter, 1 Q&D and 4 MS20)
- VCA x4 (1 triple vactrol VCA and 3 dual VCA)
- LFO x3 (1 simple LFO, 1 Dual LFO and 1 VCLFO)
- ENVELOPE : x6 (1 ADAR 555, 4 ADAR and 1 ADSR
- SEQUENCER x2 (8 step arduino seq and Trigger seq Big Button)
- MIXER x3
- OCTAVER (Sub) x1
- DISTORTION x2 (Dual distortion unit and the Safety Valve)
- DELAY x1
- WHITE NOISE / SAMPLE & HOLD x1
- MULTIPLE x4 (1 passive and 3 buffered)
- CLOCK DIVIDER x1
- ADAPTATER x3 (1 mini jack, 1 banana and STOMP BOX ADAPTATER)
- GATE INVERTER x1
- LOGIC GATE x1 ( 4 logic : 2 or and 2 xor)
- WAVE SHAPER x1
- WAVE FOLDER x1
- WAVE ANIMATOR x1
- CV GLIDE x1
- HIT x1
- CMOS NOISE BELL x1
- SNARE / TOM x1
- BASS DRUM x2 (Simple BD and BD ++)
it’s starting to do, and now I have plenty of new possibilities to experience … for me the best time.
i’m really happy with that, thx again Sam and all in the forum !!!
15 Likes

Recently finished my first rack! Some LMNC, a lot of MFOS, and a few of my own design. All 3D printed panels in PETG. Rack space is 90cm x 2
10 Likes
Nice! Looks rad behind the Prophet.
4 Likes
Nice! Like the black and gold colour scheme. I was gonna do something similar (with silver highlights) but I got send the wrong colour knobs after a 2 month wait for delivery from Hong Kong, and now I have a black and red synth haha
4 Likes
Hell ya! Looks badass man!
3 Likes
Let us hear it !!!
3 Likes
I see that you used a pen to mark knobs etc. Ever tried to 3D-print the lettering as well?
1 Like
Yeah I was planning to go that route as well, but never found copper/brass/gold knobs I liked that much.
3 Likes
yes very nice !
some sounds plz 
2 Likes


Ive been wondering if/how i wanted to label my panels too, i think im going to get one of those label makers (you know the ones? black tape using pressure to make white letters?)
would look better than just pen scrawl on tape like i planning hehe
2 Likes
This maybe should be its own topic… (so now it is…) we’ve had posts about toner transfer, laminated paper, CNC milled anodized aluminum, 3D printing, Dymo labels, PCB fabrication, and of course Sharpie…
6 Likes
Aha, the whole ensemble. Looks great!
3 Likes
Ensemble! At the rate @Dud fills cases Philharmonic would be a better description
3 Likes