Well, as long as the one way is the right way.
(For me, once, it wasn’t. New and wrong bus board. But the three VCOs I was trying to power all had diodes.)
Well, as long as the one way is the right way.
(For me, once, it wasn’t. New and wrong bus board. But the three VCOs I was trying to power all had diodes.)
better safe than sorry …
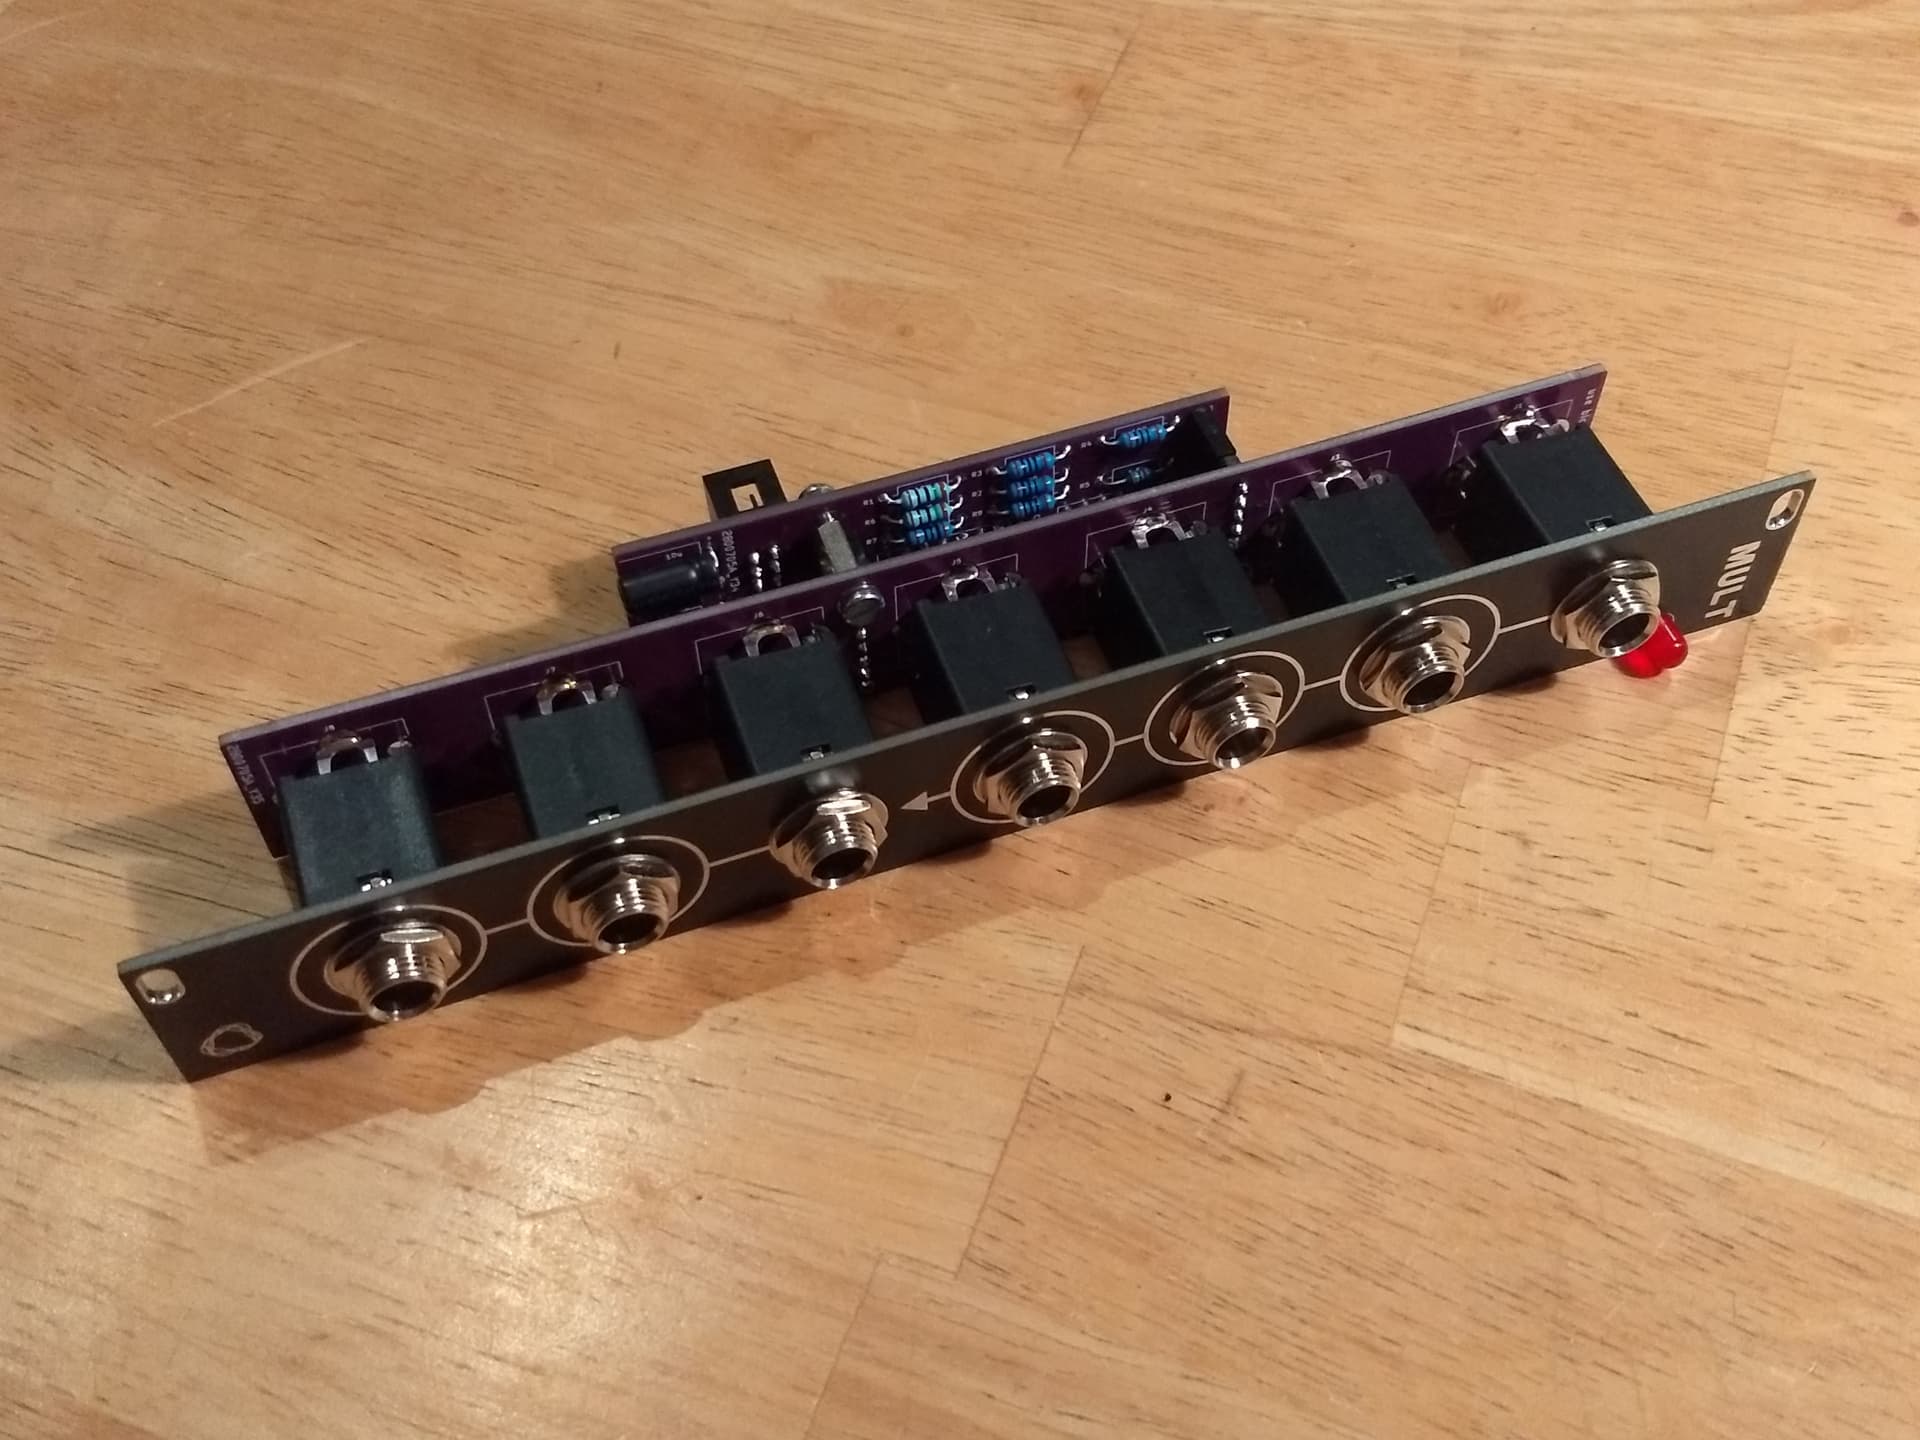
I’m using 4 pin JST-SM connectors, sold most commonly for RGB LED strips. The colour order of the wires on all the premade connectors is uniform (maybe because there’s one factory in China churning them out by the tonne, more likely because they’re used professionally by sign makers, etc). Red is +12v, blue is -12v - like on a thermometer, so I can remember that - black is ground and green is 5v for where I need it.
Rather than plugging into a board, it’s male-to-female connectors on leads, and they’re keyed and latch to each other. I’d argue it’s a better connector than the Eurorack one because it’s more suited to power distribution than ribbon cables - but that’s just me ![]()
Gosh, that’s an intense build. Bravo!
OOoo naughty … We have a litterature genre in Sweden called ‘Tantsnusk’ - sordid stories for spinsters.
Have to do some soldering before I show my latest achievments.
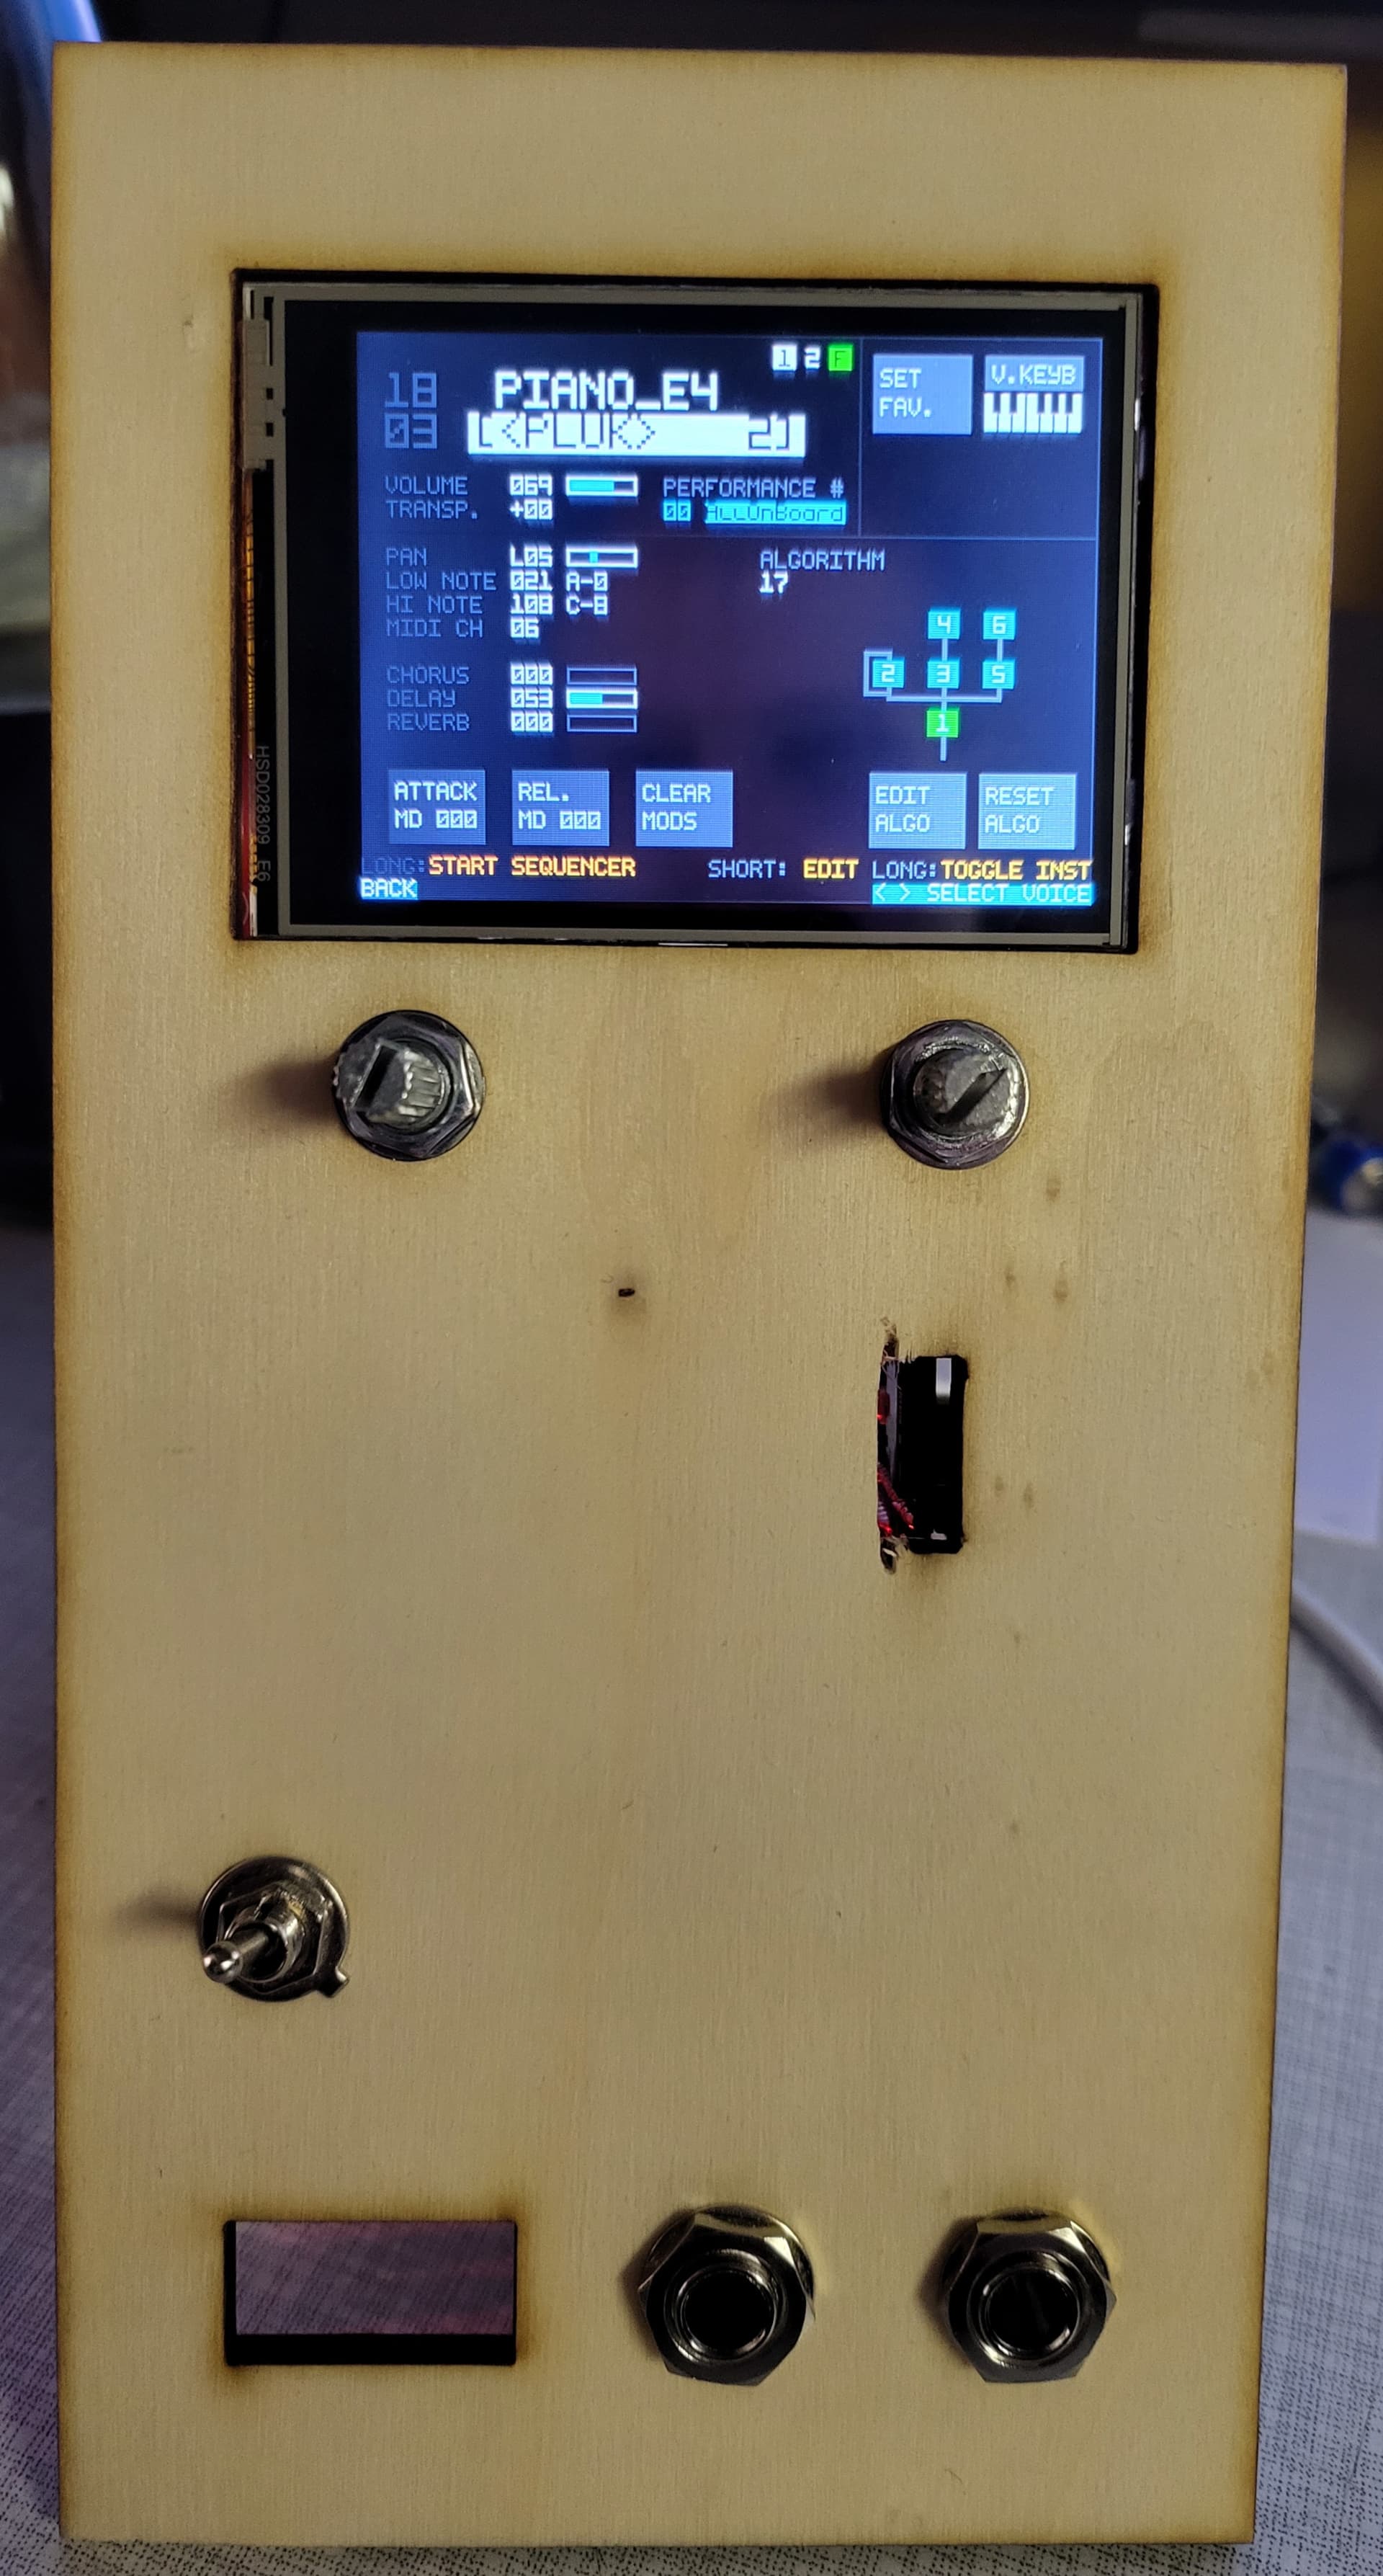
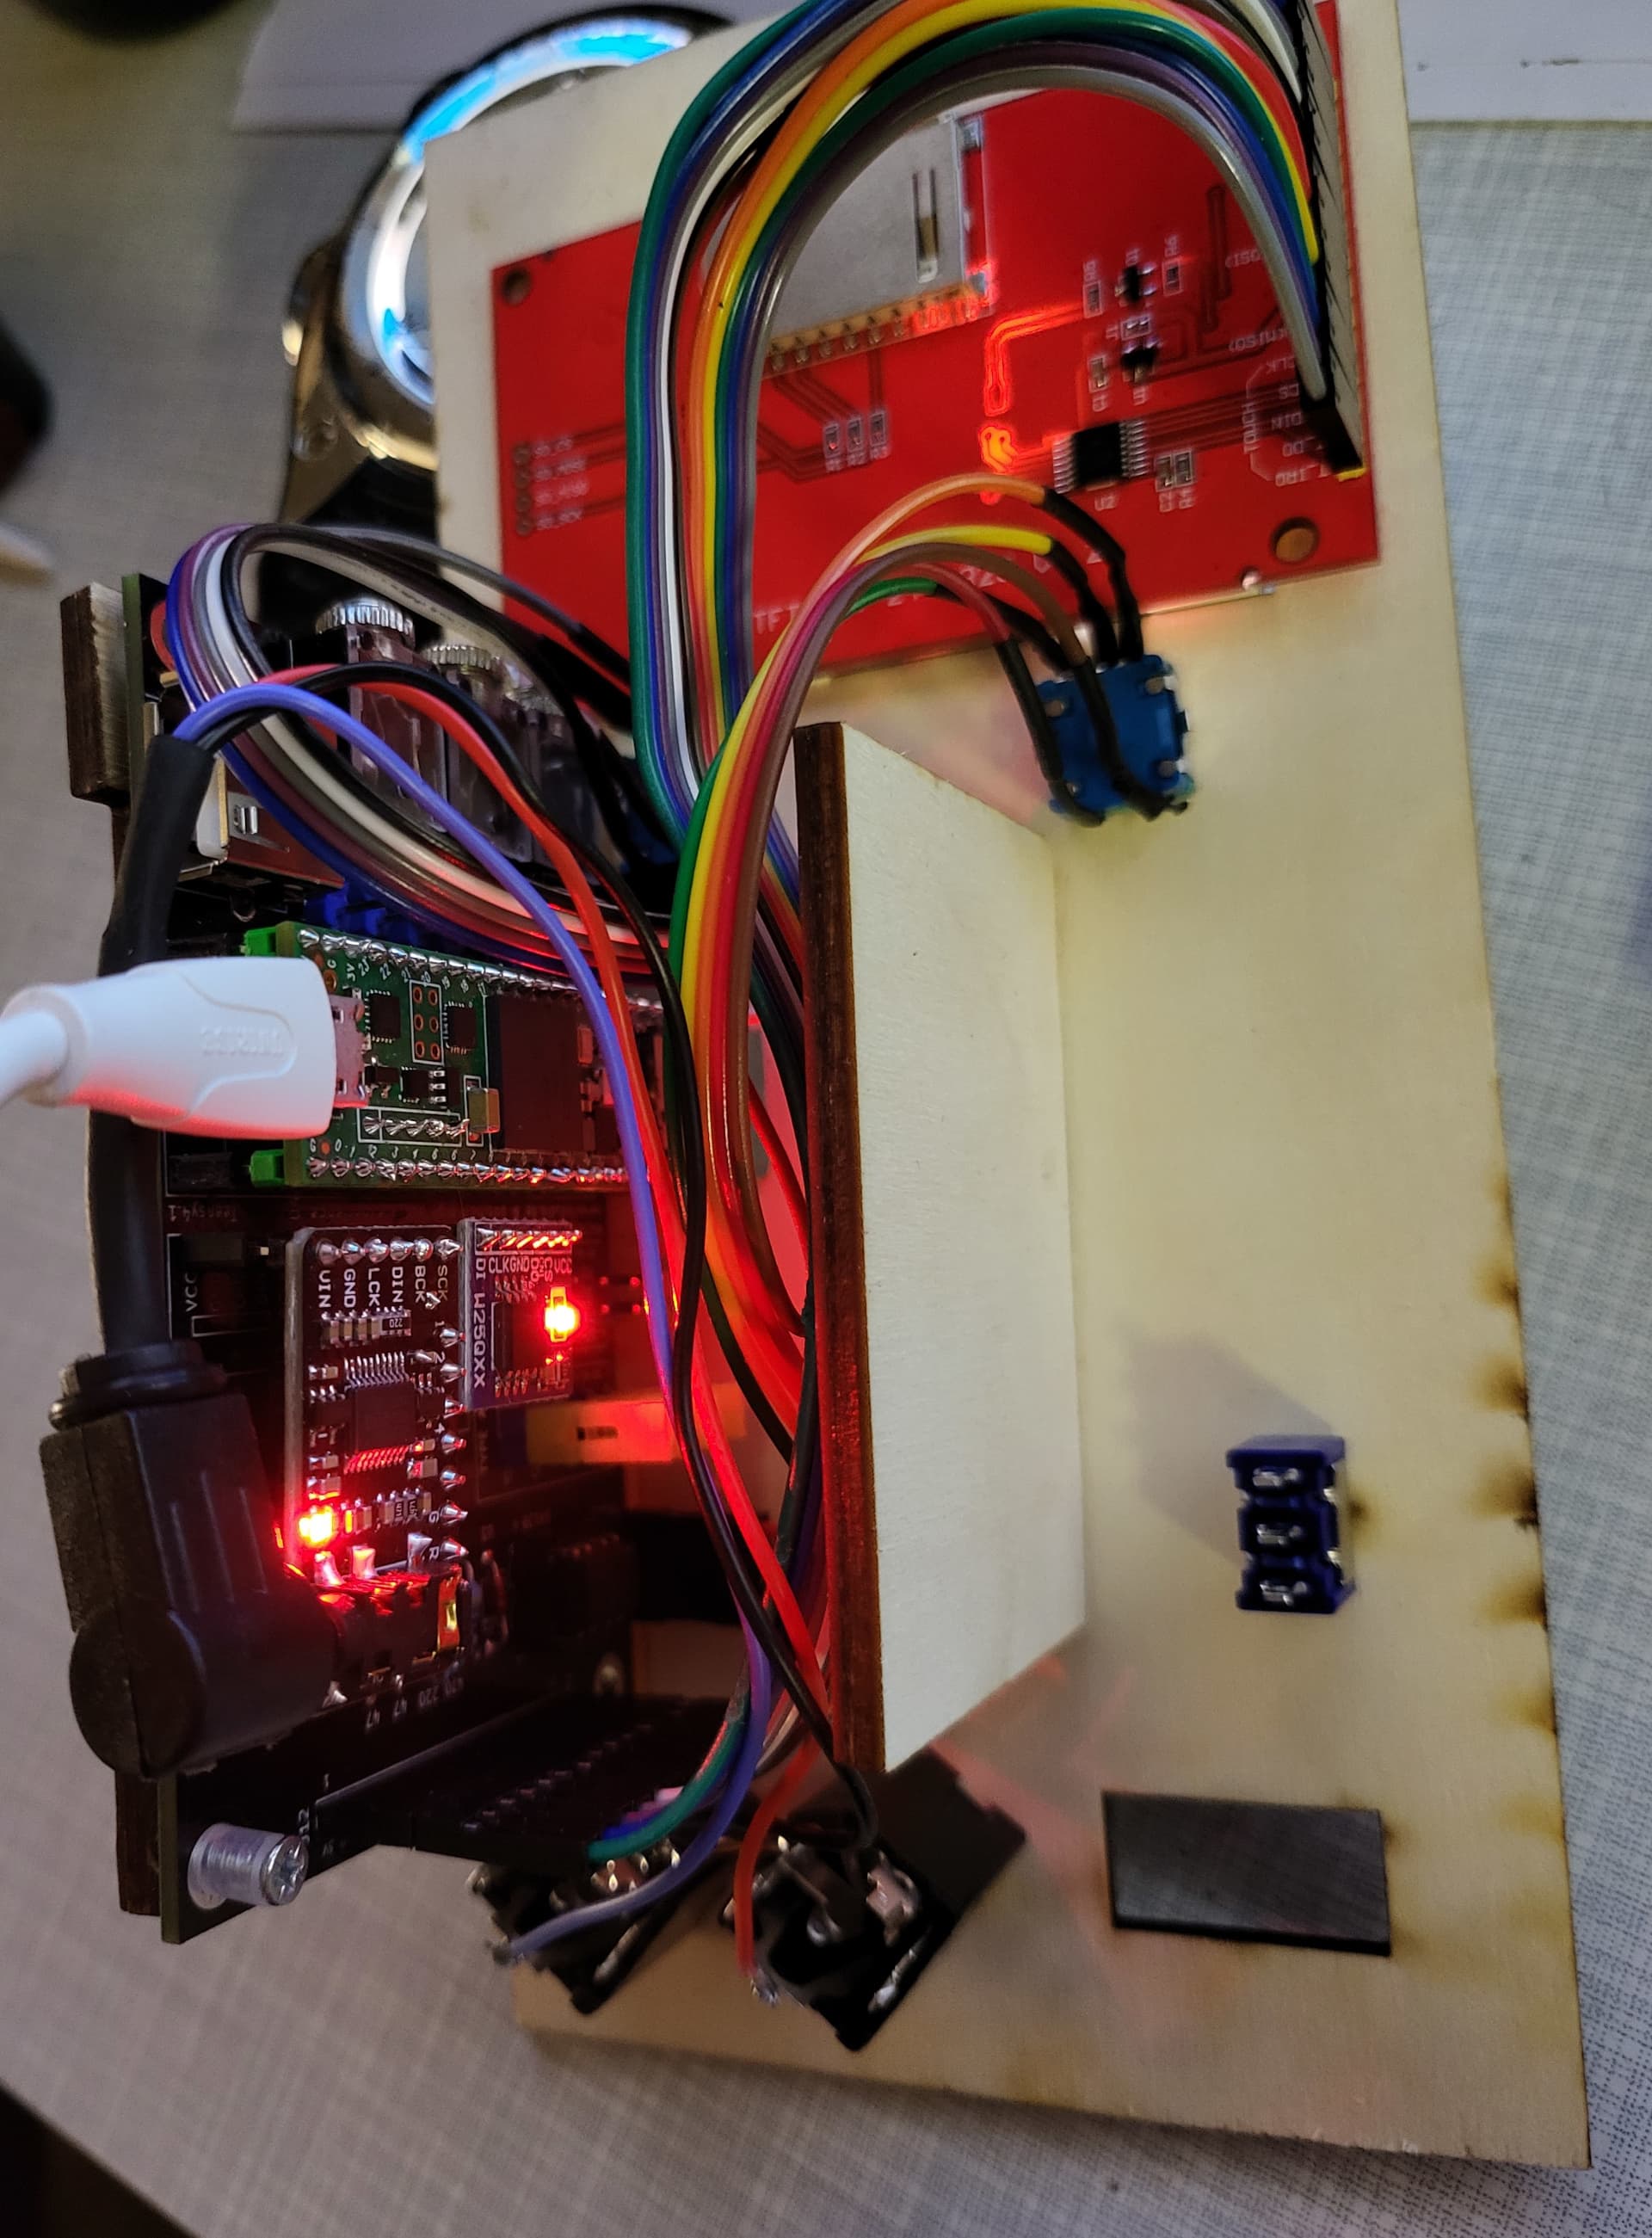
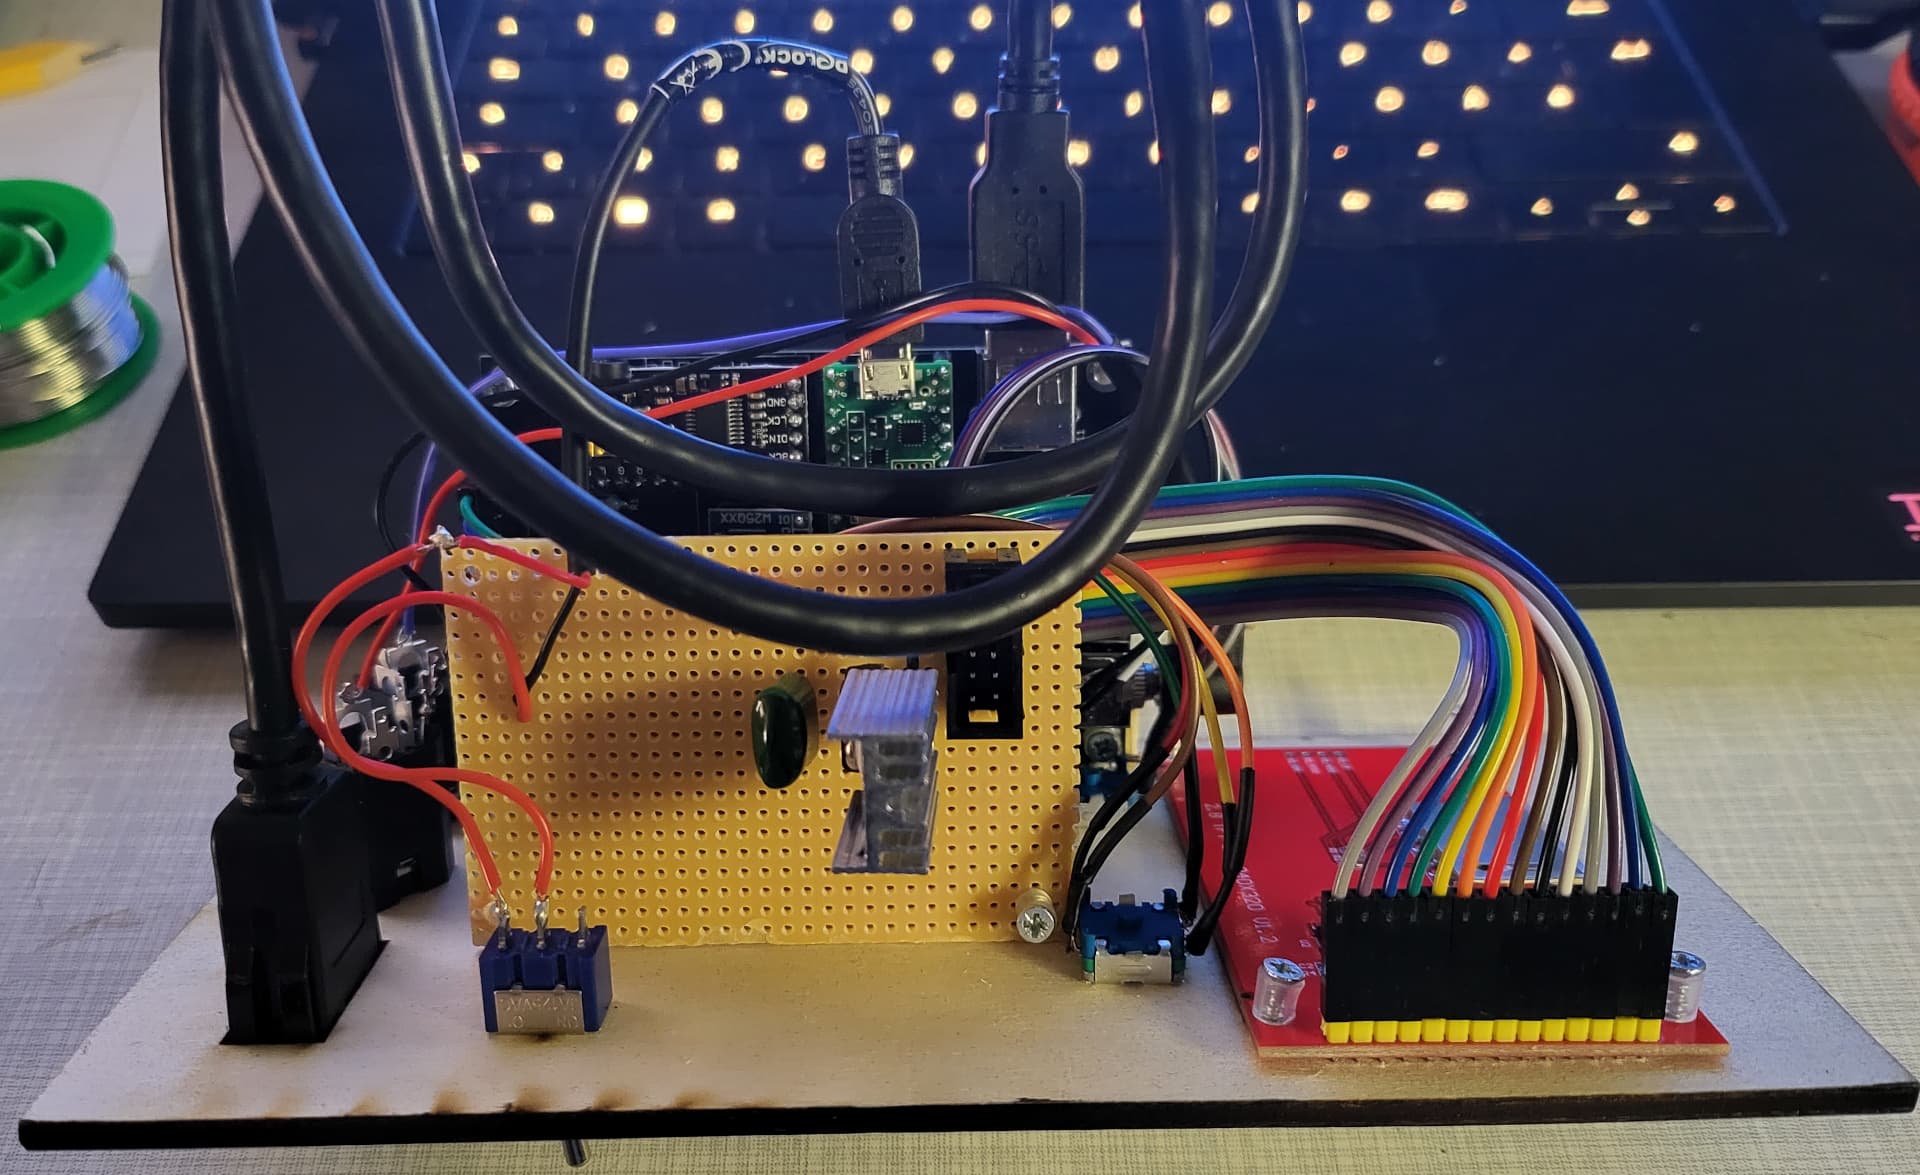
My Kosmo instance of microdexed touch reached a presentable state… i think i have a faulty pcm5102 sound board in there because the module is silent but i’ll solve that problem when the replacement has arrived…
Very interesting project.
Did you get the PCB from PCBWay? How much did it cost?
What screen are you using? Where did you get it from?
yes, i got it from pcbway. i only changed the color. the fabing was less than the transport.
Great project and they also have a forum with nice an supportive people ![]()
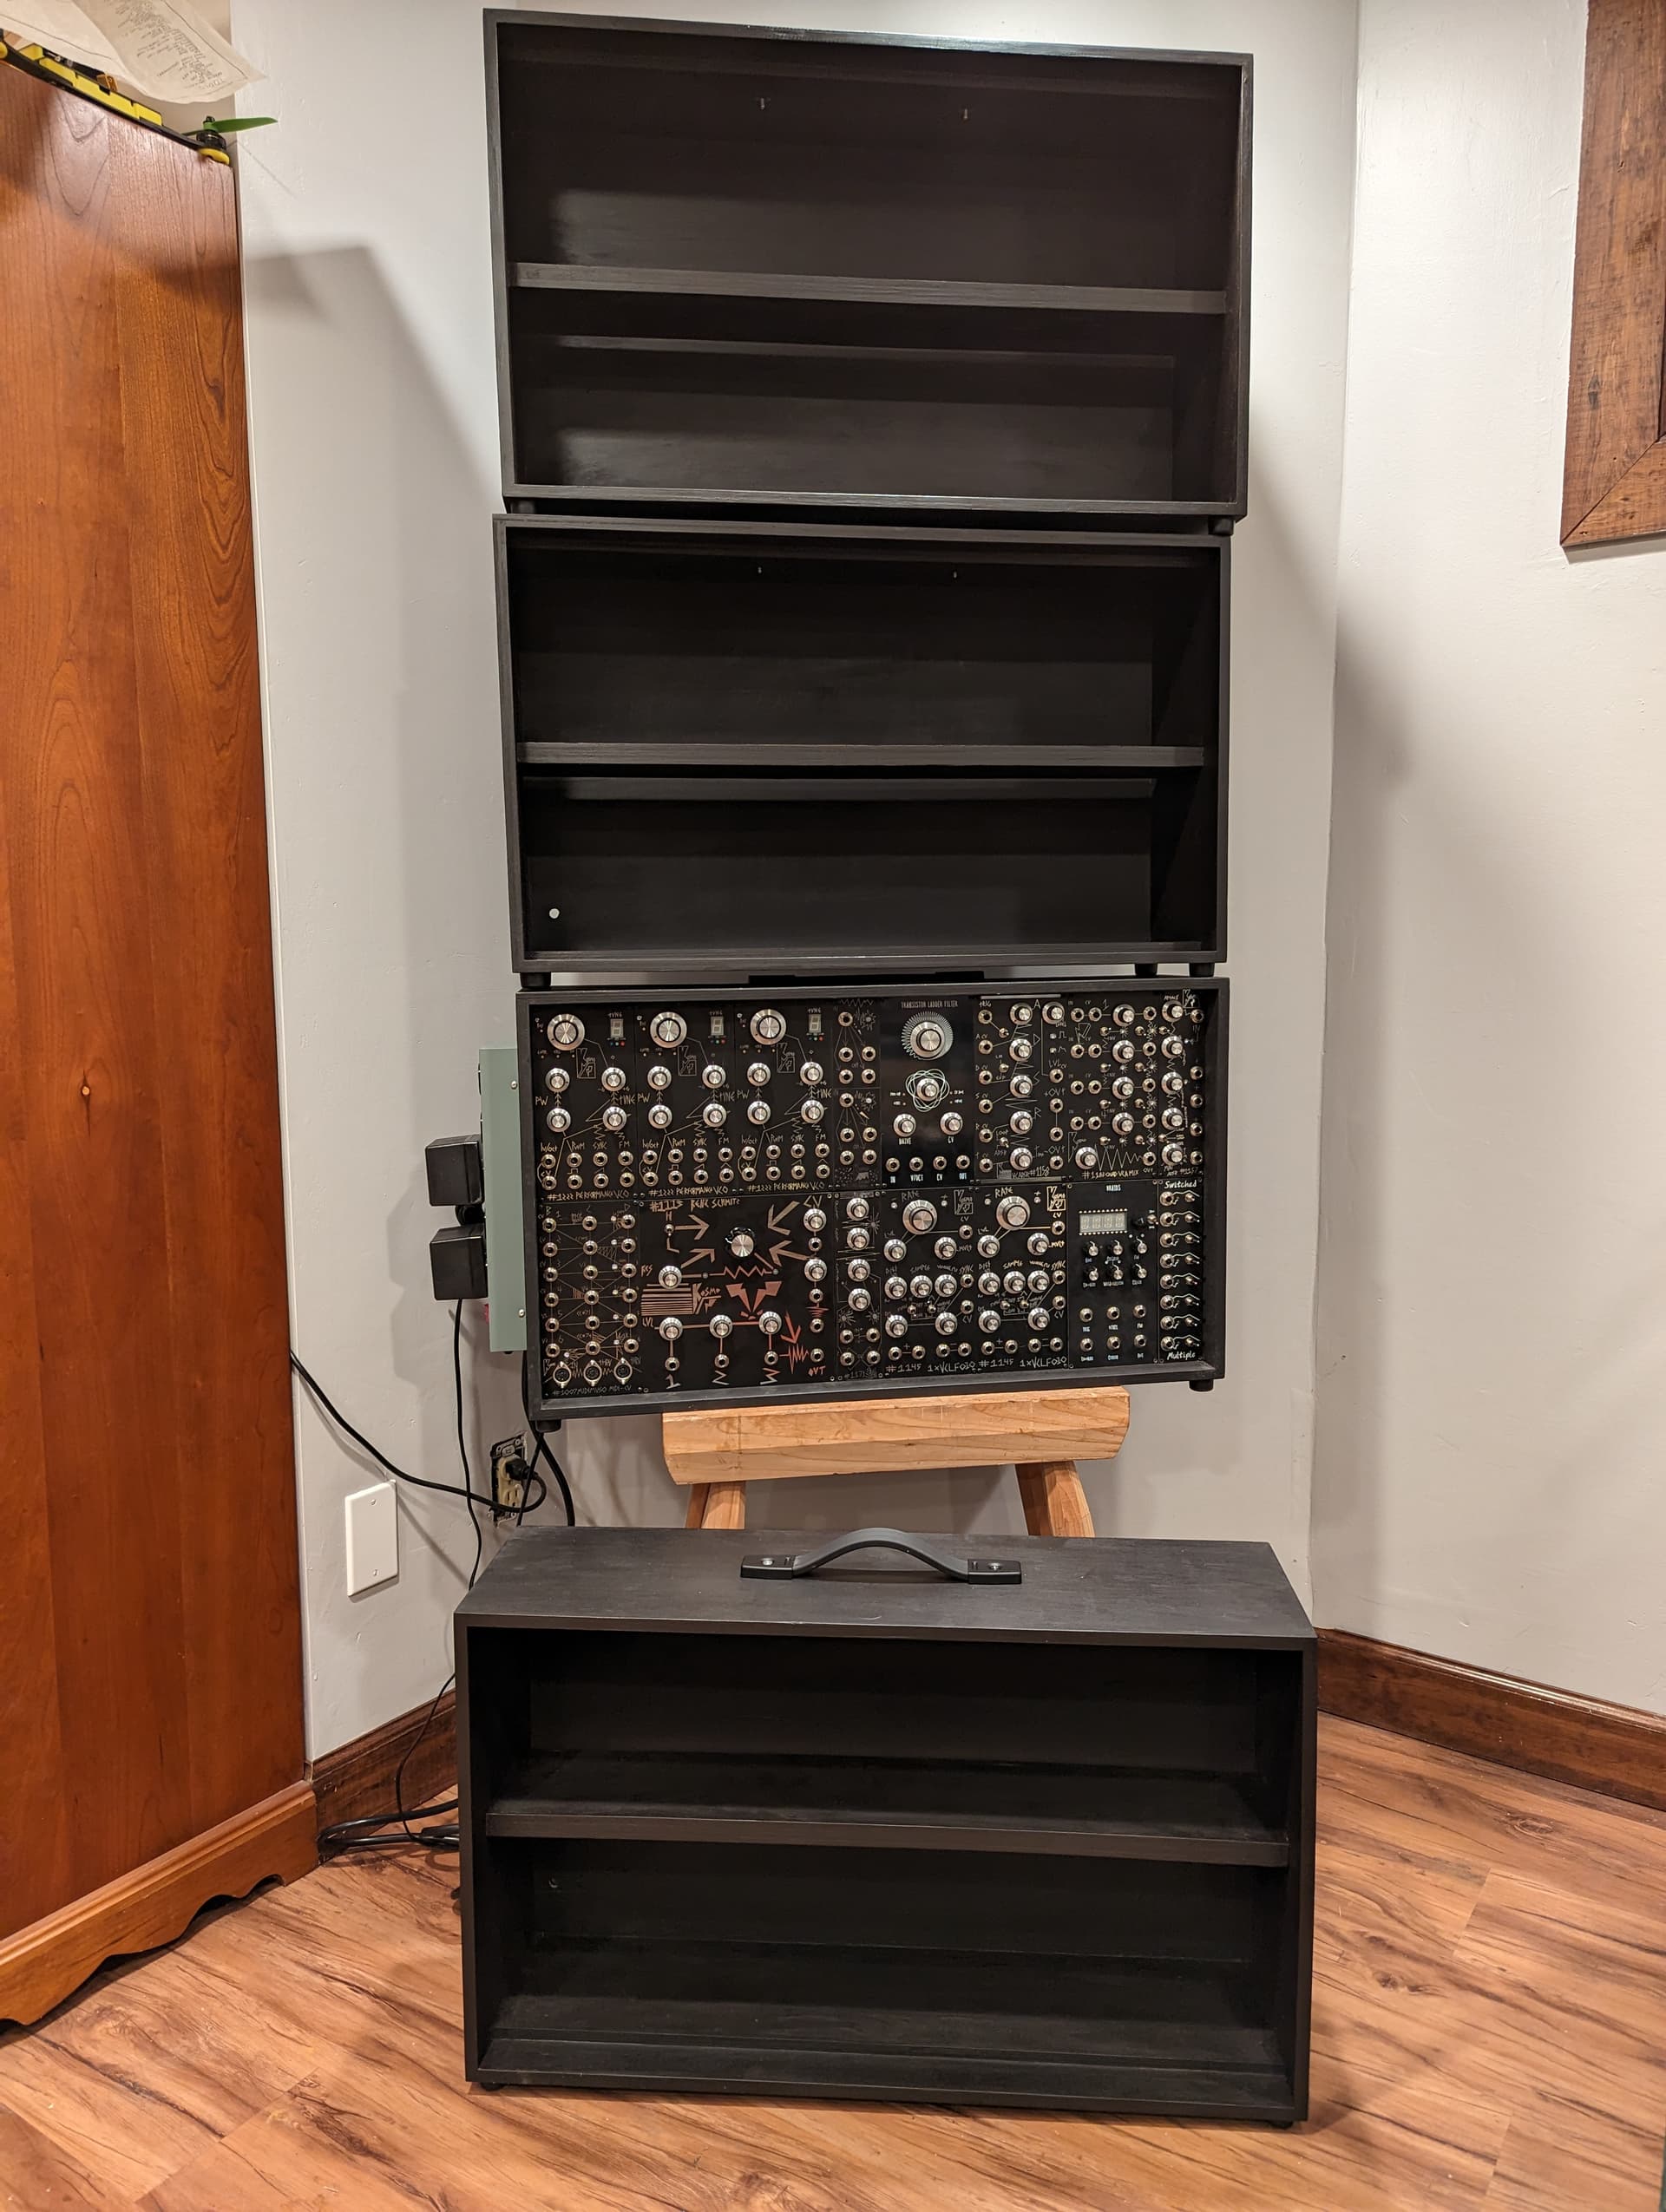
Nice! I like the practicality of the 2 row boxes.
Now you must fill them ALL!!!
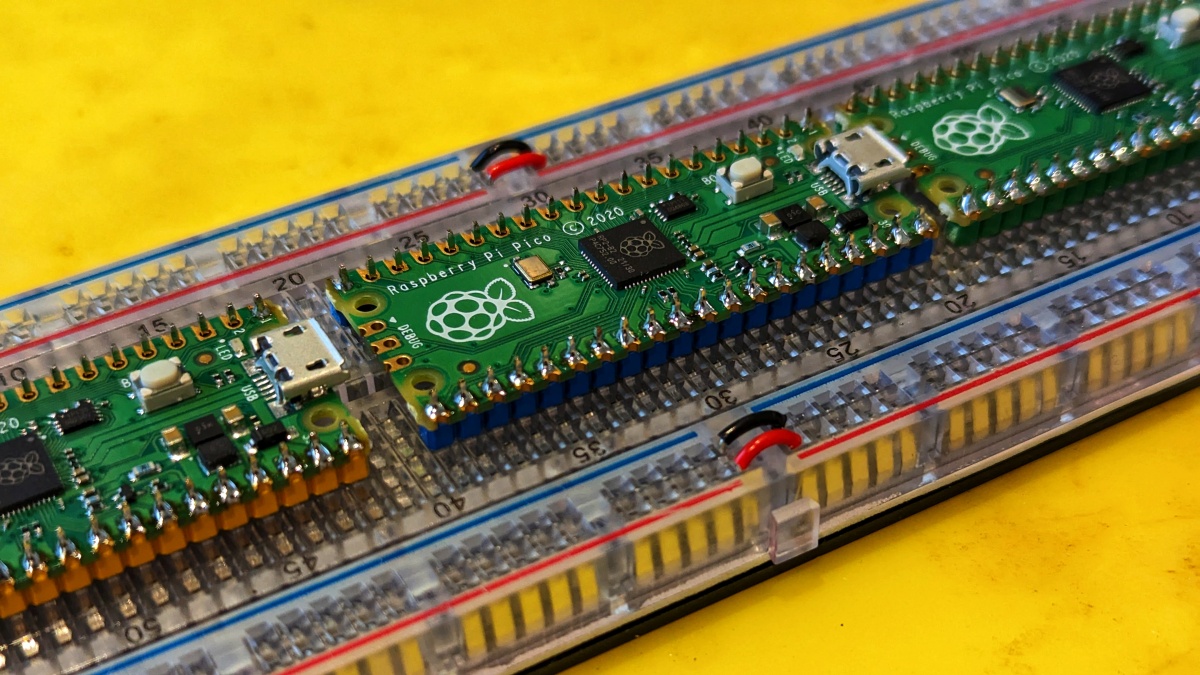
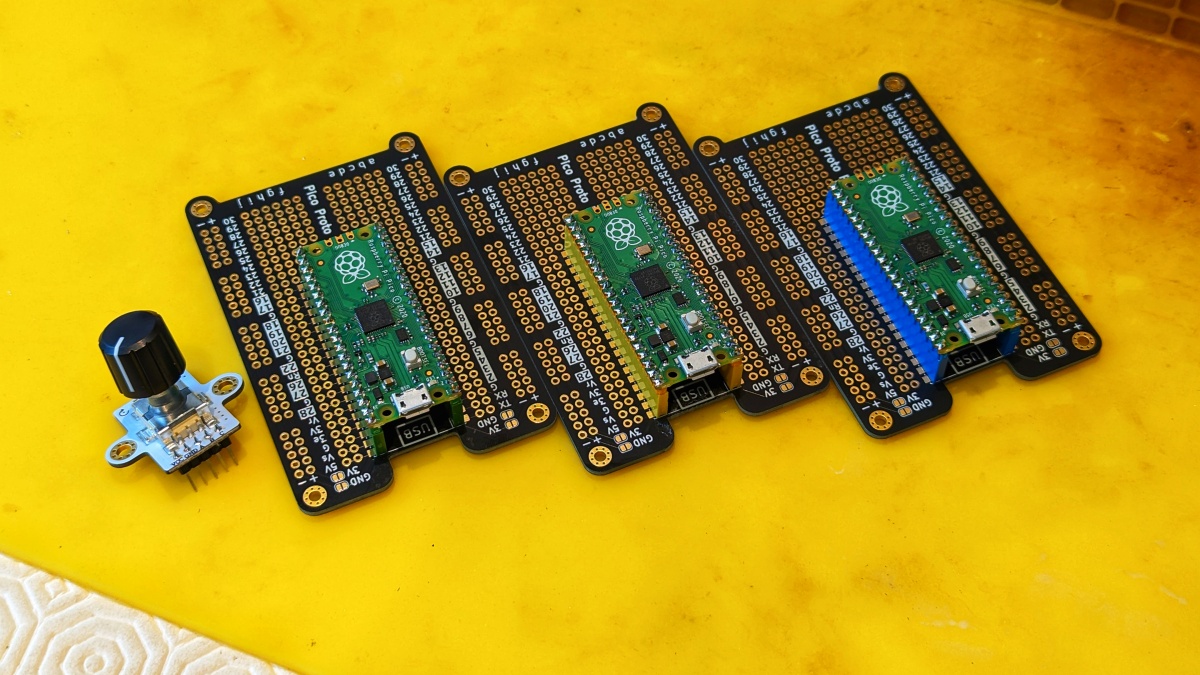
Broke out the soldering iron. One of these Pico’s is for that (Not So) Super Simple MIDI Keyboard I’ve been working on.
Oh, it won’t be long before I am needing more case.
I’m working on something similar.
It’s an RP2040 based board but with 16MB of flash memory and an I2S DAC board.
I’m getting familiar with the RP2030 and CircuitPython while trying to make an LMNC Big Button sequencer with a built-in wav trigger.
Just a few tweaks and this sequencer is ready to build. Here’s its first sound test! Planning to make a PCB for this one. I’m not working particularly fast, I’m more concerned with understanding the circuits than with getting a usable instrument ASAP.

I have no idea what this is but it looks incredible
Setting up a glamour shot of my latest 3d printed trinket in context reminds me i’ve actually built a decent amount of stuff since i got started with SDIY half a year ago:

I’ve been focused on learning more than on actual concrete results (I already have a computer with way too many good softsynths when i need to write a song, so i don’t feel the need to get SDIY results fast), but that’s still some good progress, and there’s only a third of all the stuff I’ve built this year in this shot.
Also, I’m working on a PCB version of what it’s on this breadboard (Moritz Klein’s take on the Baby-8, with lots of bells and whistles):