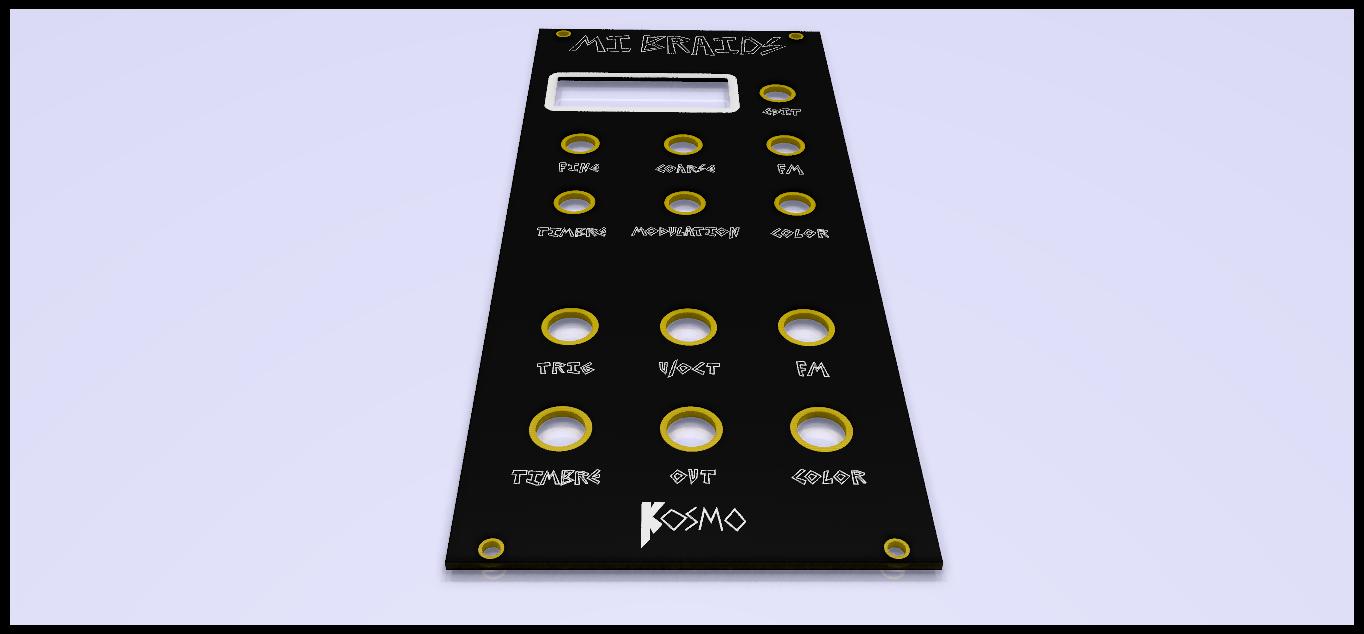
So I found the Braids Panel Dimensions and decided to make a Braids to KOSMO Conversion Panel.
This Conversion with only require a couple things.
1: Desolder the original x6 3.5mm Jacks from the PCB (be sure to use solder wick to clean the holes)
2: Obtain 6 TruConnect (or TC Box Style) 1/4" Jack Sockets and pop them into the Conversion Panel
3: Wire all Corresponding Pins from the Jacks to the Board where the 3.5mm Jacks used to be.
4: Affix the Braids PCB to the back of the Conversion Panel, mount all of your Potentiometers and you should be good to go!
I haven’t received my Braids yet, I will have it later this week to decide if any additional supports are needed)
Any suggestions?
I will probably sell a few of these if anyone if interested!
And onto the Question…
Sam has a Switch on BOTH of his KOSMO Braids Conversions that he did… does anyone have the slightest clue of what this could be?
Are there any known Braids Modifications?
TBH, if it weren’t for you and your PCB Front Panel Guide I would definitely not be where I am at with this.
A big thanks also goes to @threetom for his recent guide on his blog. (I still REALLY want one of his panels with the LED backlights )
And to all the suggestions I’ve gotten (like from @ChristianBloch in regards to the Soldermasking)
@d42kn355 I’m happy to see that people find my little guide useful
As far as those illuminated blanks go, I’m expecting the LEDs and the other components early next week. Some other people have been inquiring about them, so I will probably put a small batch on offer (that is if my little experiment turns out to be successful) .
Are there any files to make a drill template? I prefer to make my panels out of aluminium rather than pcb material (minimum order quantities and the aluminium is neon pink :0)
I never did make pdf’s and such of the files -
I unfortunately lost that save a long while back during an HDD failure and transition to a new laptop.
Pretty much all my old KOSMO stuff is gone lol.
Sam had mentioned the switch was like an octave mod or something along those lines, it’s been so long, you would hafta message him and ask!
Oh check out Mutables GitHub tho - you can at least find the proper drill file for the Braids panel - then just extend it to KOSMO size and add your rows of jacks to the bottom
From the man himself I have an answer on the switch.
LOOKMUMNOCOMPUTER: “yep! theres a trim pot on the back of the switch so you can select between the course tune on the module, or a preset tune on the back of the module”