I used sockets and I copied your values! 
Sounds badass
I used sockets and I copied your values!
Sounds badass
Today I drilled some panels and designed layouts for them. I also wired @EddyBergman ´s Noise module but haven’t tested it yet. I’ll do that tomorrow and cover the panels with labeled film. Meanwhile, I heard radio plays by Ghostbuster John Sinclair and Jan Tenner 
As always, the panel size is Eurorack. I am not allowed to start with Kosmo format because I know that I will then not build anything else and that soon there will be no more space in my apartment 


So get a bigger apartment, I don’t see the problem here
Looks good in green.
Or get creative, I’ve been looking around, there is a lot of unused real estate on the ceilings
Two words: “Murphy synth” …
Ahhh…you used SMD resistors/capacitors? Is that what I’m seeing? That’s very smart. I was looking at the BOM’s and then the boards and thinking how small the parts would need to be. I had been looking at ordering smaller resistors, but I like the idea of just doing SMD for them. Which size did you use?
I saw you built a Peaks as well. I just finished designing a Eurorack panel for it and submitting the order along with 2 different updated Clouds panels. I think next on my list for design are Elements and Tides, but I will still need to design about 6 more panels after those.
The “Jam table” solution:

Or you could use standard size resistors mounted vertically.
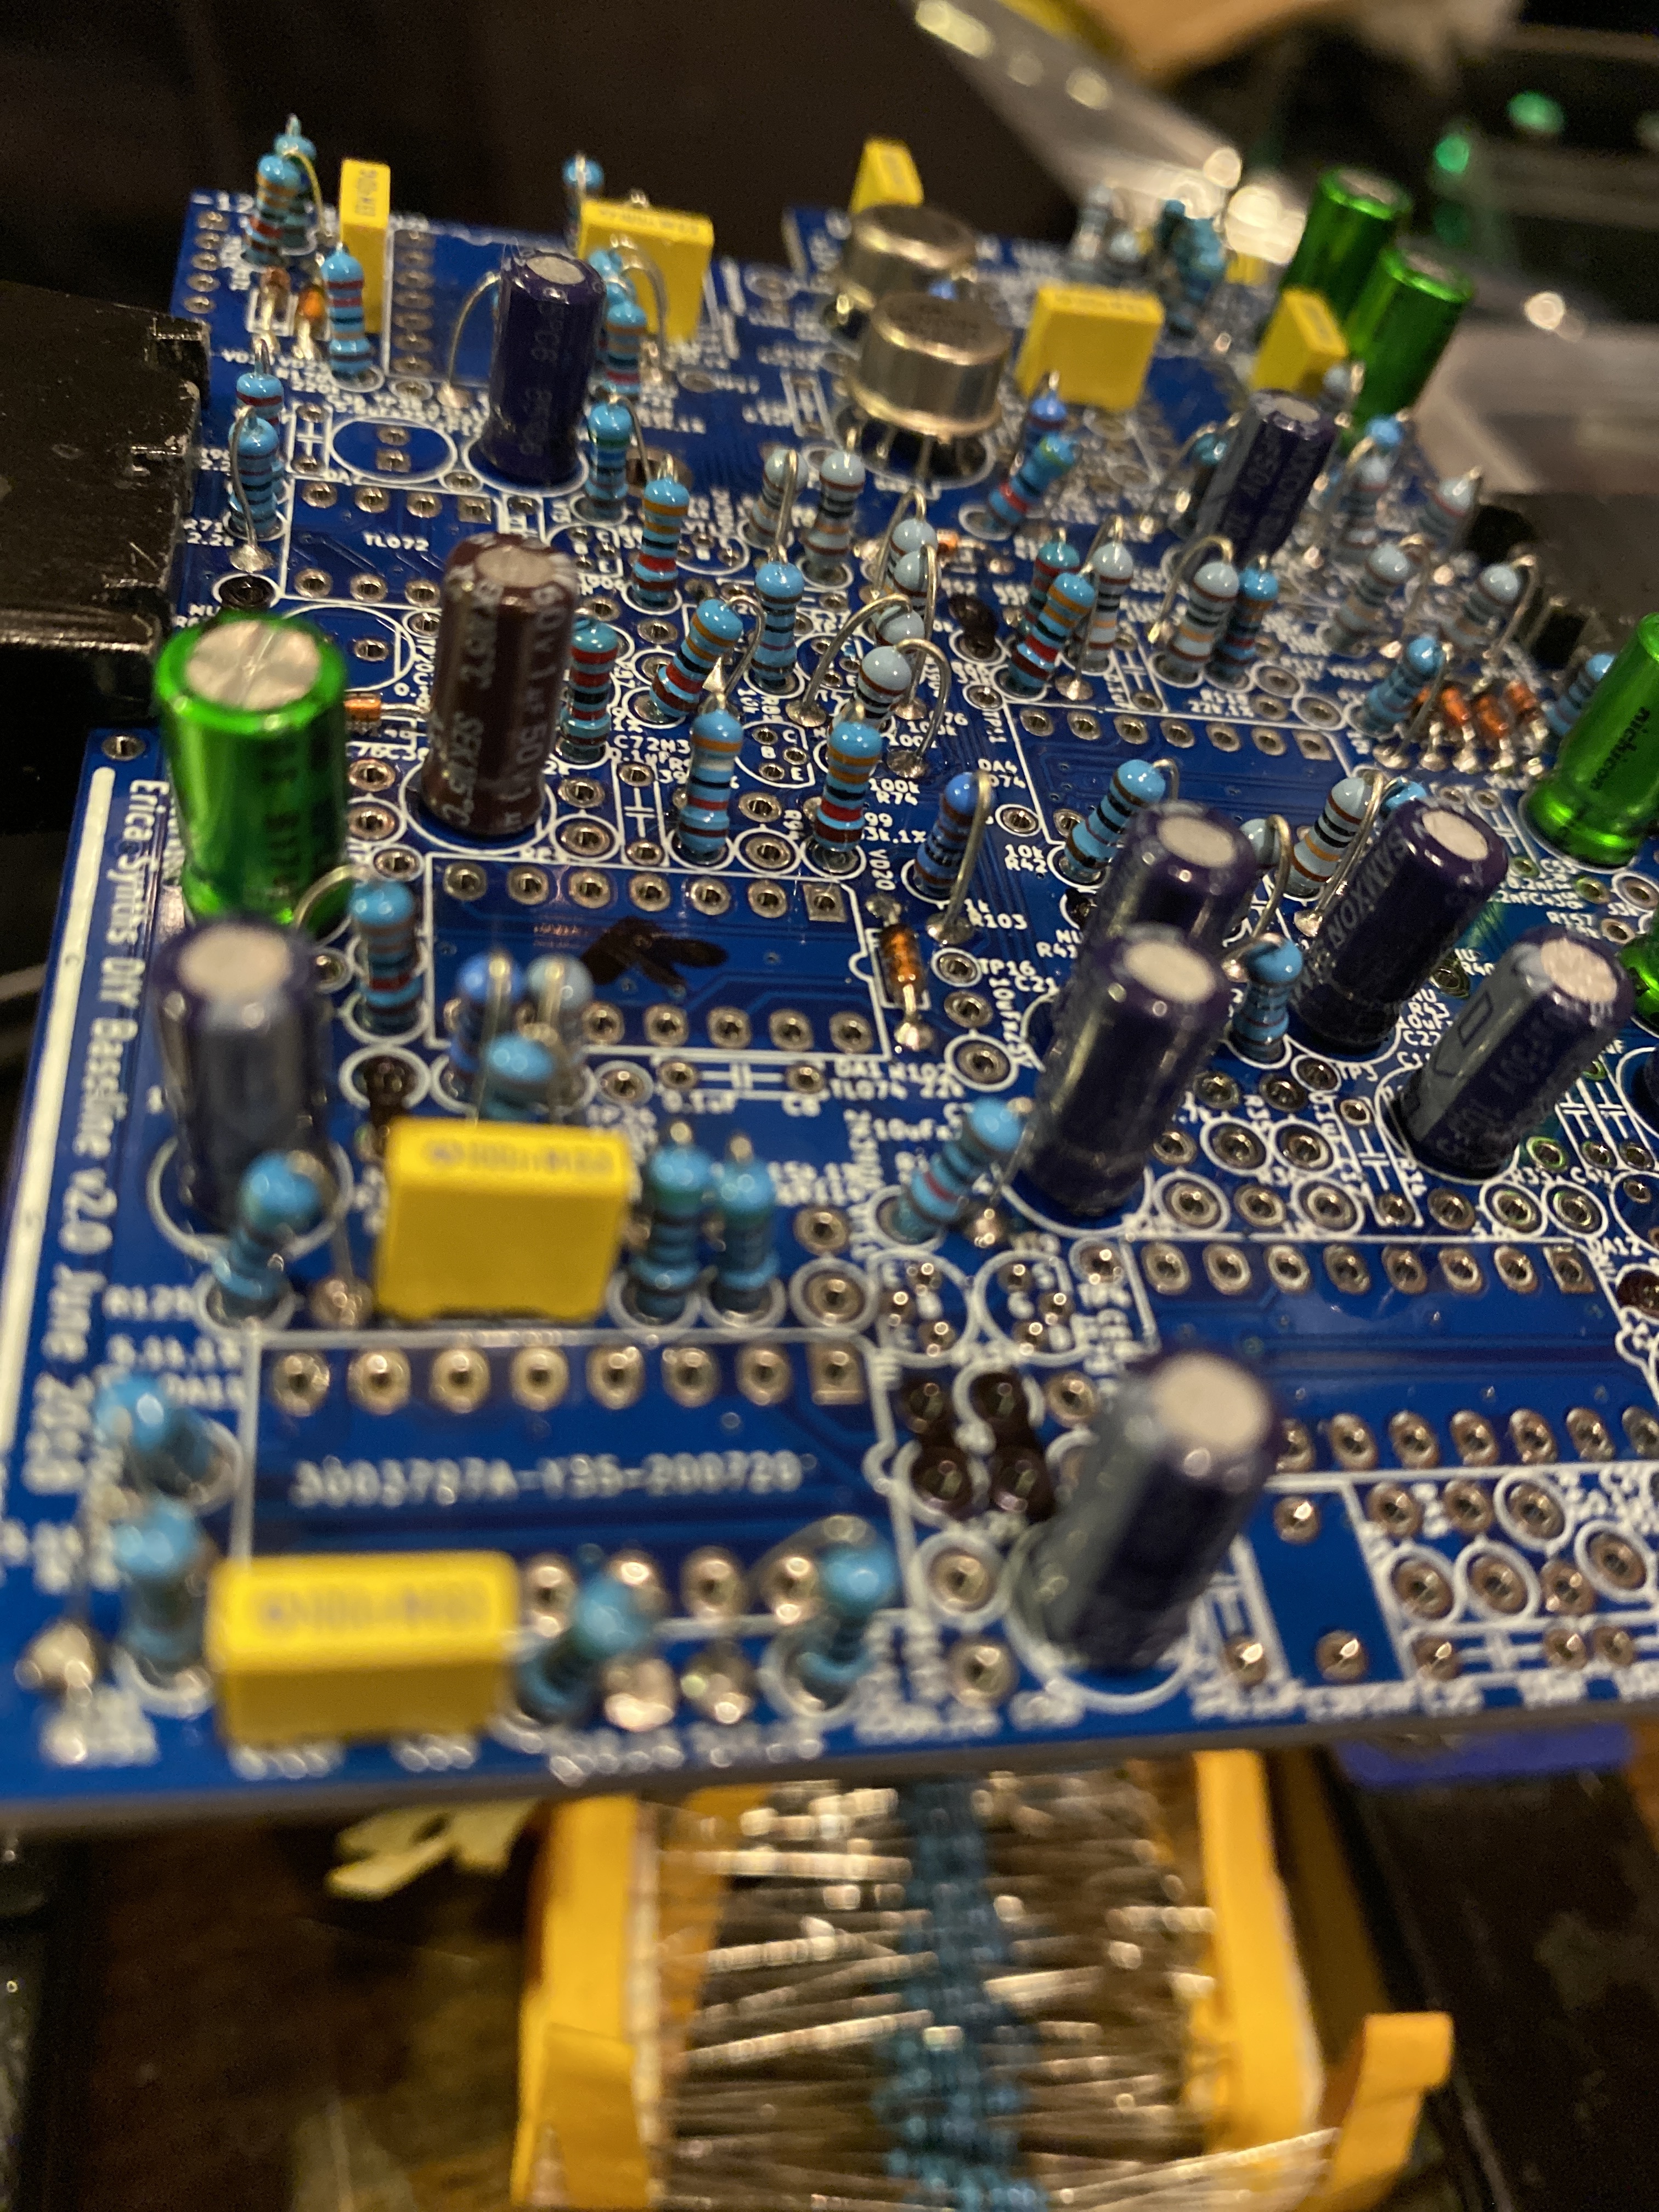
Yeah, I wanted to try SMD resistors in stead of mounting them upright. It was suggested in the build document. I used 0805, but you could easily go up or down a size. It looks neat, compared to the Bassline I’m building with regular ¼W THT:
well now that makes me want to try to build it smd style lol.
I looked at that board yesterday and put it back in the bag and slid it away from me…
effin dense… lol
I thought about that but these particular boards are so dense with parts that I think I personally would have a really hard time making sure that I don’t have a part accidentally touching another part. If it were me designing these boards I would have stacked 2 instead of had one that is so congested.
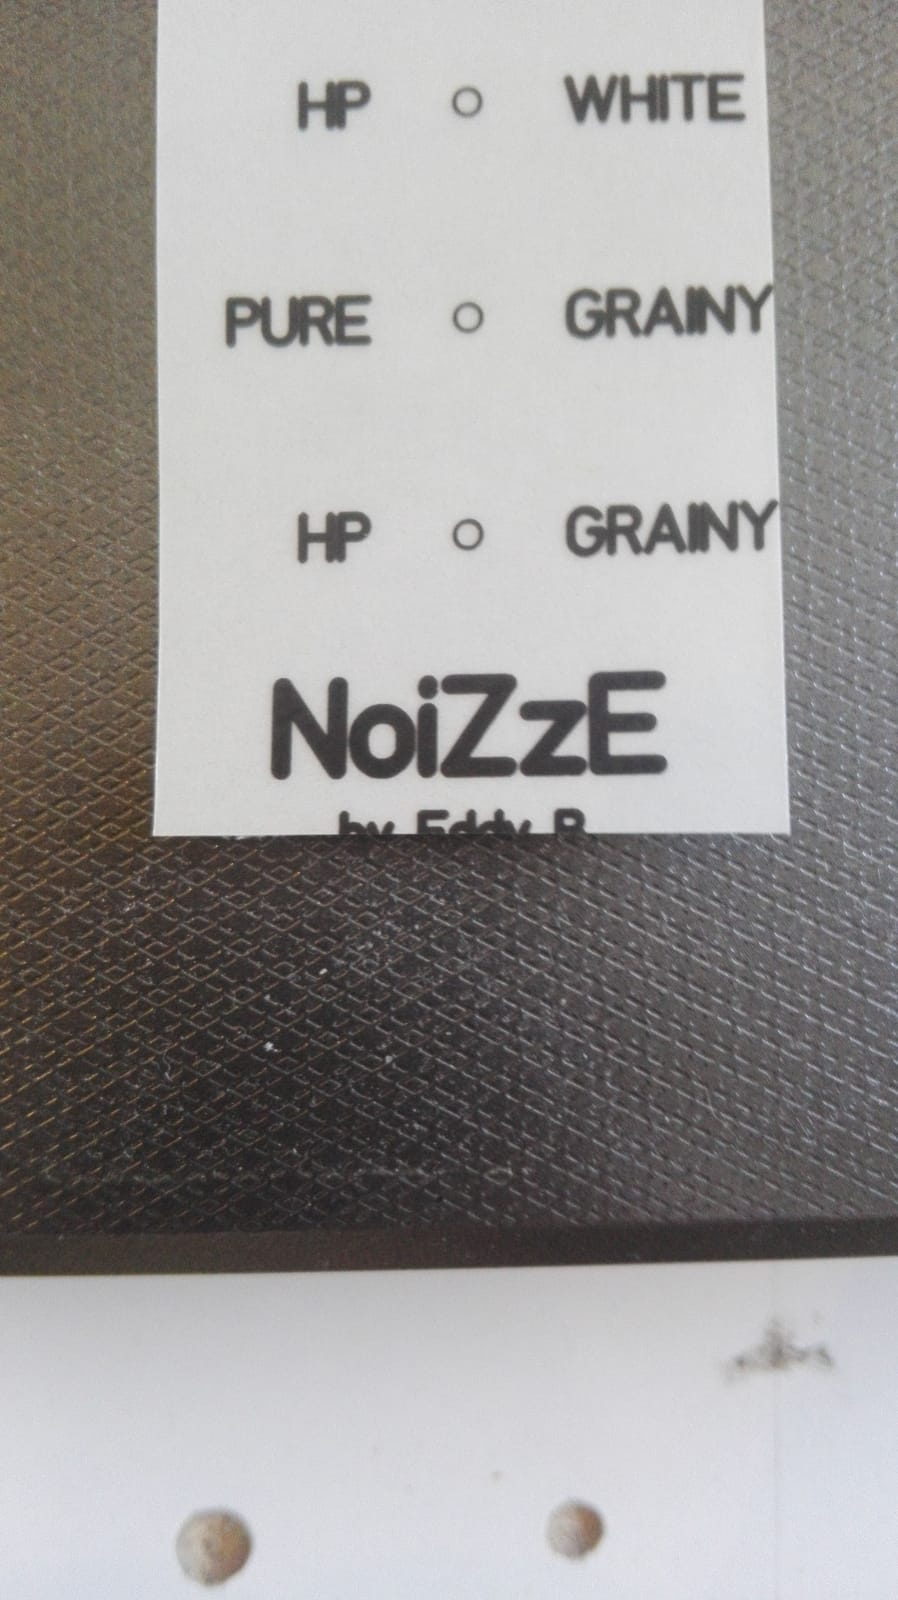
@analogoutput After that I googled but didn’t find anything, I know Murphy’s law but that’s different I think Whereby, if Kristian Blasol’s “jam table” suggested by @juggle is not properly attached, then it could happen that murphys law happens … lets hope it will not! BTW … SUCCESS, we have a new first time worker. @EddyBergman ´s Noise Module works like a charm. The grainy noise is awesome !! When its complete, I will post again pictures of the whole construction process but first i have to label the panel. Thanks again to Eddy, his layouts are great!
Small intermediate update: I wanted to make a little change and put Eddy’s name on the adhesive film. But of course I didn’t consider that I always make them a little bigger so that I still have some leeway to position. And of course his name was put too far down. Now you can only see the top half … 
I’m so happy to hear that! How about the Highpass Grainy Noise? Is it softer in volume than the rest?
As said elsewhere get a bigger apartment, of better still start experimenting with hanging modules from the ceiling. I’ve seen many studio layouts in pictures I found on the net but never saw that anybody used that bit of space. This is unexplored territory, so it requires a daring attitude, but imagine your curved rack starting on your desk stretching upwards and continuing on the ceiling. You can then turn knobs and flick switches like in a cockpit of a jumbo jet !
I’m honored you put my name on the panel even if it’s only half of it haha. That’s awesome
I got two karaoke delays in the post.
The 1/4" jacks are off and the eurorack header is in. All that’s left is the panel, jacks and two vactrols.
Out of interest - any one got any ideas on how to wire two around the back to create a double delay - series and parallel.
I’m not familar with double delay lines - so a conceptual outline was be just welcome as solder and wire advice
Desolder this piece as well as it will be replaced with a 10 pin power shrouded header. You will also be removing all but 3 pins of the header so that it will sit flush with the 2399 board and allow power to be displaced appropriately.
Gaaah. Hope it’s not drawing a lot of current.
Thanks Rich,
I had a five pin header spare but you’re right - I should replace it with a 10 pin flush to the board.
I didn’t think that leaving the extra pins would be an issue. Thanks for pointing that out. What’s the problem?
I’ll have to google how to measure current draw too.
Marc