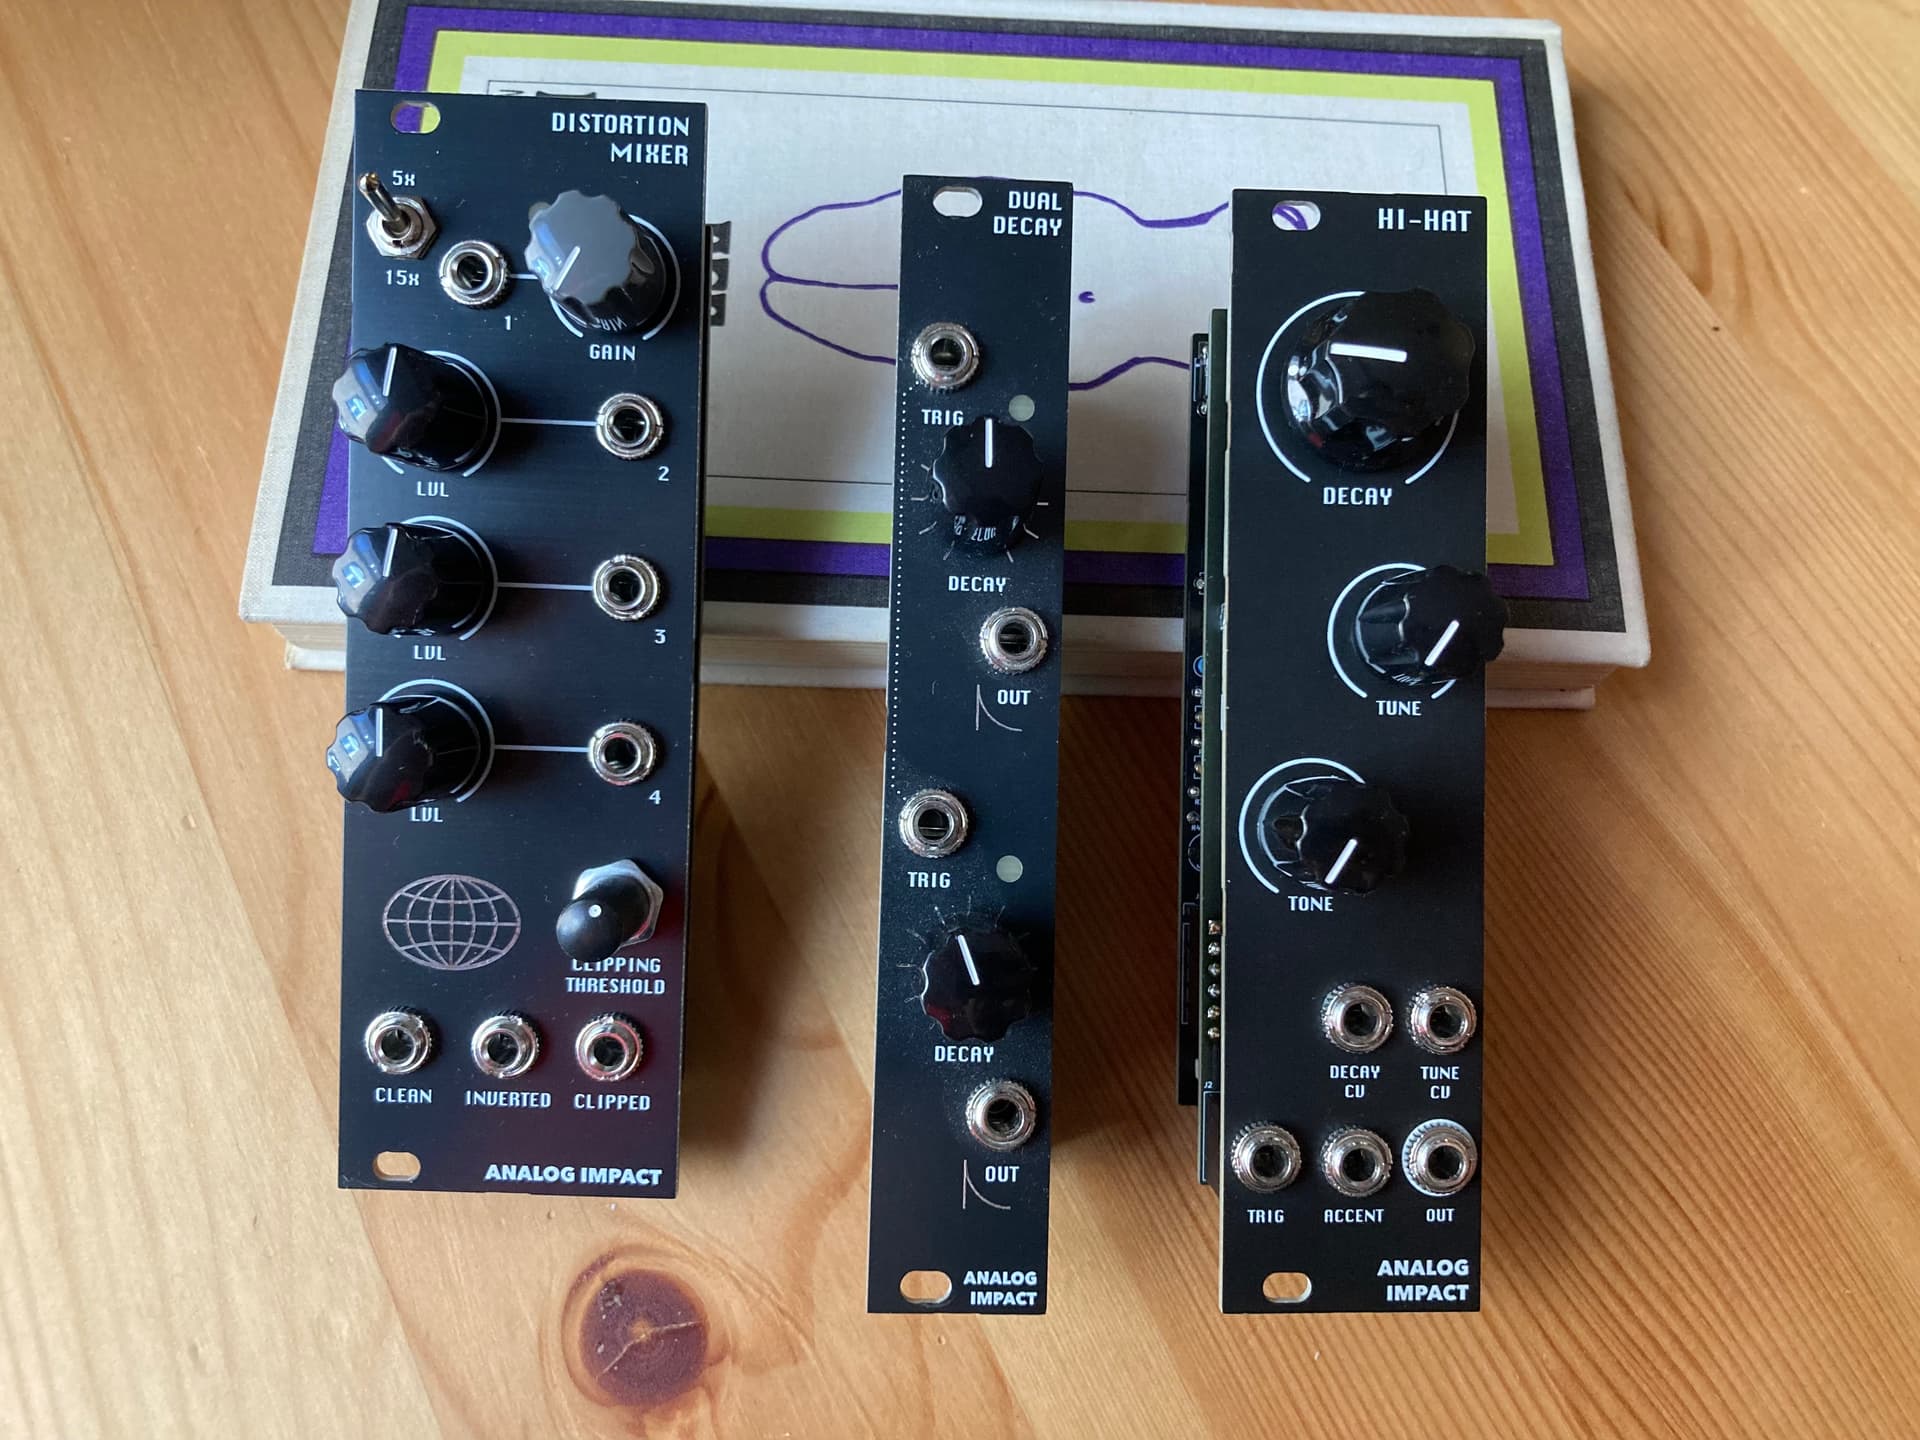
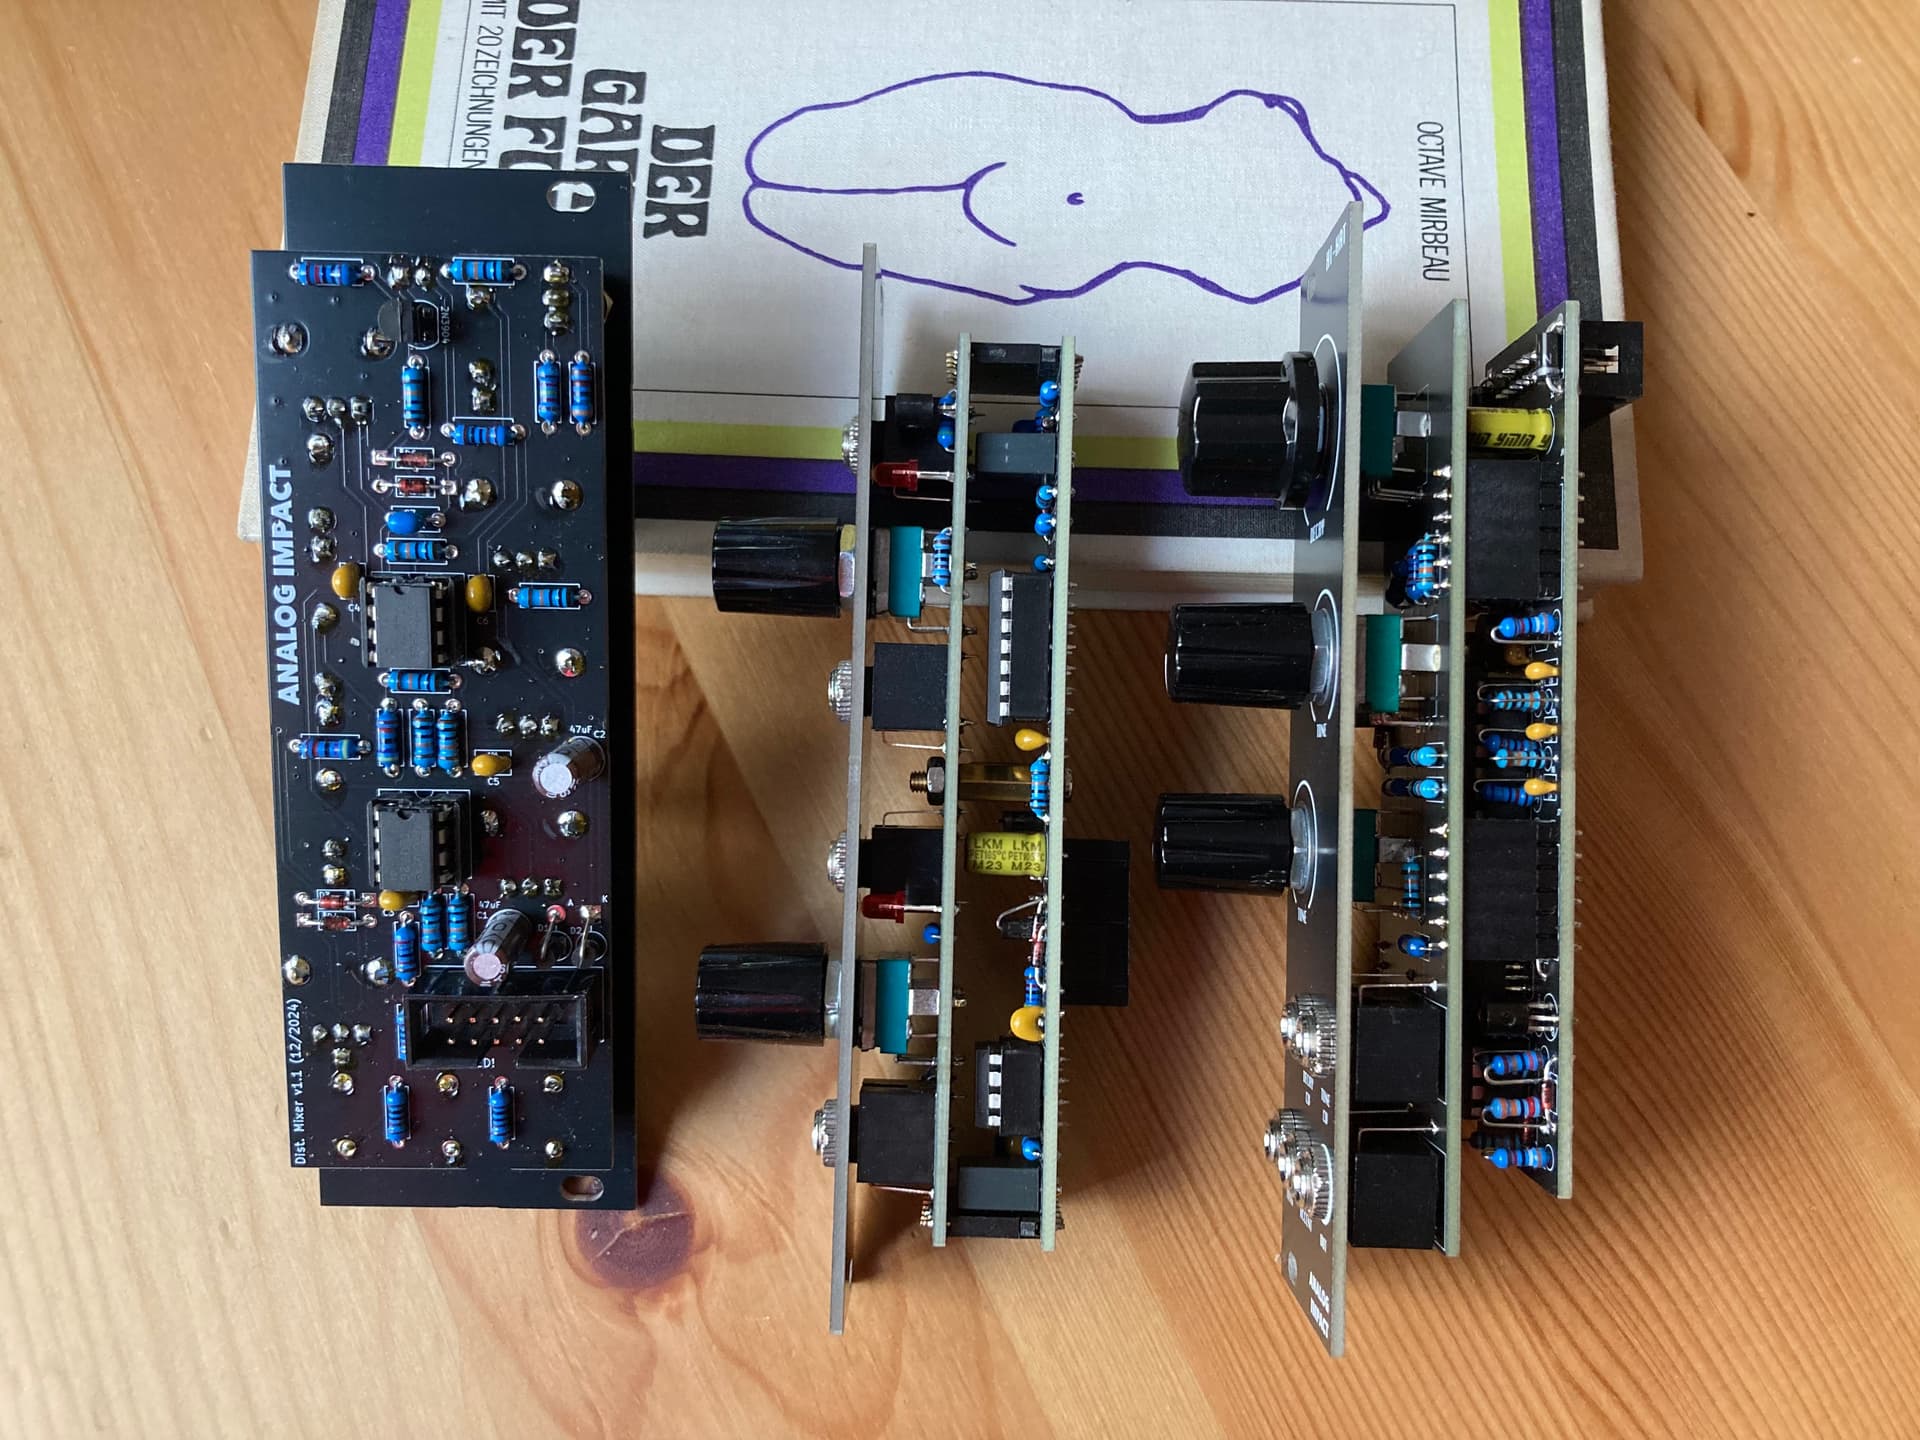
Just realized it’s been a while since I posted an update in this thread and I’ve built quite a lot of modules since then. However, these are the ones for which I have designed the PCBs:
10 Likes
Wow! I didn’t post my latest build here?
I built Scrooge from Neutral Labs. Doubt I need to describe it… But for those who haven’t seen it it’s a 5 voice passive percussion rhythm beast with it’s own sequencer built in!
It’s amazing!

9 Likes
Finished my bass guitar (Harley Benton p-bass). A friend from the deathmetal band Ebola Chainsaw Massacre came over to try it and thought the color scheme matched his band …

I am making (EXTREMELY) slow progress with my modular as I constantly add new funny modules never really get on trimming/adjusting old ones. But I’ve promised myself to start that work in September. As I have like 5 VCOs, 5-6 VCFs, 3 MIDI2CV, Maybe also build a simpler and compact synth with some of the modules.
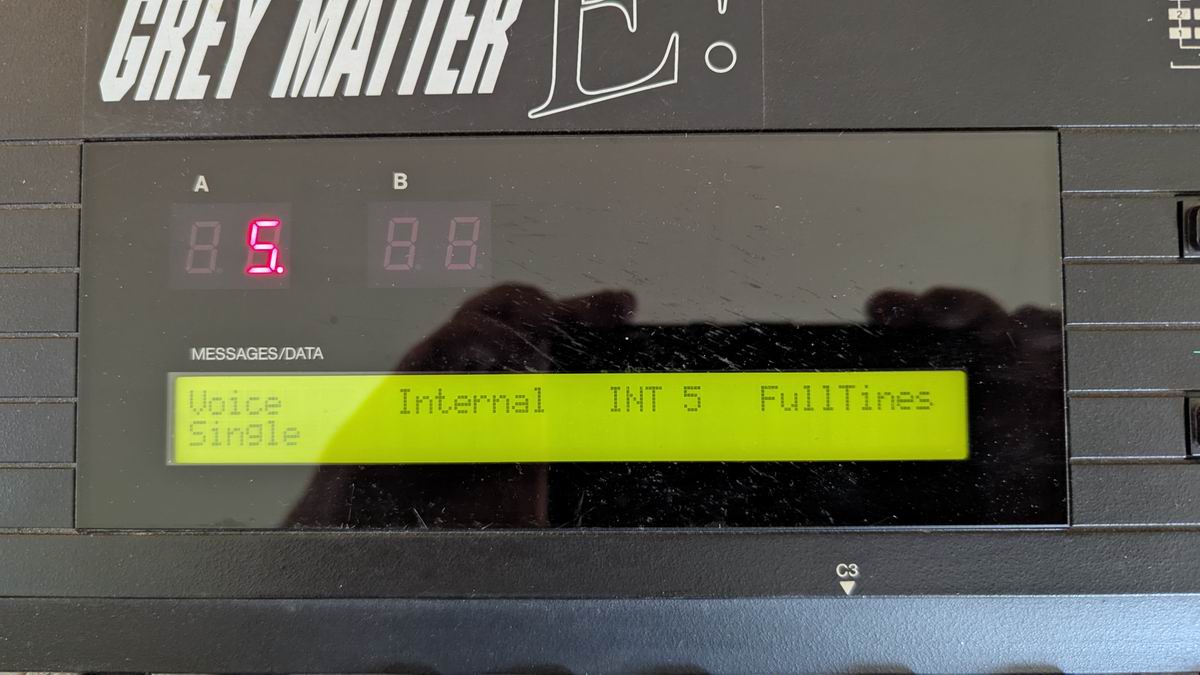
I was given a DX7ii that was pronounced dead, but getting a new battery (and holder) made
it gasp for air, but I couldn’t download the voices. Yesterday I brought the synth to an expert and we tried everything, but either it would play or it wouldn’t recognize the MIDI signals. (It had the Gray Matter package installed). With some fiddling, amputating the Gray Matter and burning an EPROM with the original DX7 OS and adjusting the battery holder (the holder got shorted when closing the lid …) this was the result. My grandson, aged 6 will have a full-blown professional synth to play with …
13 Likes
Modular “Line Array” system😁
1 Like
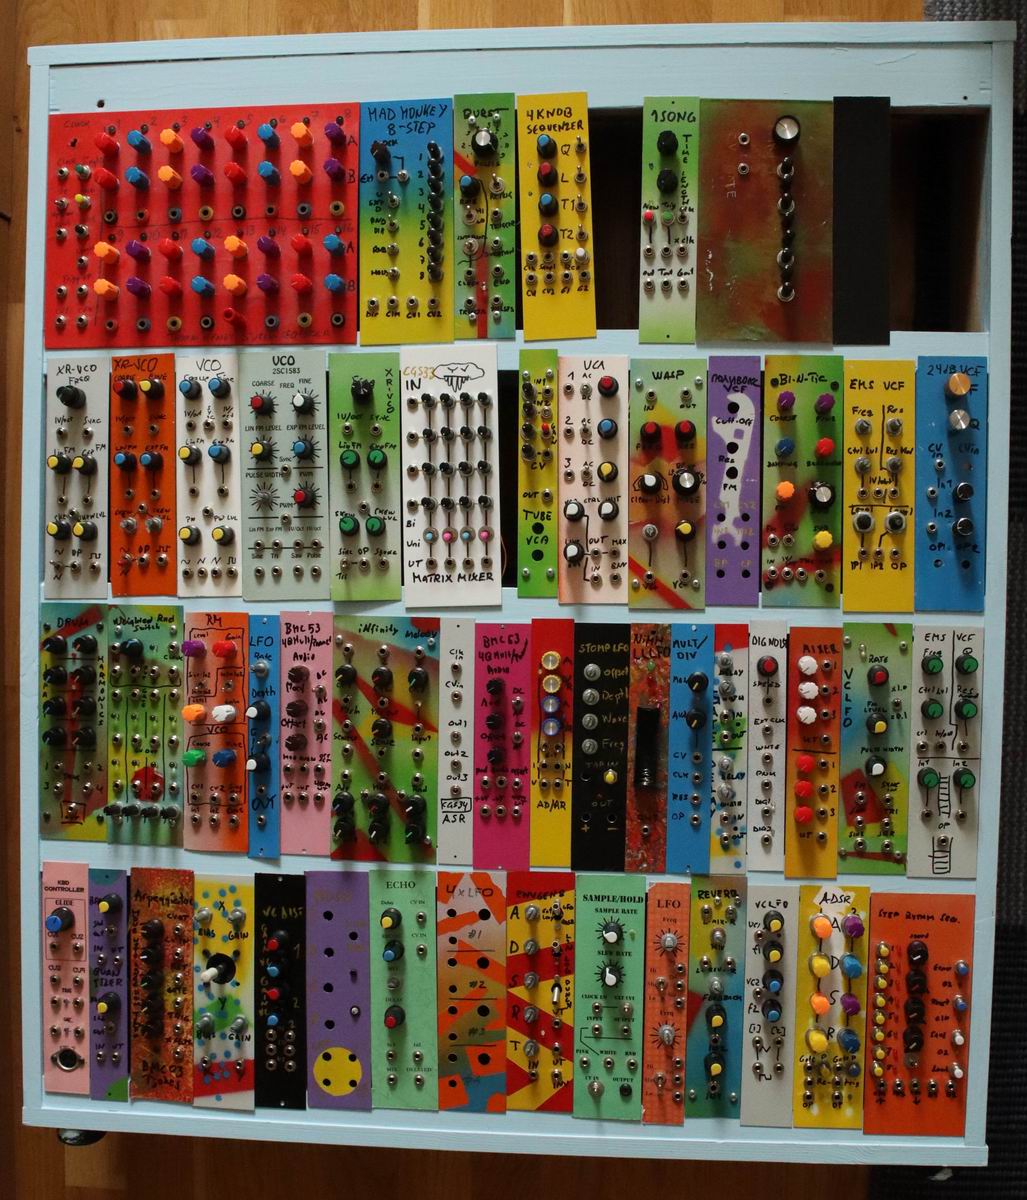
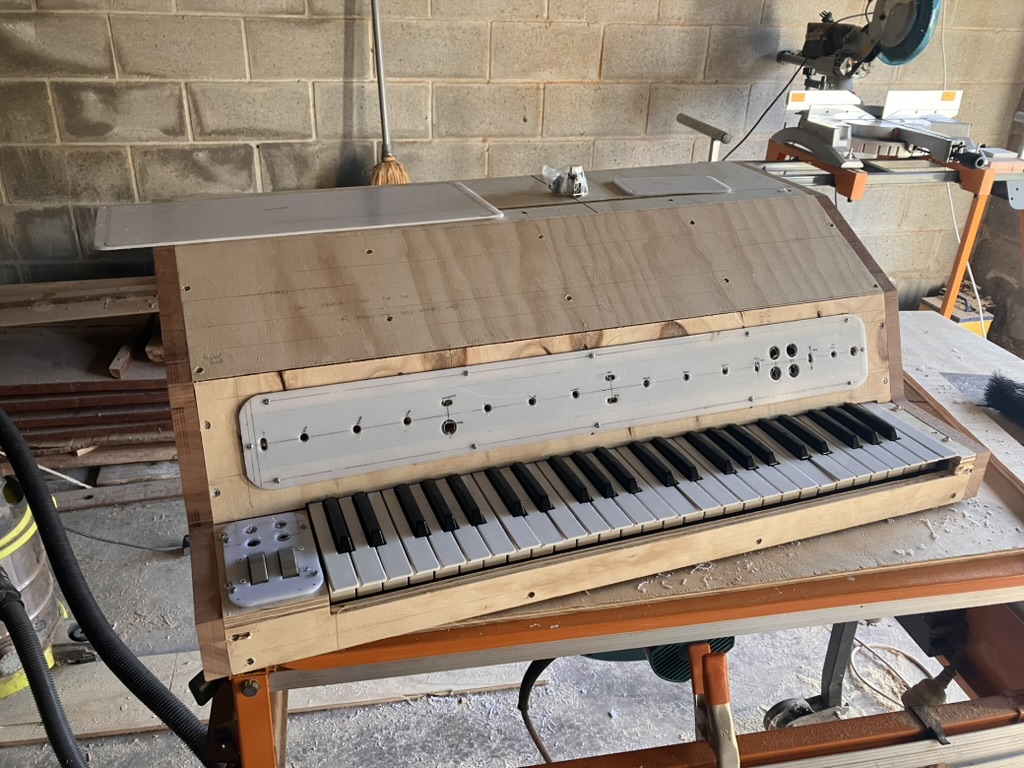
After realising I’ve basically built a whole kosmo system without even posting on the forum yet; here’s my somewhat ‘finished’ modular system:

And yes, it is currently stacked up on a set of saw horses (turns out my ‘heavy duty’ keyboard stand was not quite heavy duty enough) but eventually I’ll get around to making an actual proper stand/case in to put it all on (ironically I’ll need the saw horses for this; but that sounds like a future me problem).
As for the modules, It’s a bit of a hodge-podge mix of sam’s pcbs, schematic-to-stripboard designs (eddy bergman, dud’s soundbender pages and moritz klien are all absolute excellent resources for this) and some other stuff (braids thru hole pcb, BMC etc) but with banana jacks instead of the 6.35mm ones. All the panels are aluminium and finished off with some white paint and permanent marker for the panel designs (which have progressively gotten more elaborate as time has gone on).
The cases are a simple wooden affair, basically just made out 19mm pine boards with ply backing which I had in the shed already. The keyboard case however, is a bit more of a Frankenstein design; mostly made of 12mm ply to try and keep the weight down. The end cheeks are some laminated coachwood offcuts and there’s an inside frame of pine into which secure the 12mm Ply sheets down (you can probably faintly see the pencil marks of where the interior frames is, basically to see where to put the screws). Unfortunately the 12mm ply had a lot a bow in it, so I put quite a lot of wood putty into it, as well as a lot of screws but luckily the paint covers it up quite nicely. Needless to say it stills weighs a fair bit but is more awkward to lift rather than just being properly heavy.
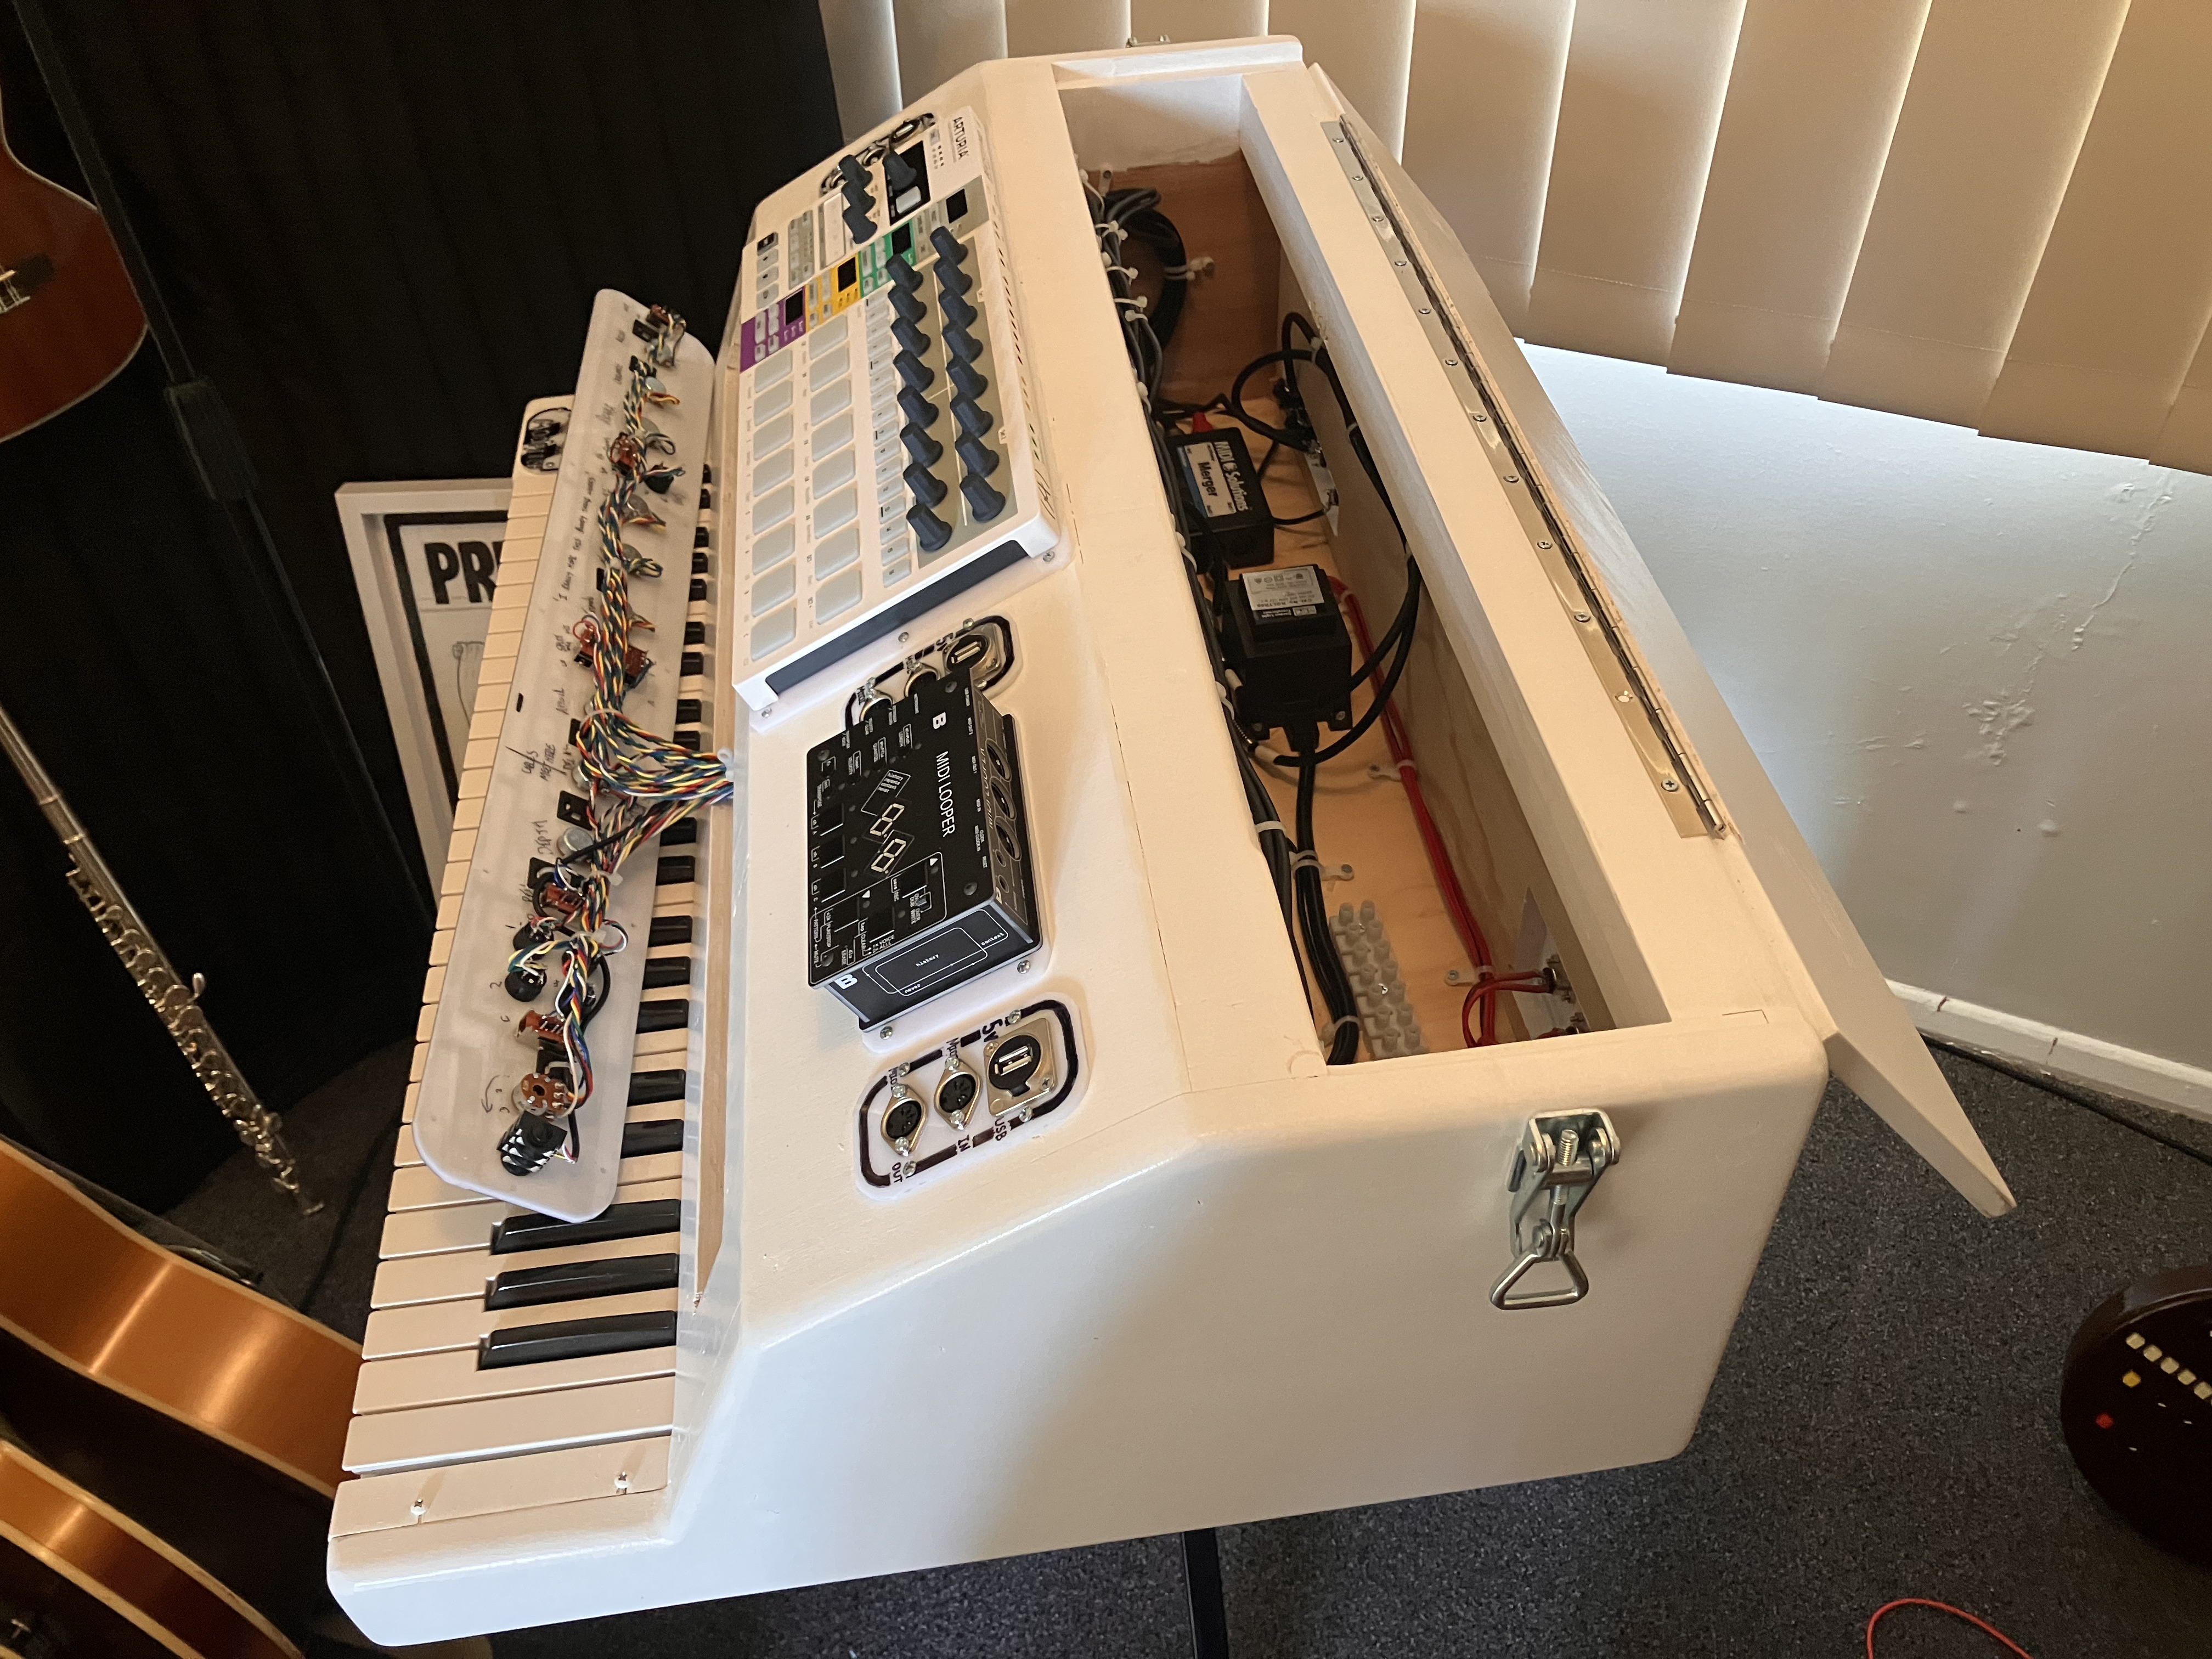
In the keyboard case I’ve got the beatstep and bastl looper mounted on perspex sheets (using the screws that hold the back on to attach the perspex, like a false base) this is then screwed to the keyboard case. It looks fairly neat and in this way it makes it easy to attach and remove in the future, should I wish. The little panels next to these are the case connections supply usb power and midi in/out to the inside midi thru and merger boxes. The rotary switch next to the bastl just controls whether the keyboard midi goes to the beatstep, bastl looper or an aux channel (A somewhat temporary fix for the moment, as I couldn’t figure out a way to change midi channel on a switch easily).
All of which go into down into the case, into massive web of cable and zip ties that I’ll never have to touch ever again. Hopefully.
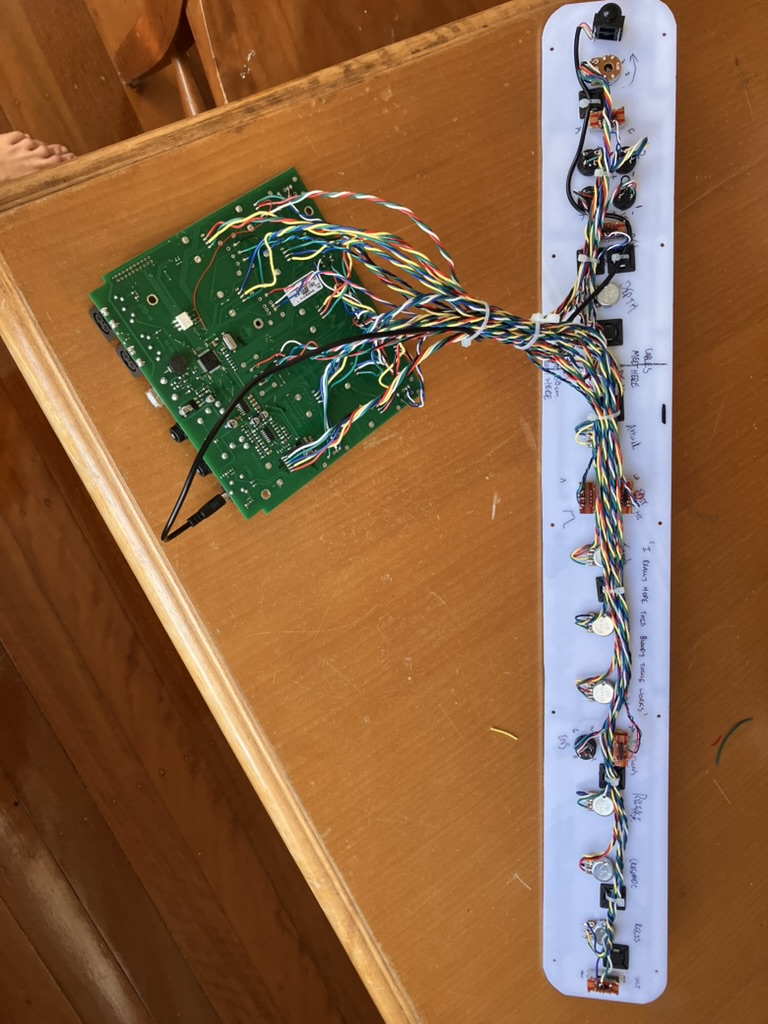
The long organ style control panel in the keyboard case is actually a waldorf streichfett that I rewired to a new panel. Which I think is quite cool but man was it frustrating at the time trying to de-solder without destroying the traces. What was also frustrating was trying to figure out why they used these expensive 4-pin pots on the board, only to find they were actually normal 3-pin pots but with a random spare terminal that didn’t go anywhere. That aside, it luckily all worked first time round). Its hooked up to its own dedicated channel of the bastl looper, so I can get a bit of polyphony going.
And at the back of the keyboard case, I wired power into it via a kettle lead to supply the two AC transformers, usb power supply strip and 9v supply (for the midi keyboard and midi merger). The power for the cases comes out on 5pin midi sockets (cos I had a few on hand) and also the spare pins share the ground between cases.

So this post has turned into a little bit of a build diary but huge thanks to everyone on the forum; to Sam’s videos and website (without which I’d probably have never of picked up a soldering iron; or least not to the same extent) and to everyone else sharing stuff out there making the internet a cooler place to be. I’ll definitely have to endeavour to be a bit more active on here in the future.
30 Likes
Wow! What an impressive set up. I love the panels and the overall design. Do please let us hear it soon.
Outstanding first post! Welcome!
‘Finished’ you say? ![]()
3 Likes
Yeah, when I say ‘finished’ what I really mean to say is I’ll probably end up building another case for it at some point. Though given it already stands around 6ft tall, I feel like having to buy a stepladder for it would be crossing some sort of line of no return (but I am kidding myself: at this point I’m down the rabbit hole without a paddle).
And being the diy build that it is, there is also that random list of little problems to fix that I’ve as of yet been too lazy to address like:
- Why is the bass drum decay is seemingly random? (which is kinda cool until it isn’t)
- On the sequencer I accidentally inverted step 1 & 2 with the buttons, which probably has something to do with the fact that while reverse works fine; forward goes into a glitched out panic attack anytime it goes near step 8
- One of the envelope generators has a delightful (and absolutely not frustrating) ‘tap to play’ disappearing decay feature whereby knocking the panel can cause the envelope to skip the decay, seemingly at random intervals
I haven’t done a lot of musical stuff with it as of yet, more just messing around and jamming out. I’m much more used to recording more guitar centric music (just home recording, building stuff up track by track, that sort of thing), although the eventual plan will be to write some songs to record on it, so when I do that I’ll probably post it up.
2 Likes
That’s so stunning! I went for loud colours, Sam went for hard black but the white looks special!
5 Likes
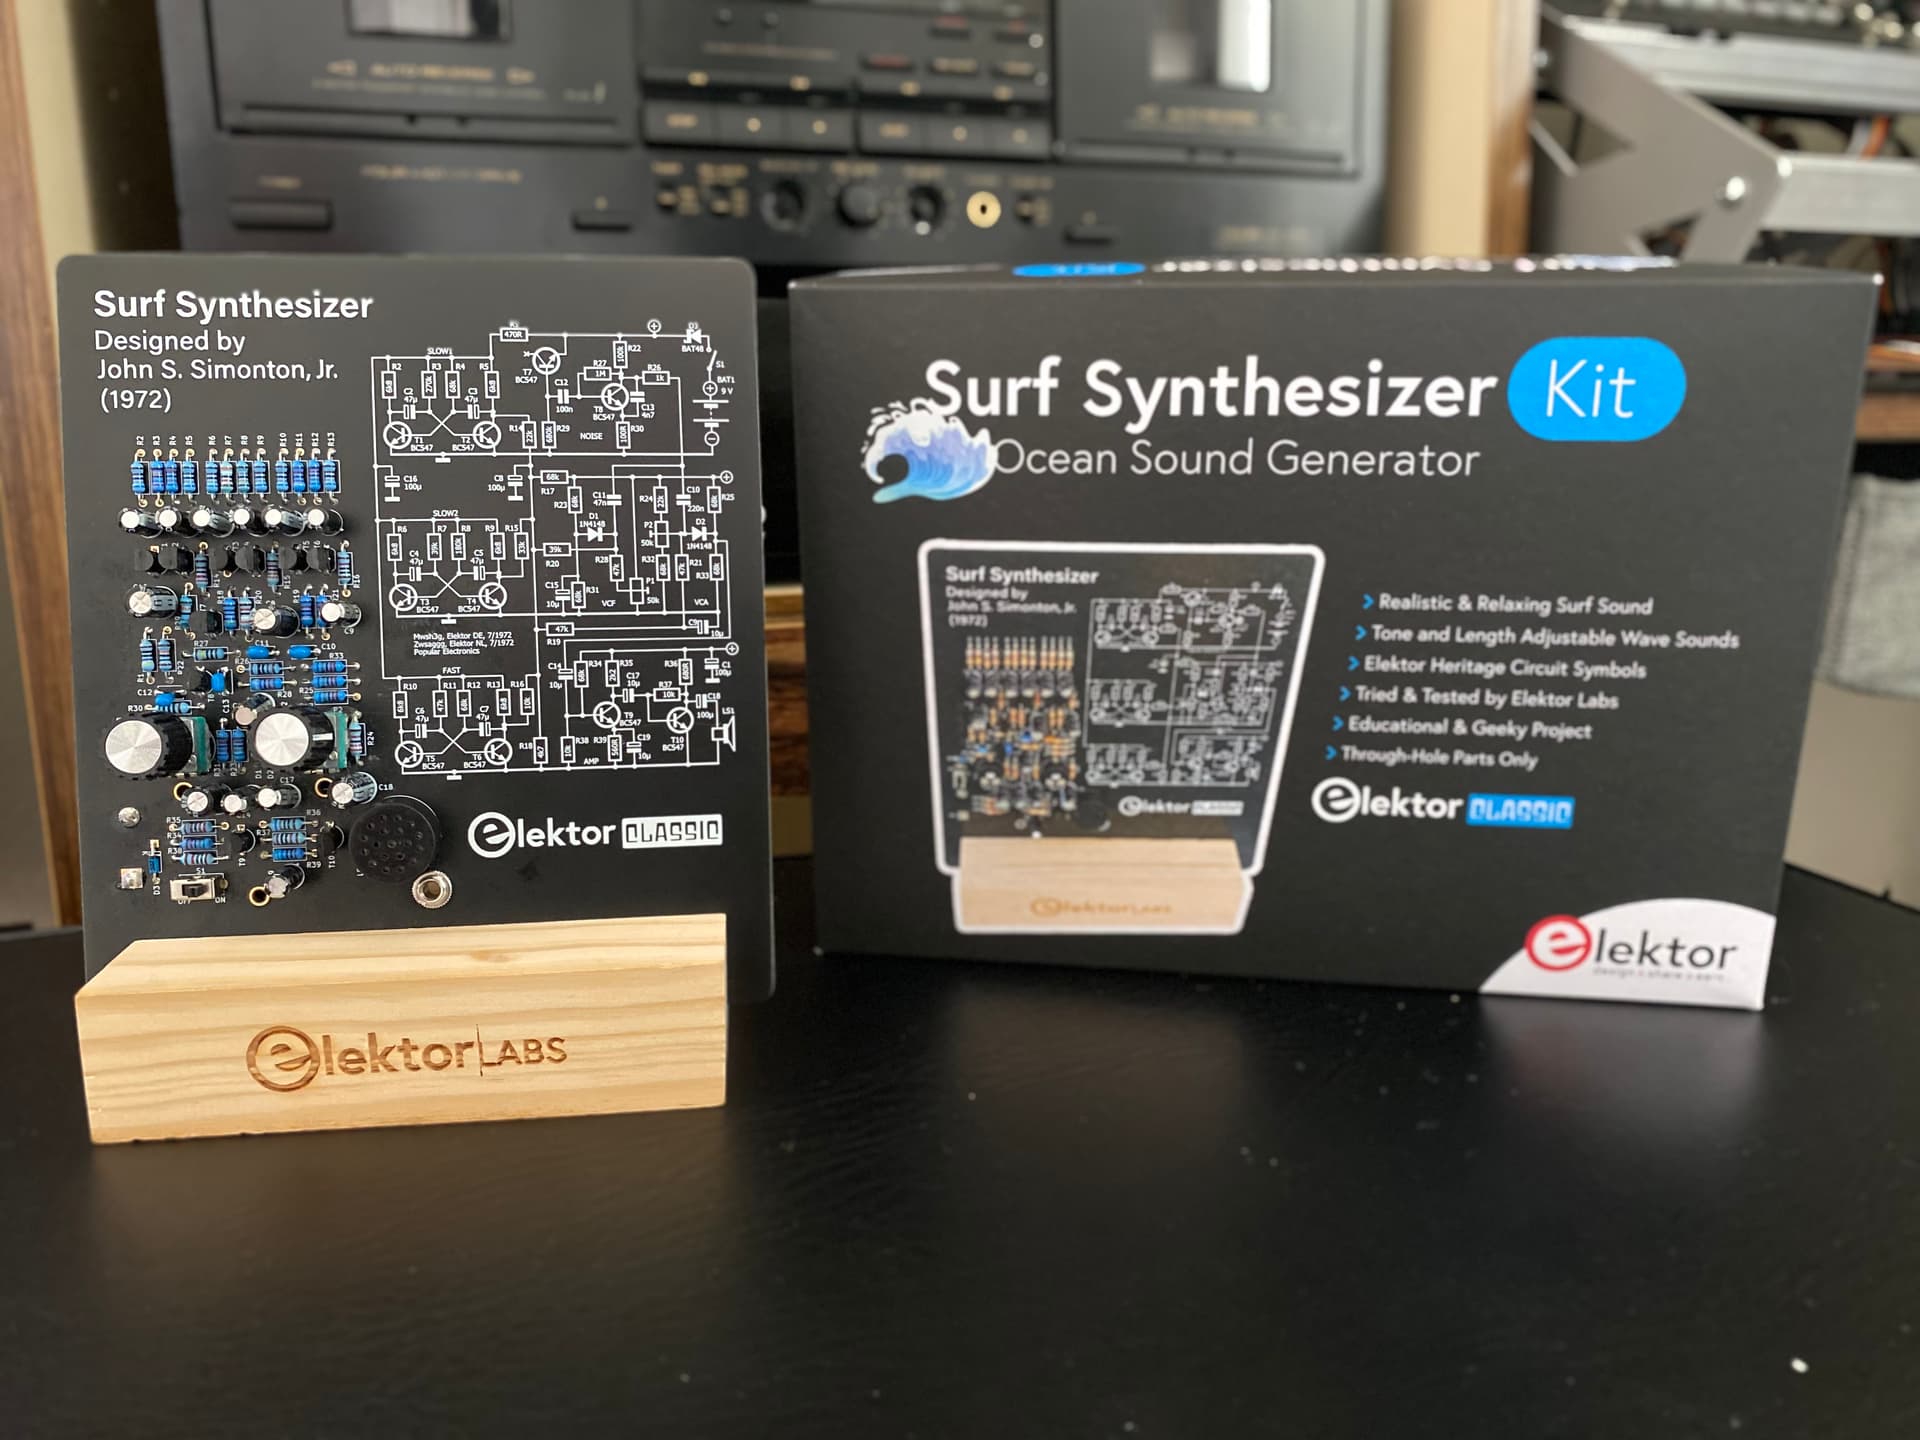
couldn’t resist when I got wind of Elektor selling these as kit’s.
If ur like me and need a sound machine to sleep at night from years of ear bleeding music tinnitusmaximus , we search out that sound that puts us down and now this surf synthesizer has been assigned that duty. ![]()
![]()
They did well with the whole kit, sounds like friggin waves, man
8 Likes
Ooh! Looks so cool!
How about adding a DIY ECG or EEG feed to affect or filter the sound with your sleeping body.
Can we hear it?
1 Like
Self/ECG > CV > VCF > ears?
Thats some inner resonance 5G awakening akin to hemi-sync the world needs man , rite on brother ![]()
1 Like
Nice build!! And welcome
After working on this project on and off (but mostly off) for several months, I finally completed a prototype in Eurorack form factor (or an approximation of it) for a friend.
It is a pentode vacuum tube wavefolder-VCA-overdrive/distortion (depending on where you place it on the signal chain). The nice thing is that it should work with any dual control pentode tube. No need to chase specific tubes like the sought after Russian subminiature pentodes or pay extra for the $30-a-piece dual triodes. A nice way to put to good use some of those unwanted cheap “by-the-kilo” TV and radio tubes!
I will soon post the details of the build as well as a verified stripboard layout (perhaps also a sound sample from said friend).
EDIT: Extensive write-up and verified stripboard layout here.
11 Likes
Impressive!! Love to hear some weird tunes coming from that beast.
1 Like
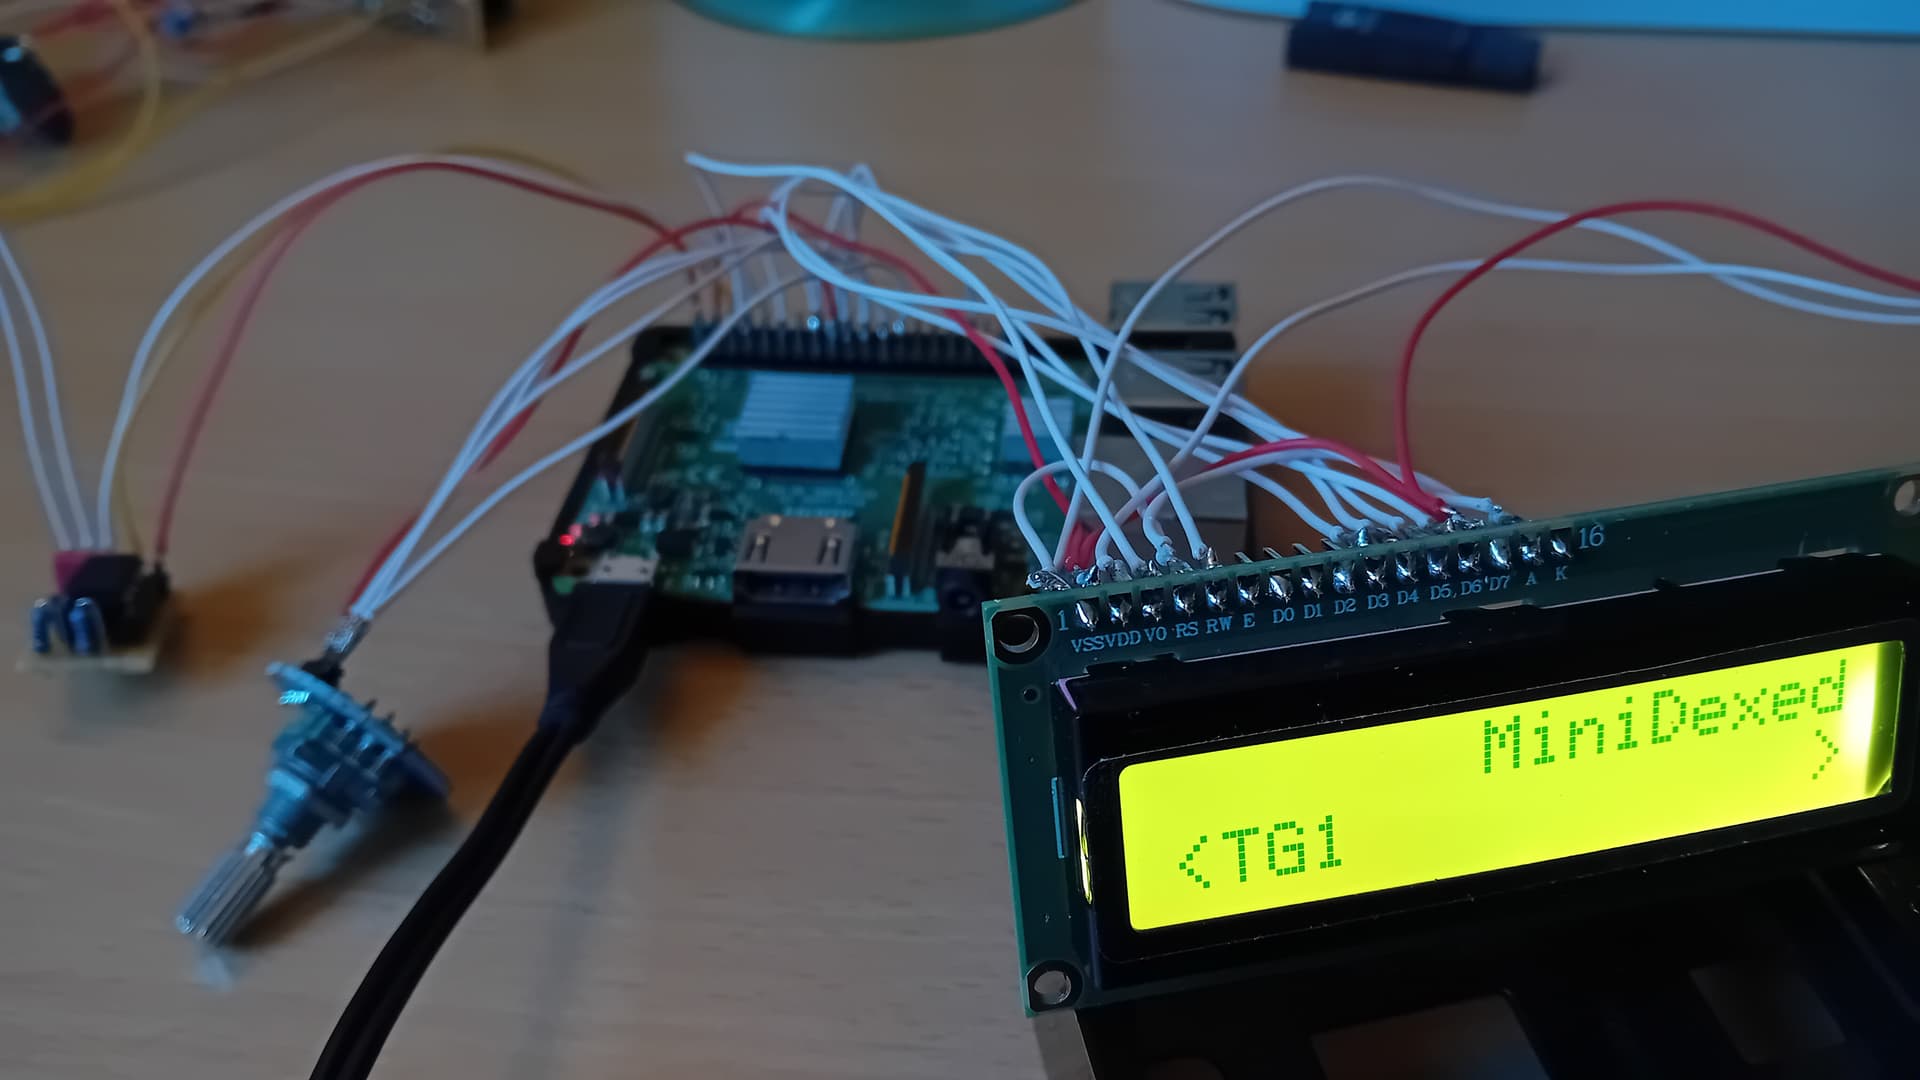
Nice!! have an Yamaha DX7 myself and recently I’ve build the MINIDEXED Synth. A Raspberry Pi 3 powered synth. It emulates the TX81, that’s 8x DX7 in one with all parameters that you can change.
Hi everyone,
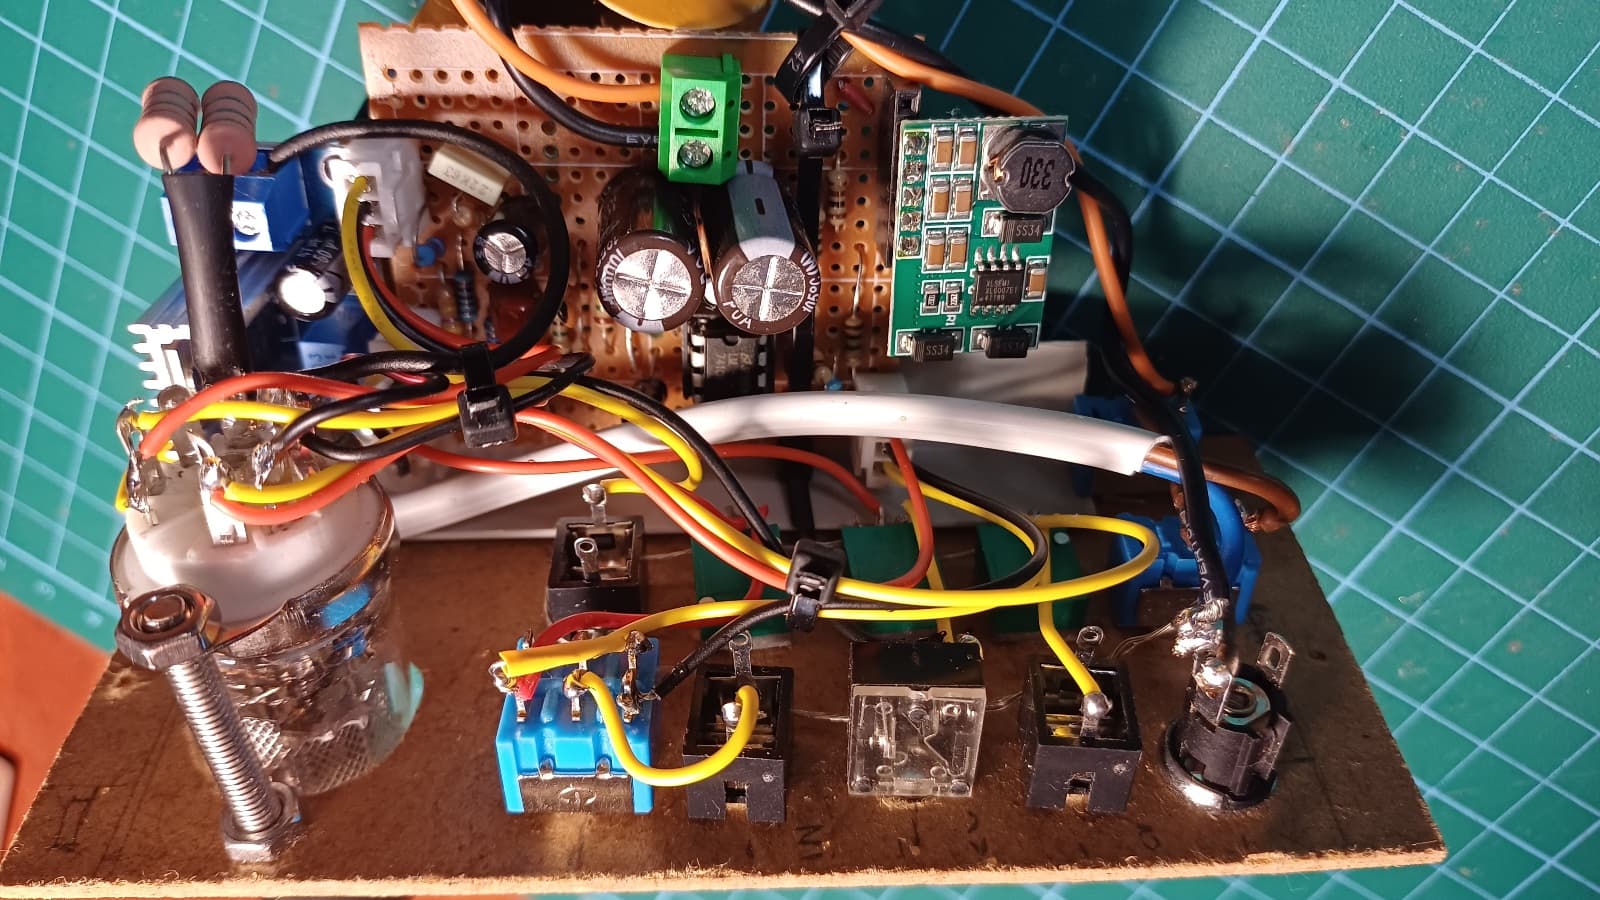
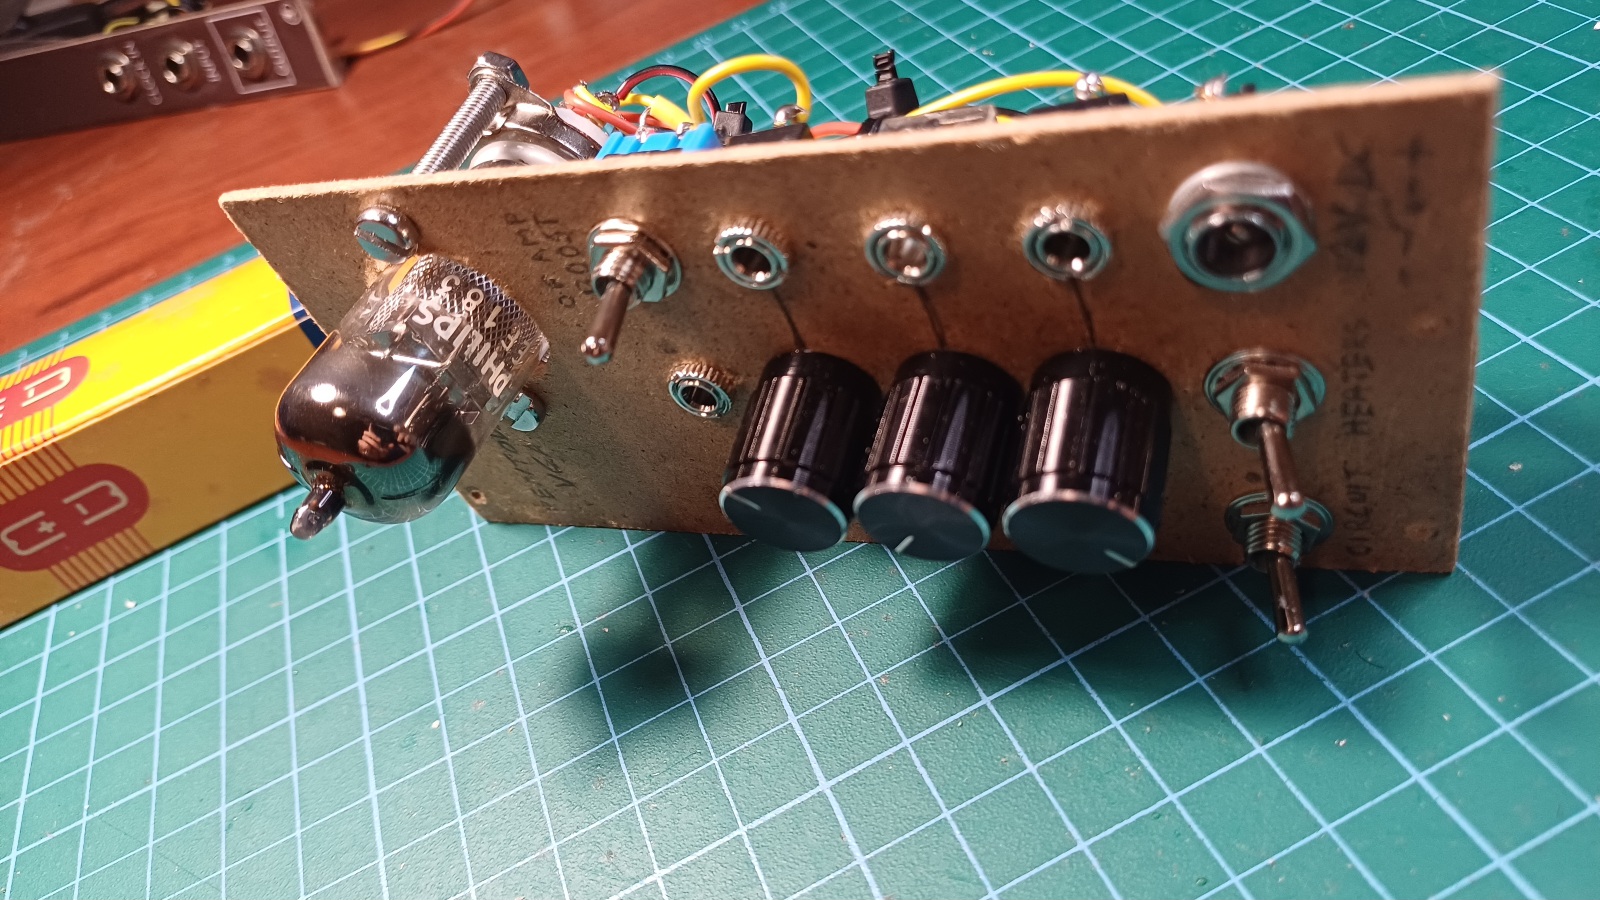
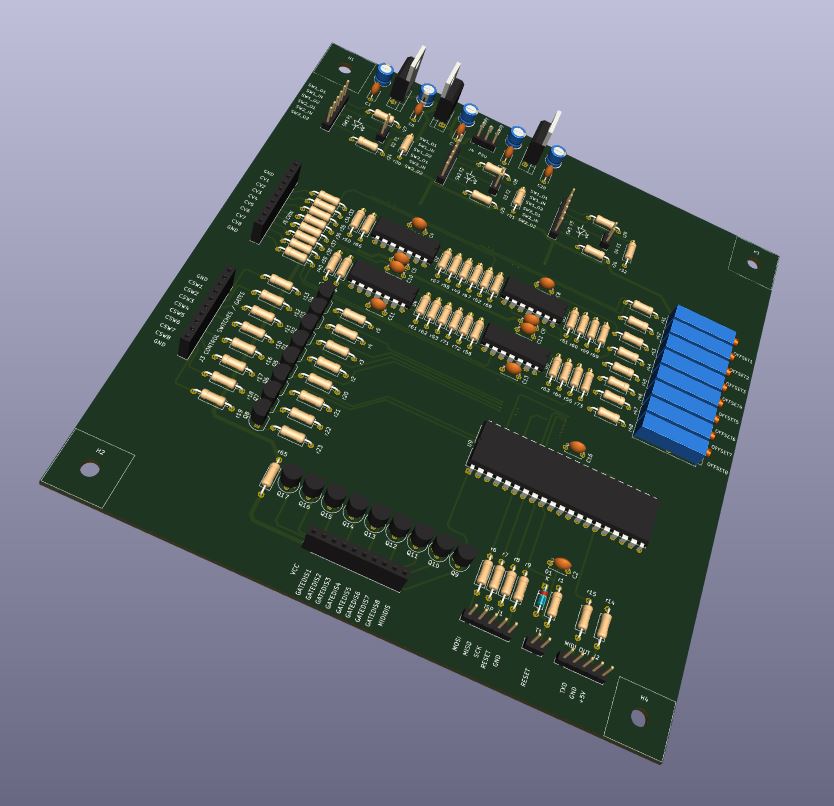
I am new to this forum and I want to share my current project: An 8 channel CV to MIDI converter to be integrated in my third modular setup.
I was asked to build this for integrating an analog ratcheting sequencer into a studio’s MIDI equipment setup.
Well, that’s only the first function of this “MIDI toy”, more software features will follow.
Fun ![]()
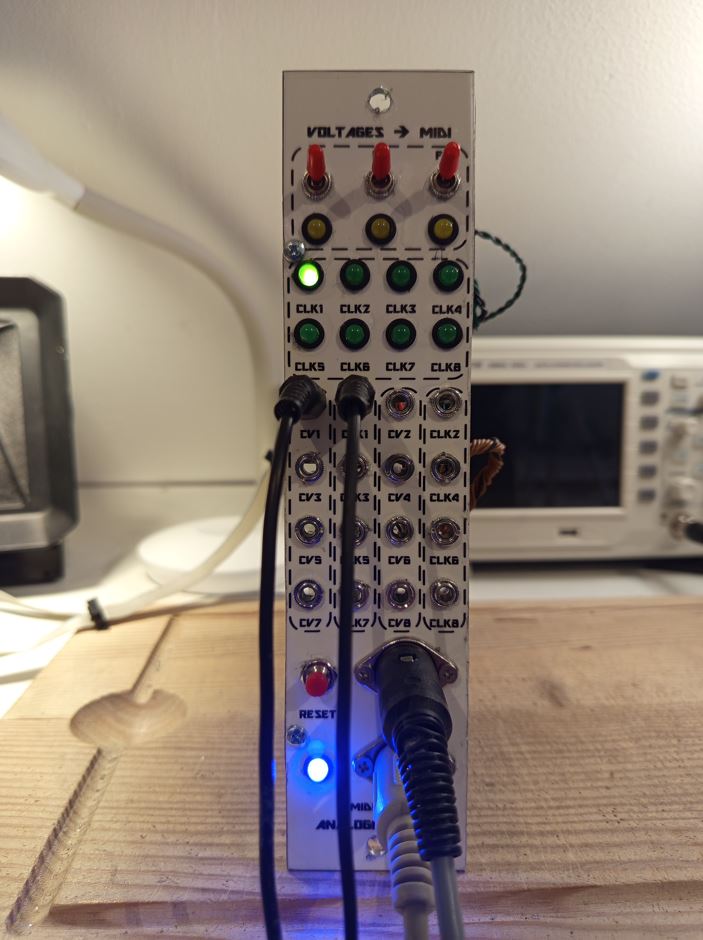
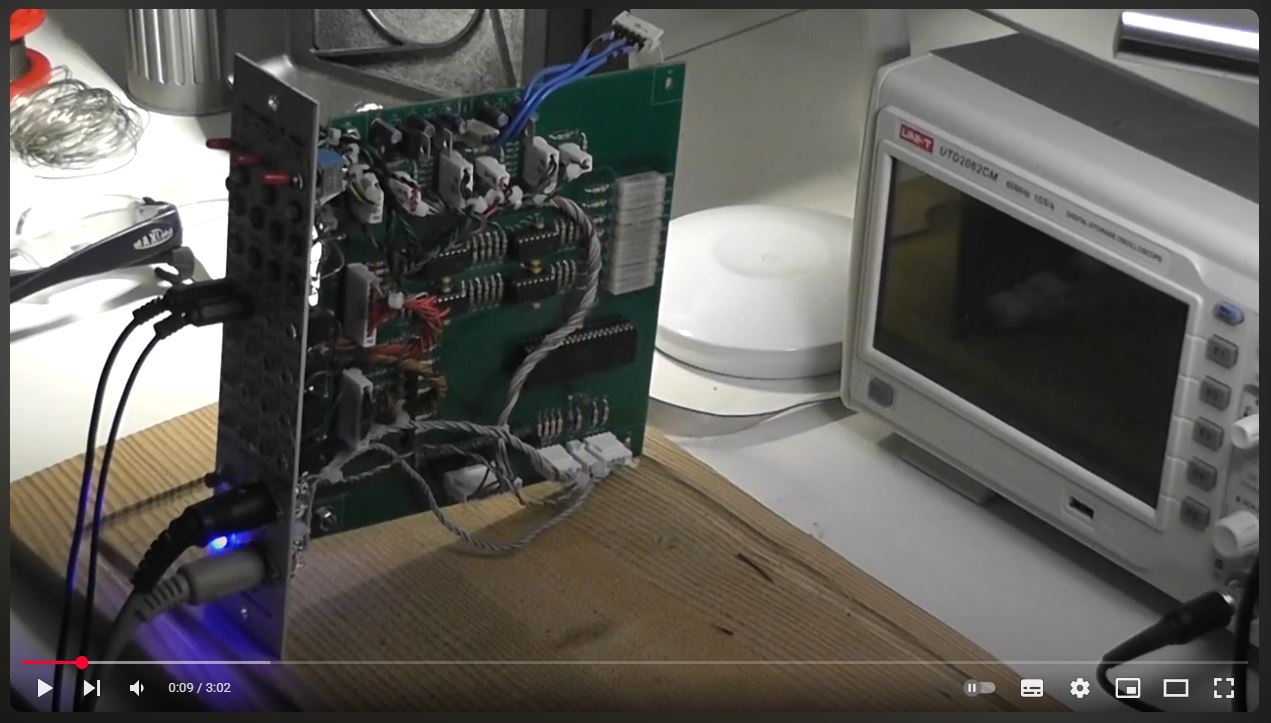
YouTube Demo!
10 Likes
MINIDEXED is well worth trying if you’ve got a spare Raspberry. Various options from no extra hardware to display, buttons, MIDI and DACs.
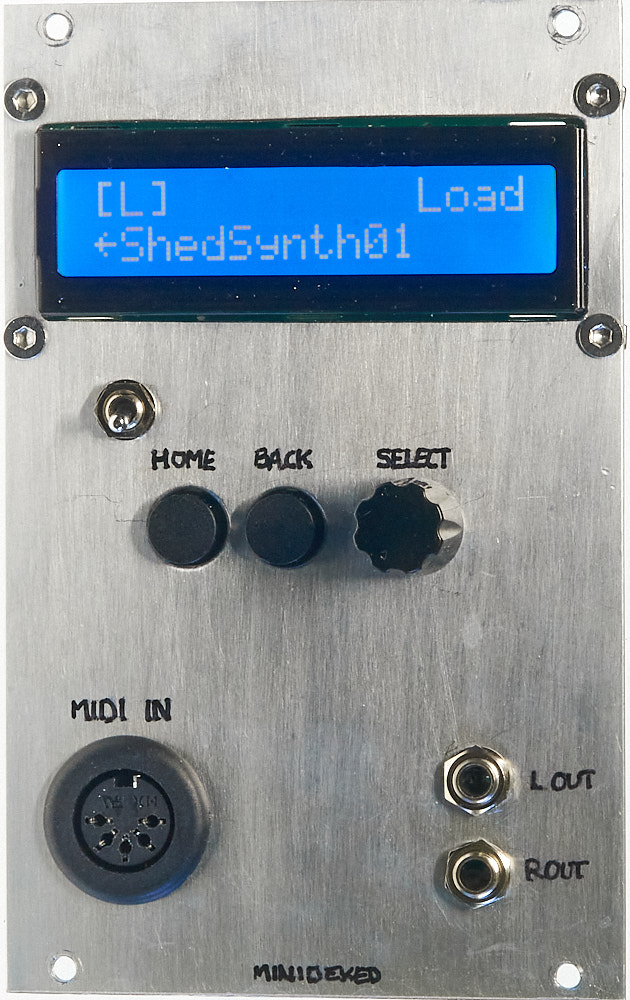
Here’s my Eurorack version, with some links to the original MINIDEXED and to some other builds: SheDX7 – ShedSynth
3 Likes
Nice build!![]() will upload my version too. If we only could add cv inputs too, wouldnt that be great:grin:
will upload my version too. If we only could add cv inputs too, wouldnt that be great:grin:![]()
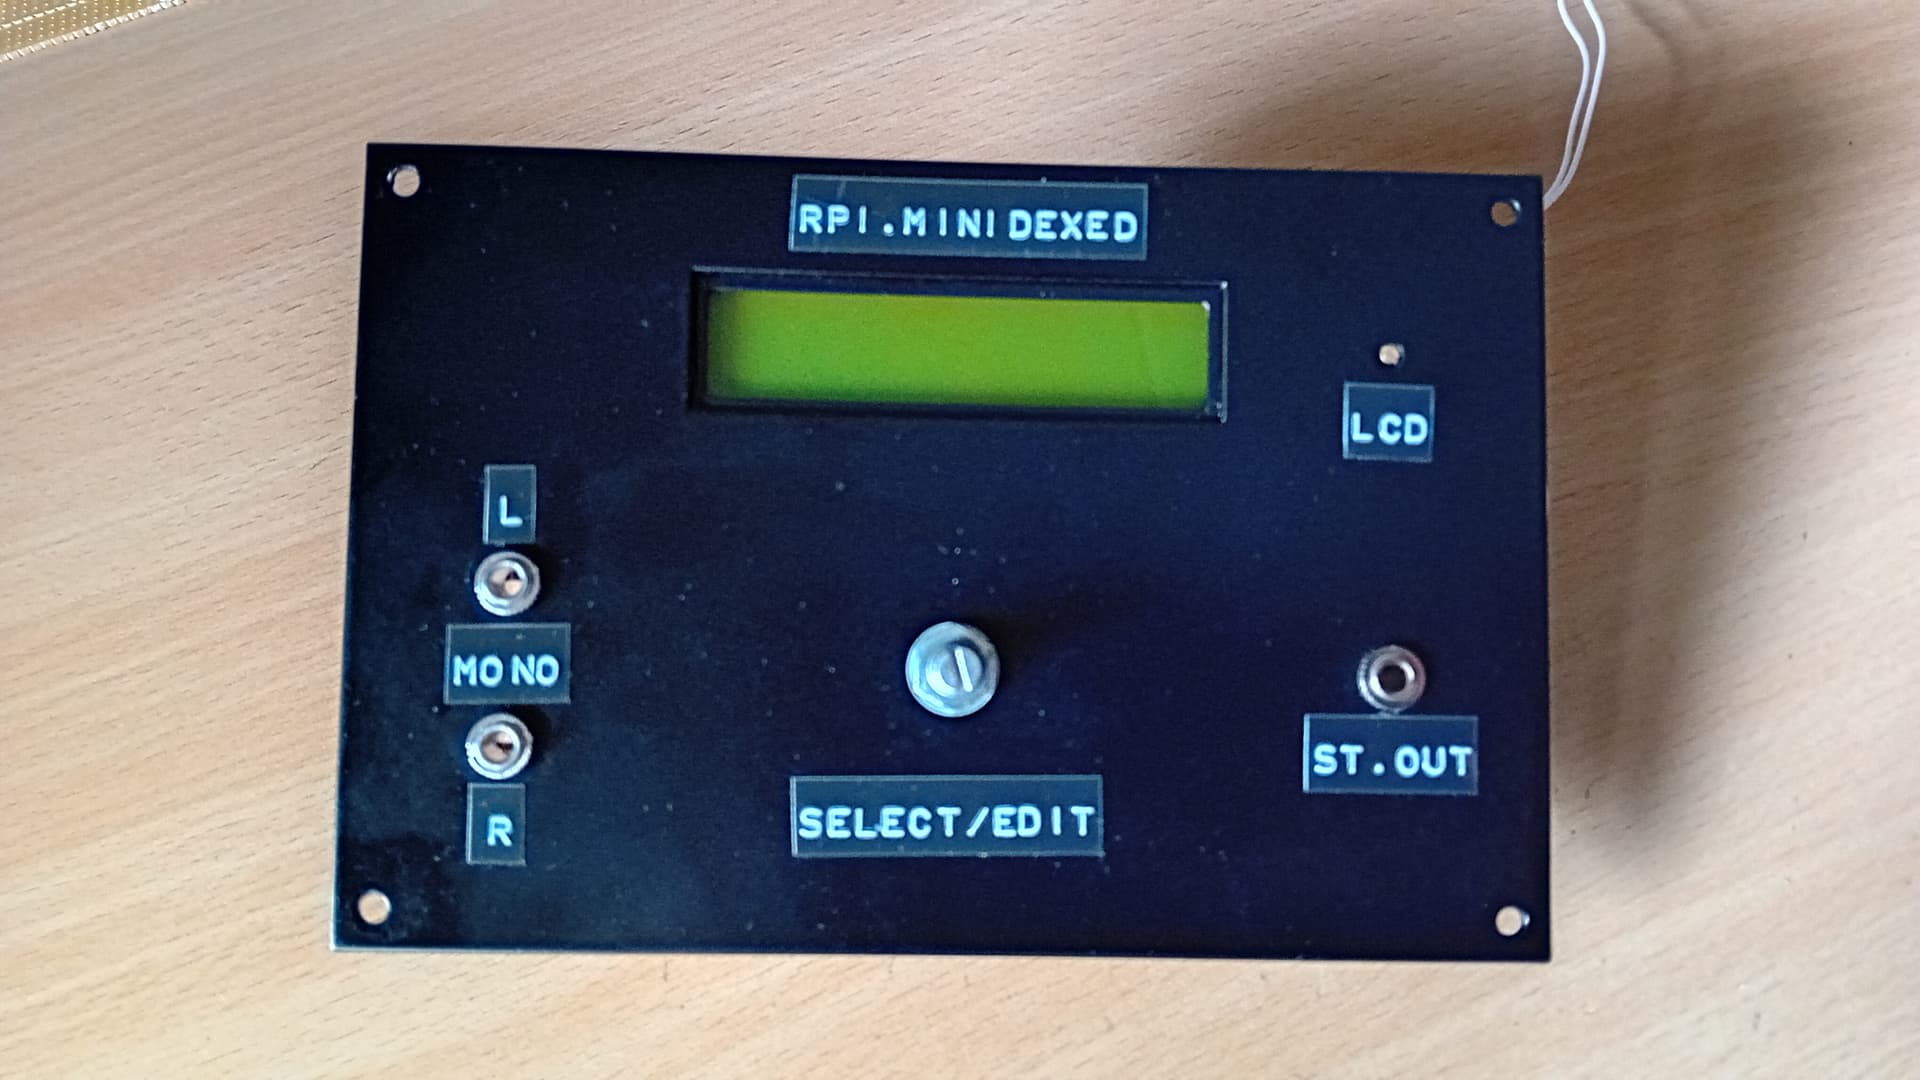
This in a nice wooden case that matches with my modular synth, with the DIN5 midi connectors.![]()
3 Likes
CV inputs
Perhaps an Arduino to intercept MIDI and kludge CV inputs as extra Control Change messages?
Added thought…
That could be a generally useful gadget:
- input MIDI and a row of CVs for MOD wheel, pitch bend, breath control, portamento, pan
- output modified MIDI to whatever synthesizer you have - if you can edit voices to make use of some of these control changes
1 Like
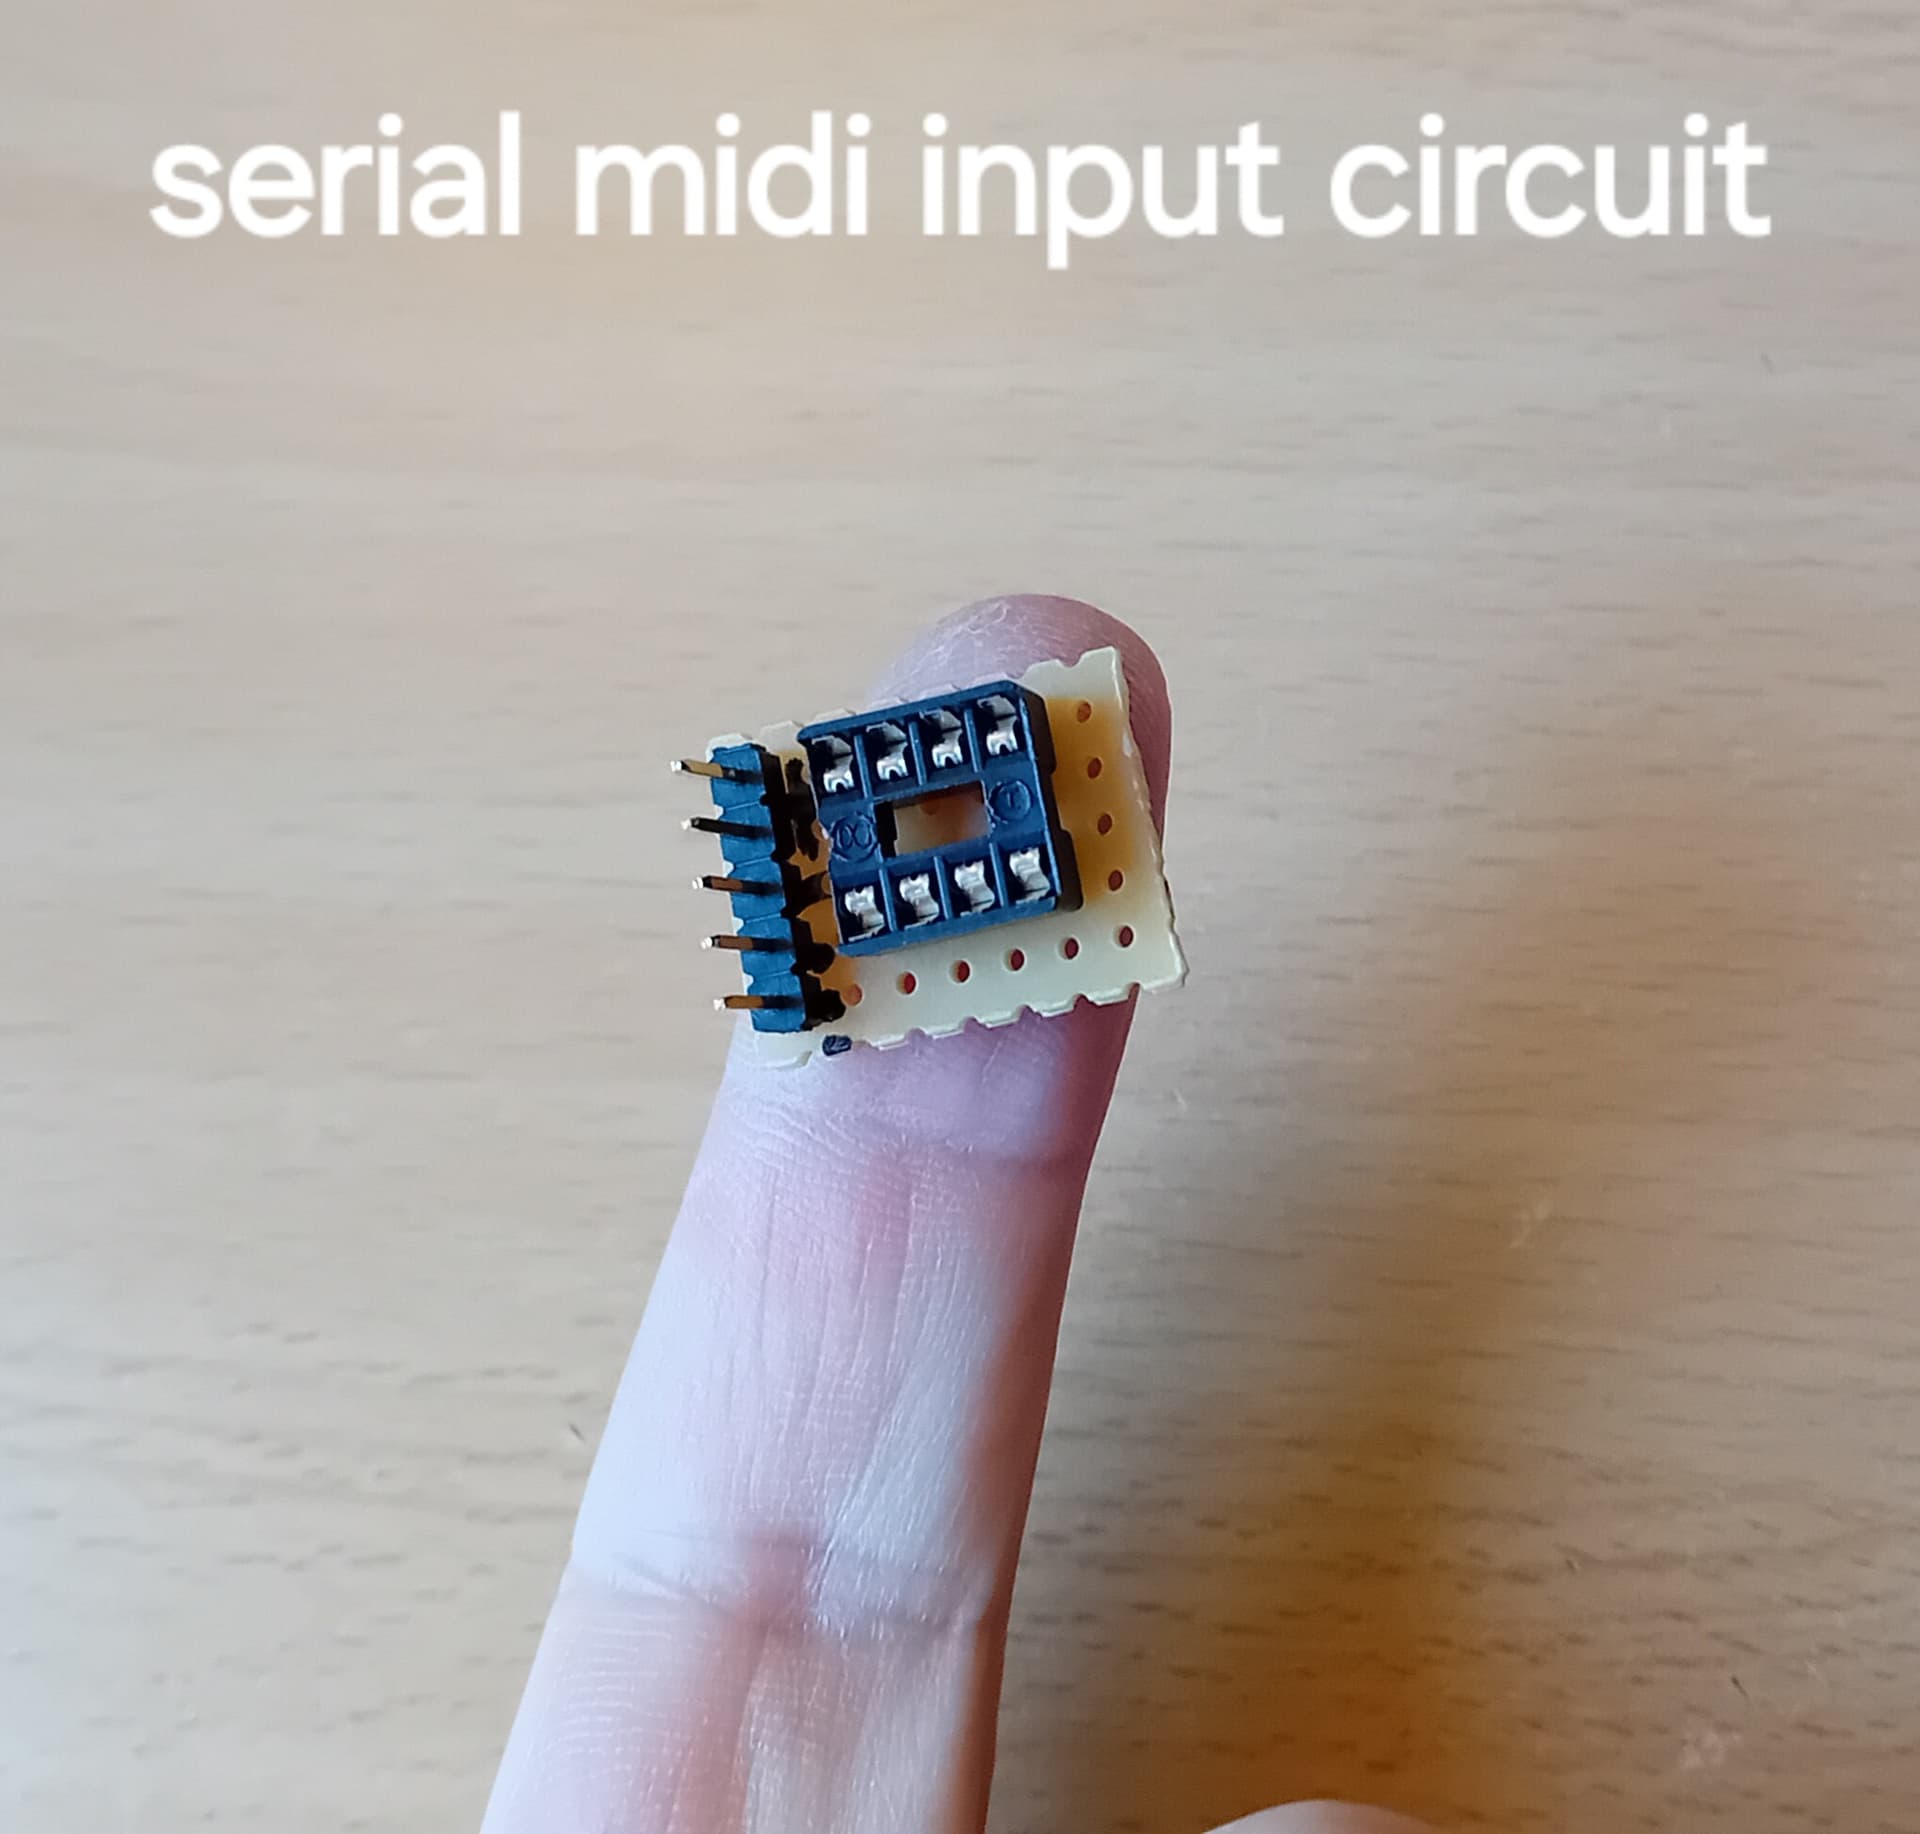
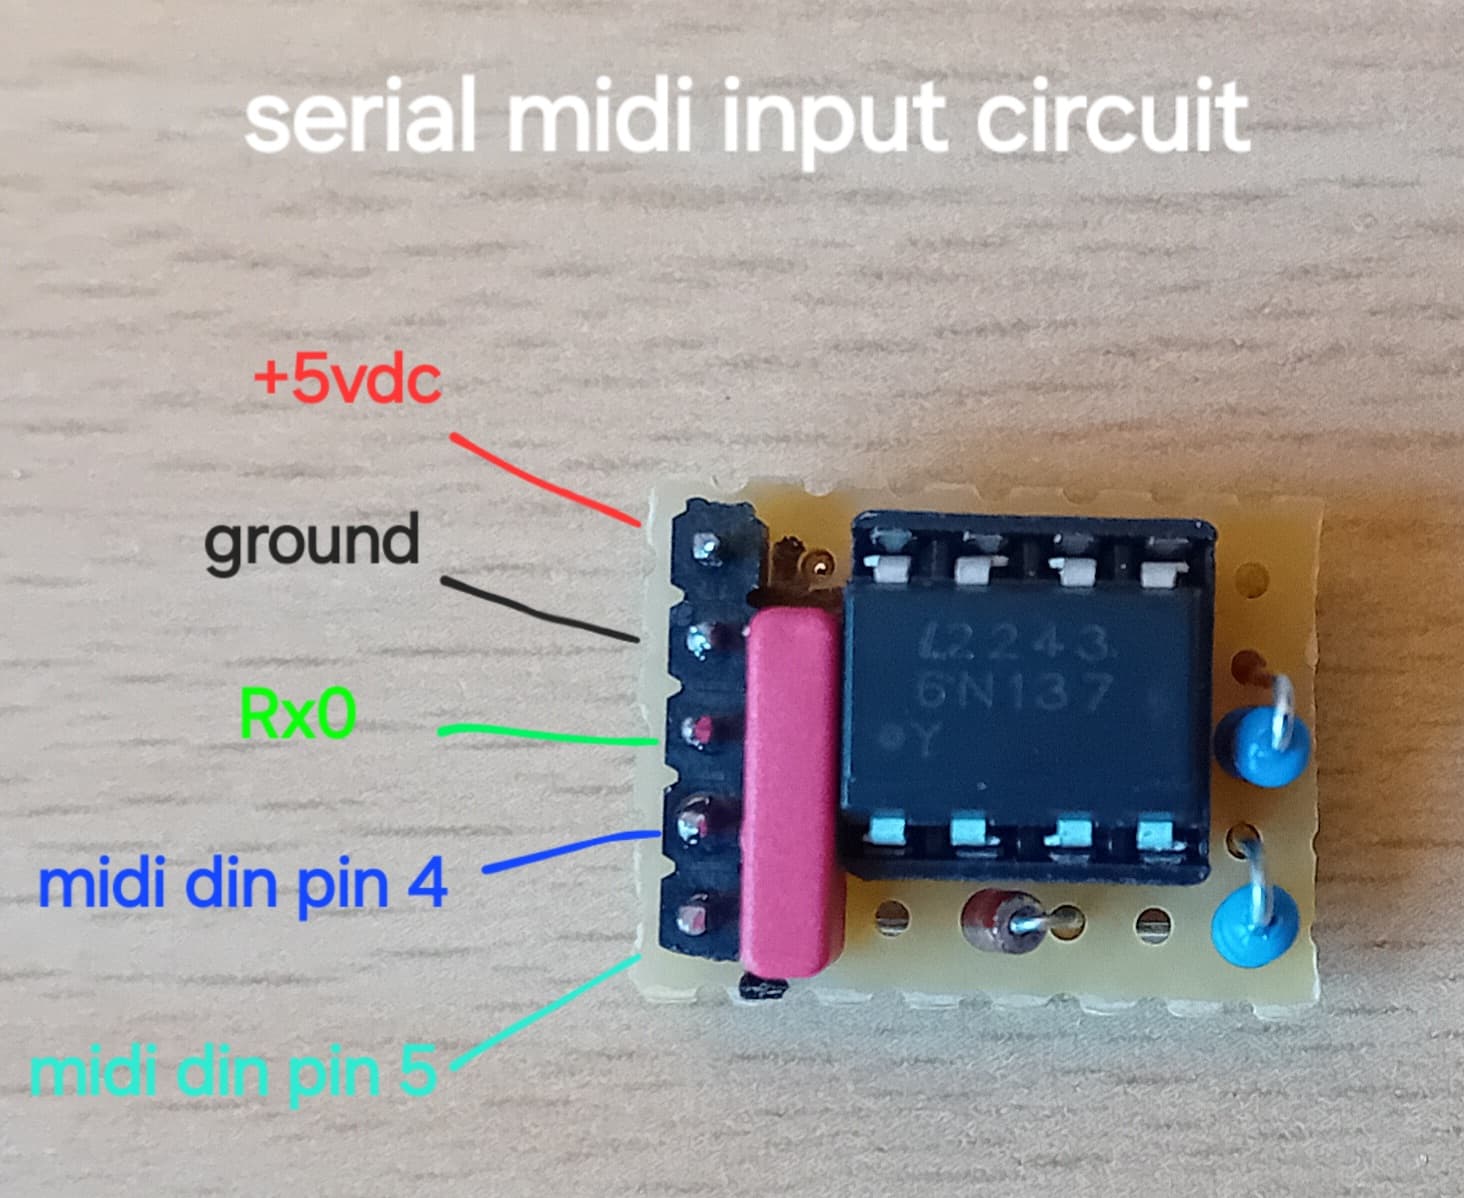
That was my thoughts as well to add CV to the minidexed. The usb ports on the minidexed act as a usb host, so really you just need a CV to usb midi converter and plug it into a spare usb port on the pi for CV control.
1 Like