Hi Craig!
Thanks a lot for your very fast response!
You are right! I can rewrite the schematics by myself but the code can be a little more challenging here ![]()
If you share your version of this code in GitHub, it will be very appreciated. I can try to understand how you used the classes to learn more about coding.
//Alex
Here it is if you want to play around.
1 Like
Hi there!
Thanks a lot!
I will start to analyze your code today and other thing that I will try to do is to update the code to be used in a Teensy 4.0 that I have at home.
Abusing your kindness I want to ask you where I can find the values of the different resistors use by MacMannes in his schematics. I couldn’t find any boom list nor concrete information. The only numbers that I could see are 33, 220 or 47 but without any reference to Ohm value so I don’t know if they random numbers or resistors values. In case that those number refers resistors values the unit is missing such KOhm or only Ohm.
By the way, you mentioned that your country is in war so I suppose that you are living in Ukraine. I really hope with all my heart that this war finishes as soon as possible. I live in Sweden and I have two friends from Ukraine that are suffering a lot. They have family and relatives still there without any possibility to leave the country right now. According to my friends they are hidden in shelters and the situation is terrible.
//Alex
2 Likes
If they are written as 47, 220 etc then they are 47 ohm and 220 ohm, that’s pretty standard not to have anything after the number to denote a low value.
My code is already Teensy 4.1 based, I don’t know if the Teensy 4 has enough io ports to support the build.
Yes we are based in Ukraine, I’m writing whilst an air raid siren is currently on in our city. Although I count myself lucky compared to many other people here.
4 Likes
Just revisiting this again, I said it was Teensy 4.1 based, but it’s actually a Teensy 3.6 used fir the editor.
I have just installed a second XVA1 to make layers and splits possible. I built an XFM2 but found it wasn’t being used as I had a MiniDexed for FM. So as the hardware is identical I just flashed it for the XVA1 and added it into the CME UF70 chassis. Yet to build a mixer for it and I need to fix the editor code to talk to both cards, but it should be fun.


3 Likes
Nice work!
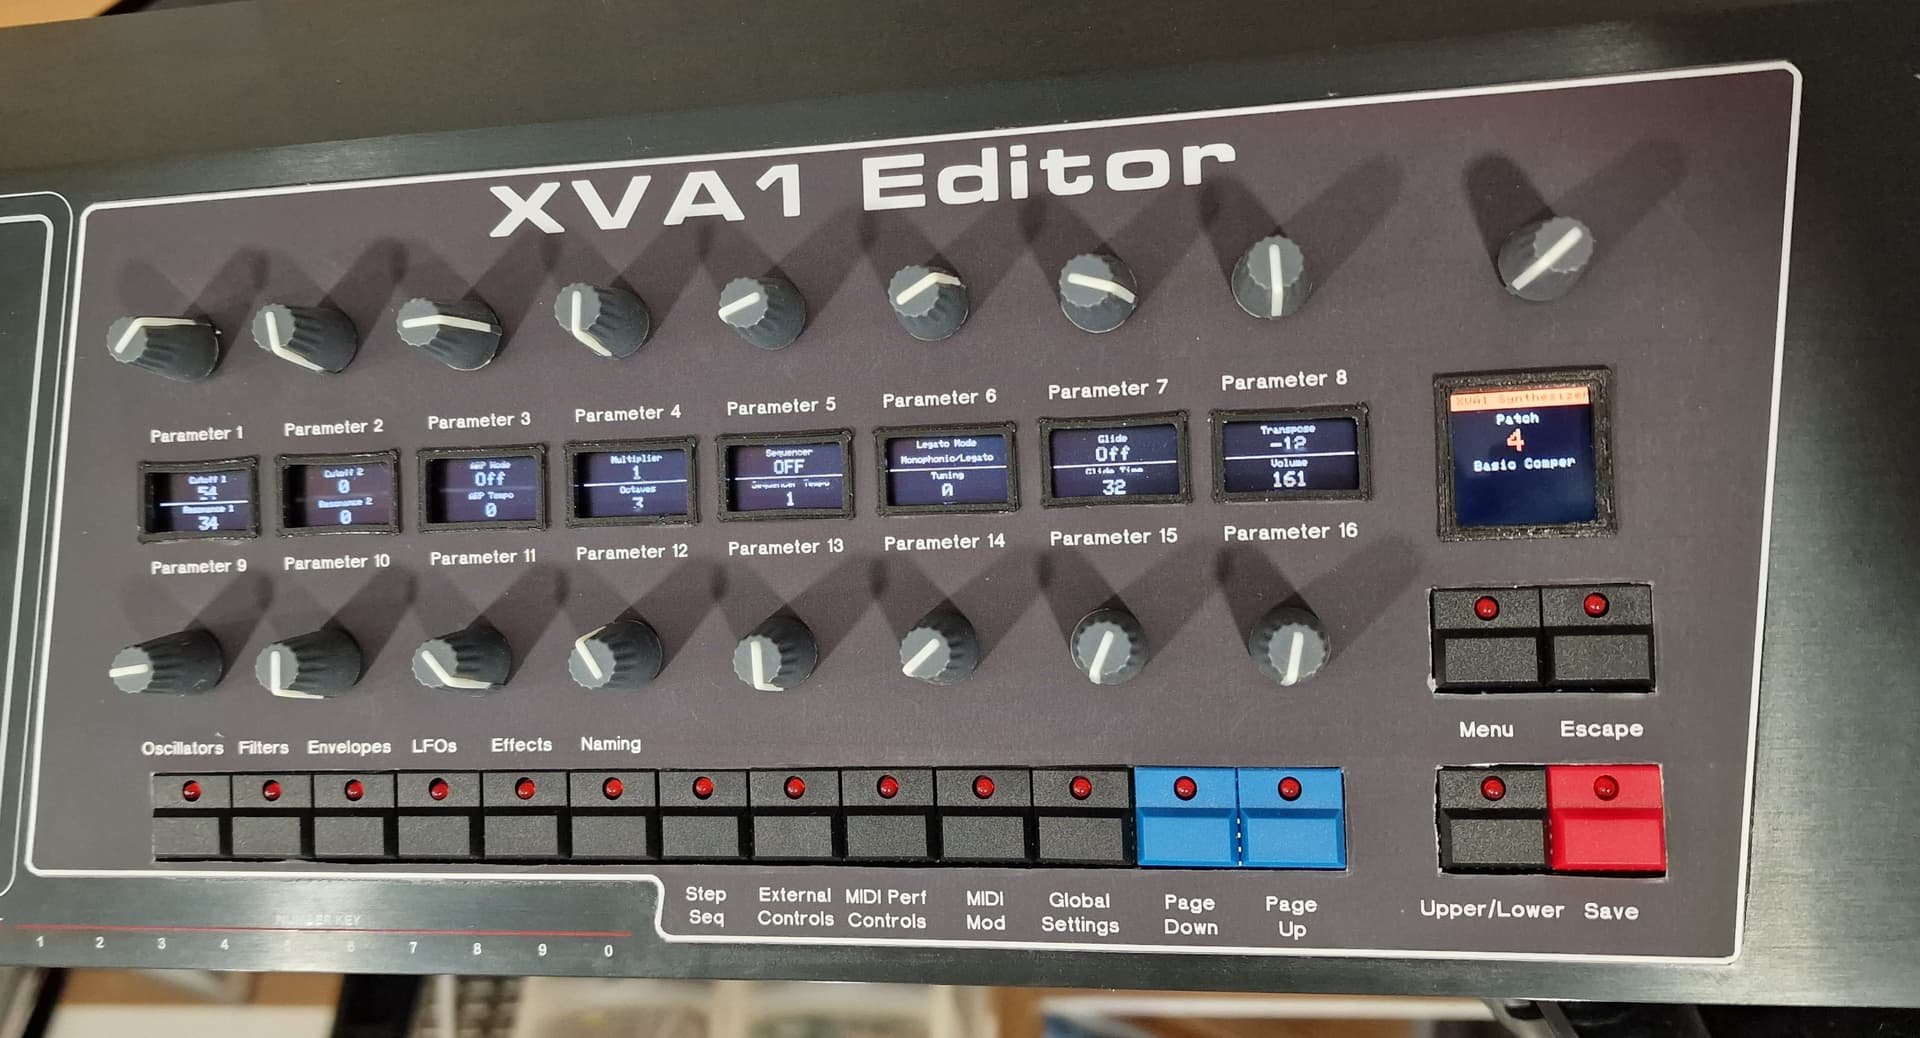
I’ve been looking for buttons (black, blue, red) as shown in the top picture but I haven’t been able to find them yet. Knowing how they are called will help searching for them. How are they called ? Do you have a resource I can try?
That’s beautiful! I would love to mess around with this synth, but given the lack of an enclosure/interface and lack of advanced diy skills, I may as well use a vst. Really hope someone can turn this into a user friendly synth.
The buttons are PB86-B1 and are available from AliExpress reasonably cheap, you can get non LED versions too. PB86-B0
2 Likes
Some progress, I got the mixer sorted after building and testing a few that were ultra noisy with ridiculous gain on them. So now both XVA1s are mixed down to a stereo pair. I didn’t really have room for individual outs nor did I want them.
The editor is being “edited” to cope with two boards at once. I can now display both upper and lower patches and control each synth. Splits and layers work although I have to manually set them up on the keyboard.
I was think that it might be nice to build a performance section that combines the two synths for easy recall of favourite patches and in that way I could actually leave the keyboard in single mode and set splits up within the programs.

4 Likes
I have been away from this for quite a while, life kinda got in the way.
I wrote a load of code for a controller and that worked so I am picking it up from there.
Bearing in mind I know nothing about arduinos I am going to try and figure out how to get the Seeeduino XIAO to show the patches etc as @MacMannes did in the beginning.
Once that is sorted I can work on the pcbs for the build.
I finally did some work on this project. I recently found out Seeduino is making ESP32 boards with the same formfactor as the XIAO, the XIAO ESP32S3. It took a while to get everything working, but at the end it is working very nicely.
Next, I will try to fix the errors in the PCB design and make a 3D printed back cover, which should look nicer than the acrylic plate I am using now.

3 Likes
Glad to see your back at it
1 Like
I designed a 3d printed bottom cover. And for a first prototype I’m quite happy with it. I forgot my printer wasn’t print surface is only 250x250mm, so I had to cut it in half. The next iteration will have some pins and slots, so the whole thing becomes more sturdy.


6 Likes
I hope you don’t mind me mentioning a bug in your code when editing MIDI perf controls, these are supposed to be editable between 1-511 to cover all parameters of the synth, but your code only allows you to edit them from 0-255 due to using a byte rather than an integer for definition.
Currently you display 257 as a value for one of the MIDI performance controllers, but you cannot increment that, only decrement it, then once it is 255 it will not go any higher.
Also I added the range limit of 1-511 as 0 is not available as that is not a valid parameter in the synth.
Here is an upto date version with a schematic.
i would pay good money if someone made these interfaces available for purchase
Surely you can build it from MacMannes gerber files?